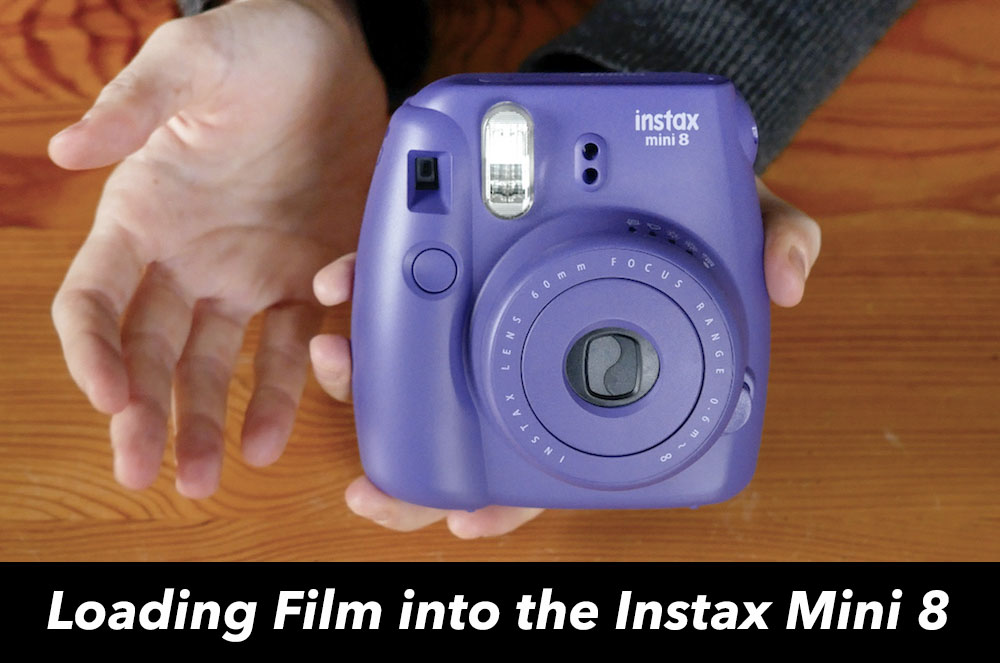
Loading the Instax Mini 8 with film is a straightforward process, but the first time you do it can be intimidating if you’re not used to film cameras.
While it’s hard to go wrong if you carefully follow the instructions provided along with the camera and the film pack, many visual learners prefer following a series of step-by-step images to reading. This is why I put together the following tutorial. Hopefully it will get you shooting great images with your Mini 8 in no time at all! 🙂
Loading Instax Mini 8 Film: The 5 Steps
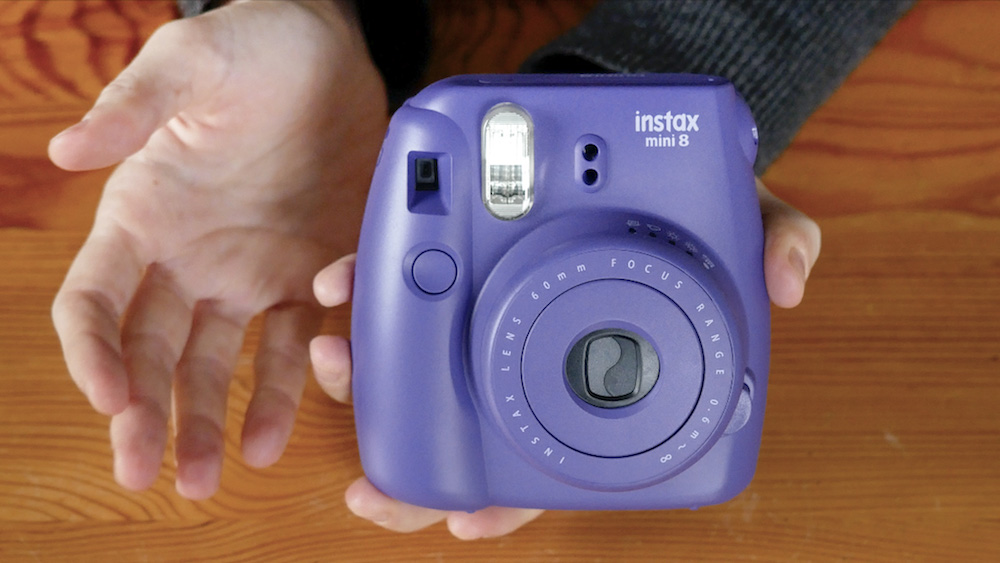
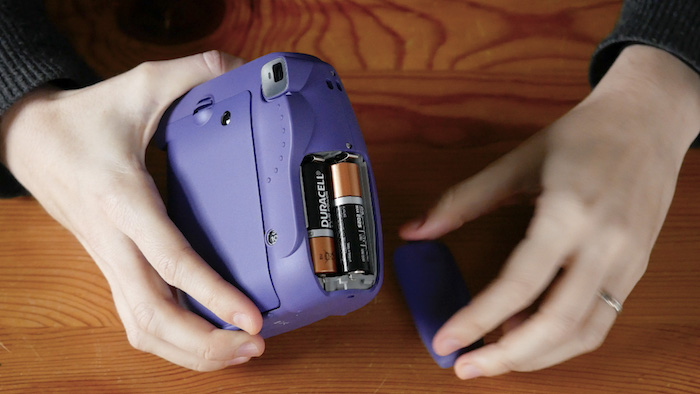
Step 1: Load the camera with two fresh AA batteries
Before you even touch your pack of Instax Mini film, you must load your camera with a fresh pair of AA batteries, ideally of the same brand.
Rechargeable batteries are also an option but be aware that they aren’t always powerful enough to fully charge the flash. If you use partially charged batteries, the camera may stop working and the film could get jammed.
The battery compartment is located on the left-hand side of the body. To release the door, simply push down on it until it slides free.
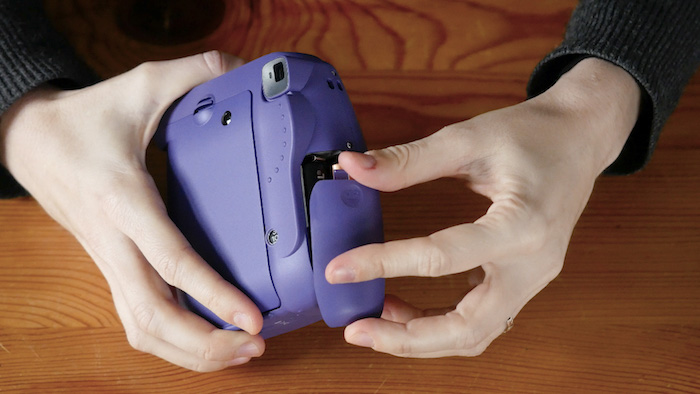
Then, place the two AA batteries inside and slide the door back into place.
Step 2: Open the Instax Mini film pack
The next step is to open up your first pack of film. Before you open it, make sure that it is Instax Mini film and not some other kind of film such as Instax Wide.
Carefully pull the packet open, making sure to hold it by the edges at all times.
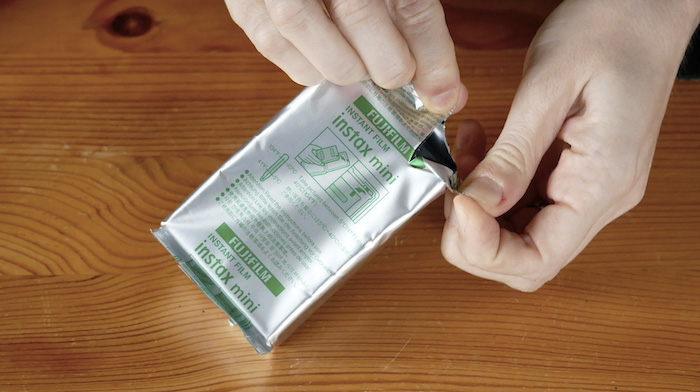
Do not touch or press down on the areas of the cartridge featuring a finger with a line through it, as you might damage the film.
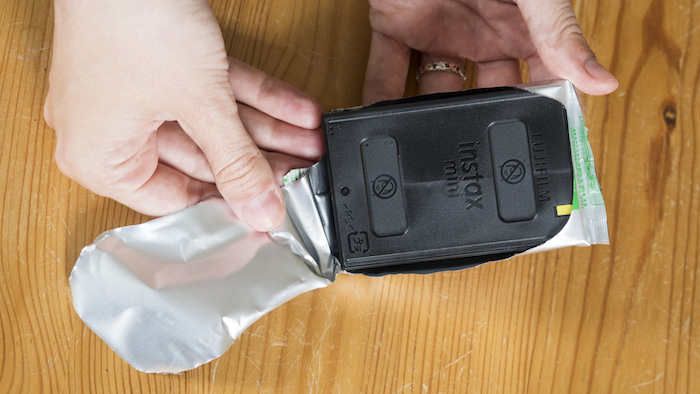
Also avoid opening the film in very cold, hot, humid or well-lit places, as doing so could damage the film before you even start using it! The ideal location is indoors at room temperature.
Step 3: Place the film inside the film compartment
Once the film pack is open, we want to place it inside the film compartment. To open the compartment, simply press down on the latch and the door will pop open.
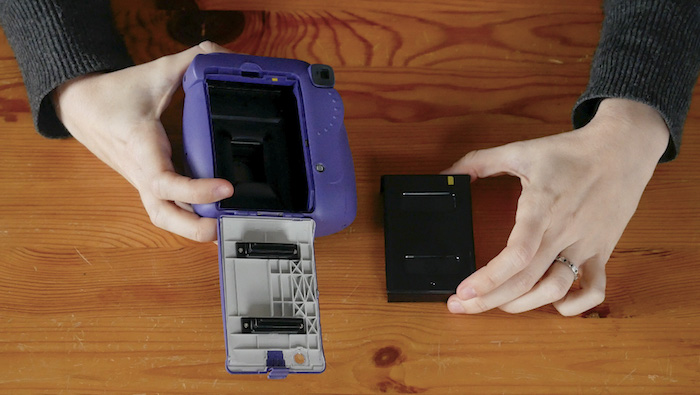
Grab the film by the edges and gently place it inside, making sure to align the yellow markers. (There is one on the film and one on the camera body.)
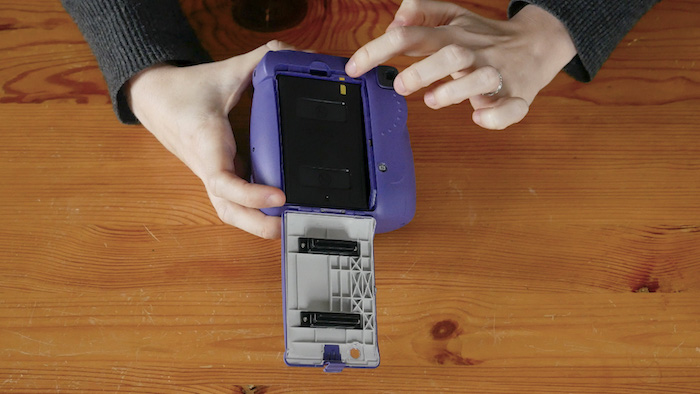
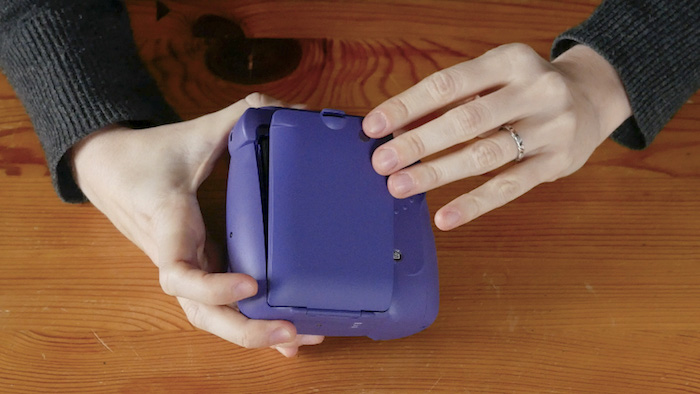
Finally, close the film door and do not open it again until all ten slides of the film have been used up.
Step 4: Turn the camera on
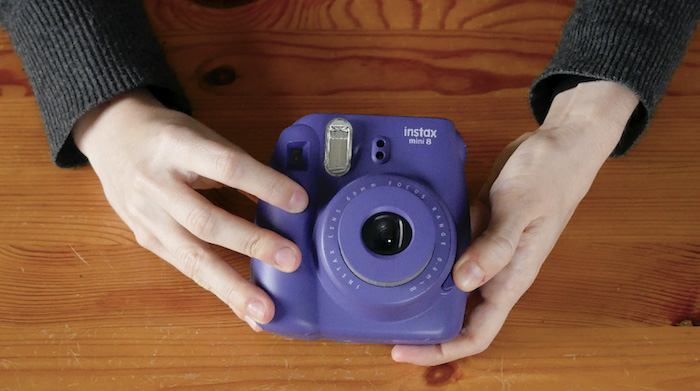
At this point, it is safe to turn the camera on by pressing the button located directly beside the lens. As soon as you press the button, the lens will pop out of the camera body. You should see one of the brightness settings light up on the brightness adjustment dial after a few seconds.
Step 5: Press the shutter button to eject the black slide
The final step is to press the shutter button to eject the black slide covering the film. The shutter button is found on the grip of the camera below the viewfinder.
You’ll recognise the black slide because it features the finger with the line through it.
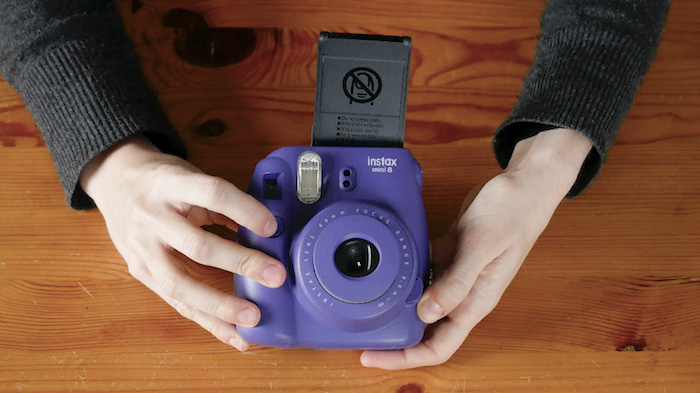
Once ejected, gently pull the slide out of the film ejection slot and dispose of it. Turn the camera over and you’ll notice that the film counter has gone from ‘S’ to ’10’.
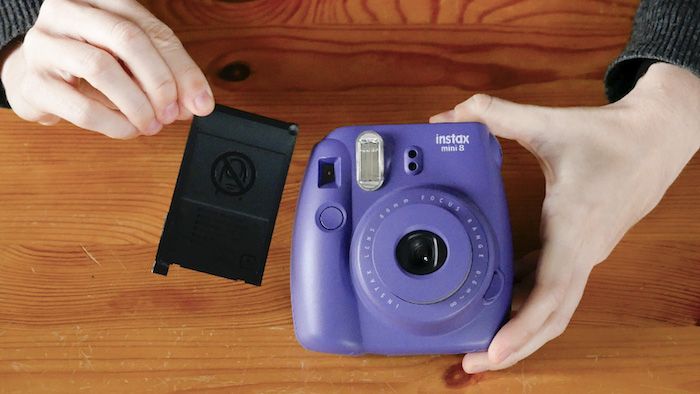
And that’s it! You’re now ready to start taking pictures with your Instax Mini 8. 🙂
How long does it take Instax Mini 8 film to develop?
One of the questions I often get asked is, “How long does it take Instax Mini film to develop?”
In my experience, you’ll usually start to see parts of the image appear after about 20-30 seconds but it can take up to five minutes for the image to fully develop. I’ve also found that the speed at which it develops is dependant on the ambient temperature.
If you take a shot in cold temperatures, it is always a good idea to keep the photo warm inside your jacket pocket and leave it there until it has developed.
Below you can see a quick one-minute video of an Instax Mini photo developing!
Enjoyed this article? Why not pin it!
