So synonymous is the Polaroid brand name with instant film photography that many people colloquially refer to all instant cameras, including the Instax series from Fujifilm, as “polaroids”.
Although bankruptcy forced the Polaroid Corporation to cease production of instant film products in 2008, its legacy lives on in the form of Polaroid Originals, a Dutch company formerly known as the Impossible Project.
For over ten years, the company has continued to produce film for old Polaroid cameras, but only recently did they start manufacturing instant cameras of their own. The first was the Impossible I-1 in 2016, followed by the Polaroid OneStep 2 one year later.
I’ve been using the Polaroid OneStep 2 for a few months now and I admit that I am a little behind schedule with this review. (Too much desk work and very little actual shooting being the problem!) It’s here now though, so let’s dive right in!
Ethics statement: We bought the Polaroid OneStep 2 for our personal use. We were not asked to write anything about the camera, nor were we provided with any sort of compensation. Within the article, there are affiliate links. If you buy something after clicking the link, we will receive a small commission. To know more about our ethics, you can visit our full disclosure page. Thank you!
What is the Polaroid OneStep 2?
The Polaroid OneStep 2 is the first instant film camera to be produced under the Polaroid Originals brand. It is also the first Polaroid camera to hit the market in over ten years. A real chip off the old block, it looks almost identical to its predecessor, the original OneStep, which was released exactly 40 years prior in 1977.
Design and Build Quality
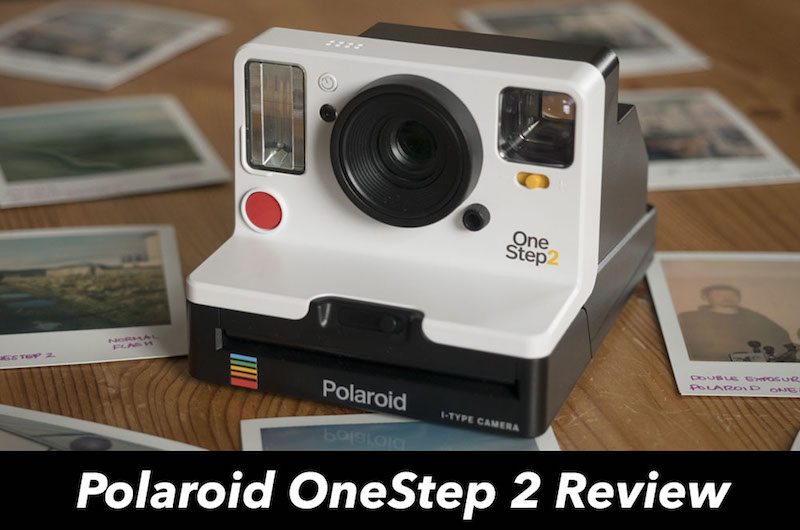
It’s pretty hard not to fall head-over-heals in love with the OneStep 2. Based on the design of the original OneStep, it has all the trappings of a vintage instant camera, along with a few modern perks that improve the user experience.
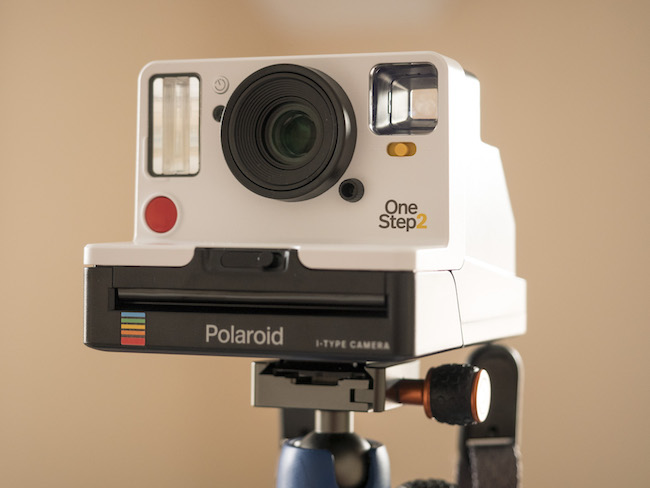
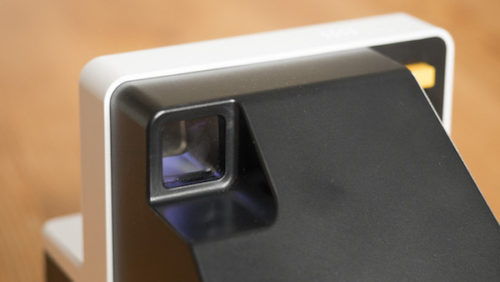
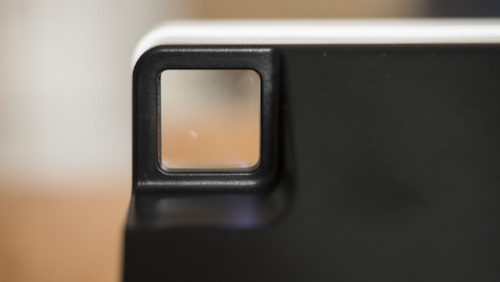
Let’s begin with the optical viewfinder, which sits within a cutout on the sloped back of the camera. Compared to the Instax Mini 9’s small finder, the OneStep 2’s finder is square in shape and very large and comfortable to look through. I couldn’t find any mention of the magnification in the specifications but whatever it is, you should have no issues composing.
- Cutout for the viewfinder
- Rear view of the viewfinder
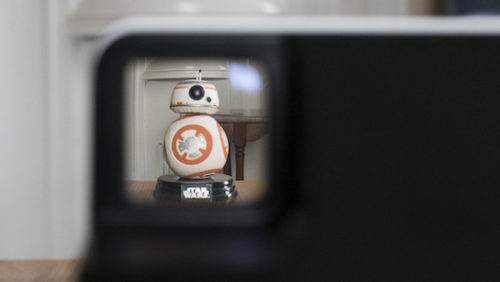
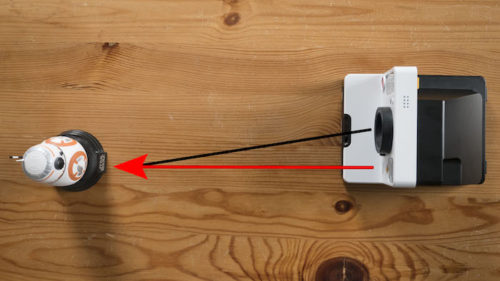
If you’ve never used an instant camera before, it is important to remember that what you see through the viewfinder isn’t exactly what the lens sees – a phenomenon called parallax. This is because the viewfinder is located slightly above and to the right of the lens. For this reason, you’ll need to slightly adjust your aim at distances shorter than 120cm.
- What you see through the viewfinder …
- … isn’t what the lens sees.
Sitting beside the finder is the fixed focus 106mm lens with a field of view of 41° (vertical) and 40° (horizontal). This gives you a diagonal angle of view of 57°, which is close to the field of view of a 40mm lens in 35mm format terms. It is constructed from optical grade polycarbonate and acrylic and has a range of 60cm to infinity. Don’t make the mistake of trying to focus at less than 60cm – your photos will end up blurry!
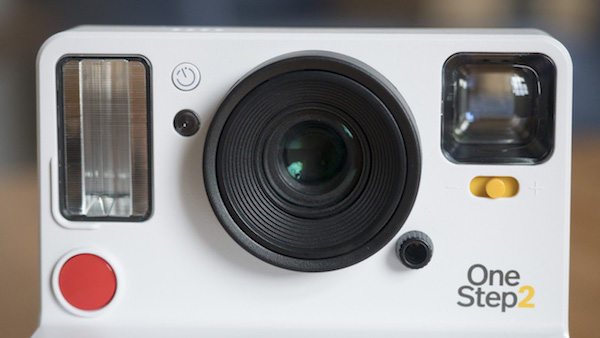
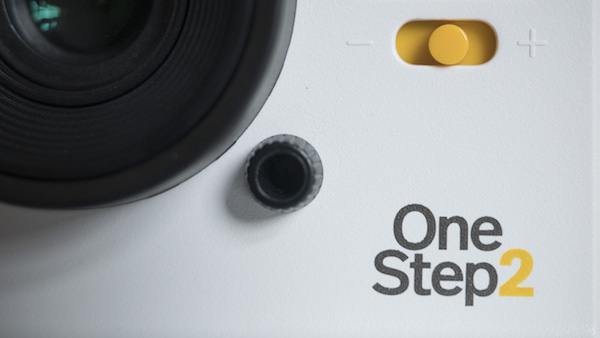
The lens is flanked by the black light meter and exposure switch that lets you under or overexpose your image by ±1/2EV.
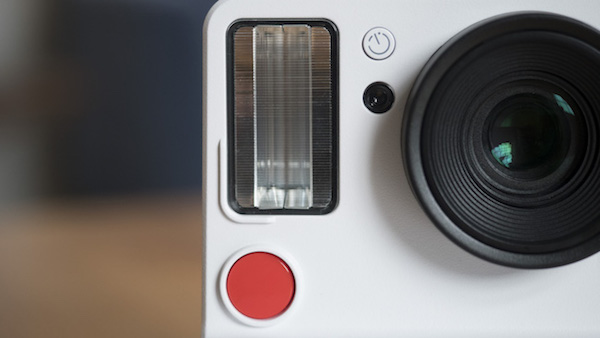
On the other side, you’ll find the red shutter release button, infrared LED, self-timer button, and built-in flash unit that always fires unless you suppress it by holding down the ‘no flash’ button on the rear.
The bottom of the camera is home to the film compartment which opens via a film door latch. There is a film shield that covers the photo as it ejects from the slot, protecting it from ambient light. Usefully, it won’t retract back into the film slot until you remove the photo.

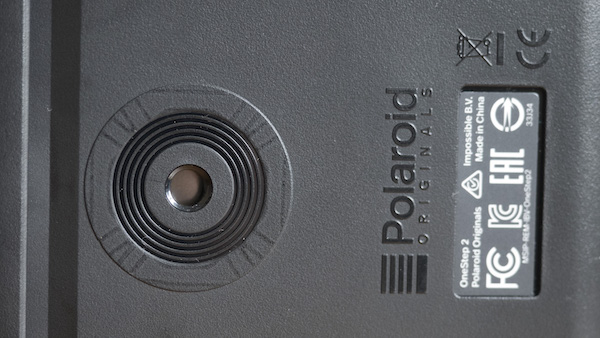
The only feature on the base of the camera is a tripod mount. It is useful if you frequently plan to use the self timer or want to eliminate camera shake.
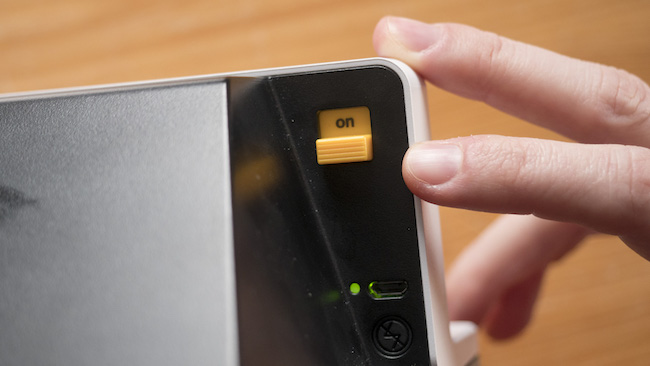
Turning to the rear, we find the on/off switch and a USB port to charge the camera.
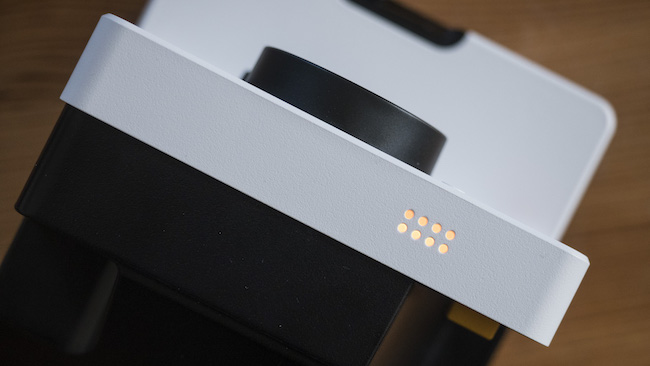
To see how many shots you have left, you can refer to the eight LED lamps on top. According to Polaroid, the camera can take 15-20 packs of film on a full charge.
The shell of the camera itself is made from a mix of polycarbonate and ABS plastics, resulting in a lightweight yet fairly robust body. Because it doesn’t feature weather-sealing, it is best to keep it stored away on miserable days.
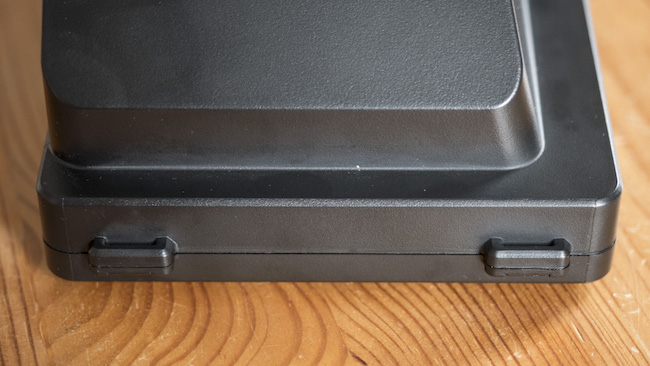
At 150 x 110 x 95mm, it isn’t very compact but you can easily carry it around your neck or on your shoulder thanks to the two strap eyelets at the base. I’ve chosen to attach my Peak Design Leash but you can just as easily use your own strap or the one that comes in the box.
How to Use the Polaroid OneStep 2
The manual that comes with the OneStep 2 does a great job of explaining how to effectively use the camera but I’ll provide a quick summary here along with some helpful visuals.
1. Charge the battery
Before you do anything else, make sure to fully charge the camera using the provided USB cable. The LED light beside the USB port will stop flashing red once the camera is powered up and ready to go.
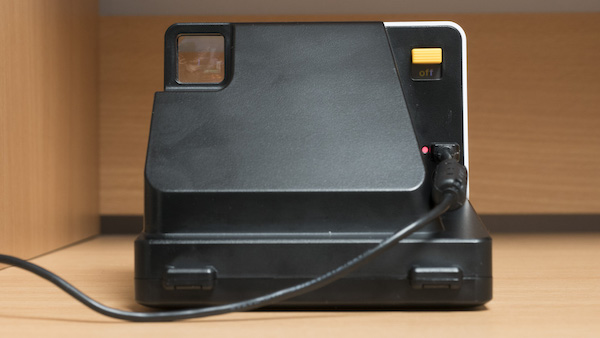
Charging can take anywhere between 2 to 4 hours depending on whether you use a wall charger or another device like a computer.
2. Turn the camera on
Next you want to turn the camera on by flicking the yellow switch on the rear into the ‘on’ position. Note that the camera must be switched on in order to load the film.

3. Load the film
Before you do anything, make sure that your camera is still switched on.
Slide the film door latch to open the film door and push the opened film pack to the very back of the compartment, making sure that the dark slide is facing up.
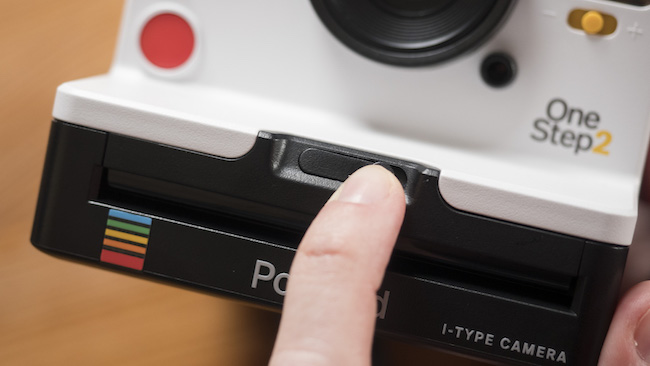
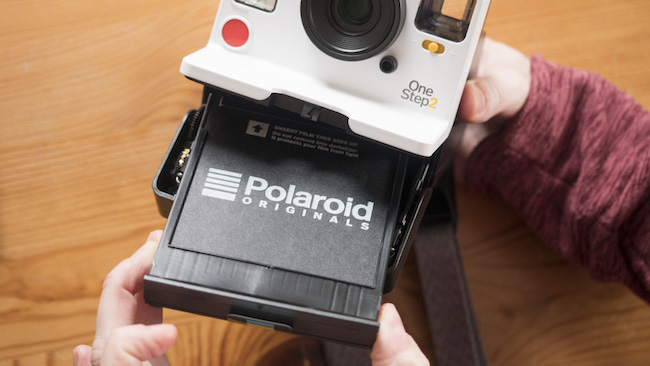
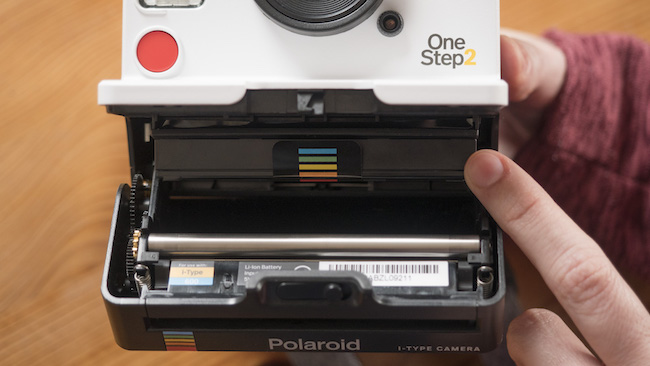
When you close the door, the camera will automatically eject the dark slide underneath the film shield. Remove the dark slide and allow the film shield to roll back inside the ejection slot.
4. Take your first shot
Now all that’s left is to take your very first shot. We’ve found that most of the time, the camera is able to guess the right exposure on its own, but if you want to experiment, there are a few manual controls you can adjust:
Exposure dial: Move the yellow dial to the plus or minus sign to increase or reduce the exposure by a half-stop, or leave it in the middle to let the camera choose the best exposure.
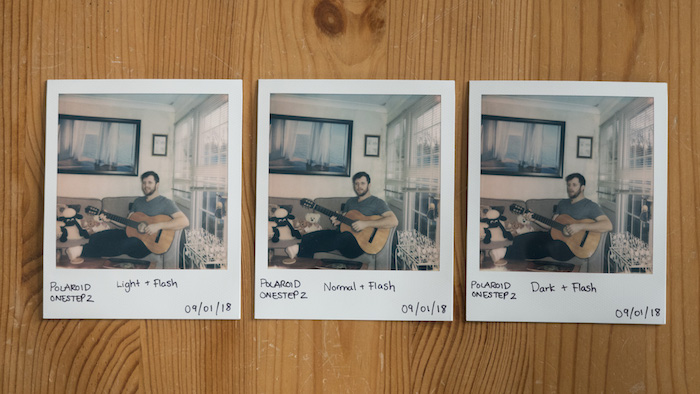
Flash: The flash will always fire automatically but if you decide you don’t want the flash, you can always suppress it by holding down the ‘flash off’ button on the rear as you take the shot. Avoid suppressing the flash indoors or in dark places as your image will likely end up too dark.
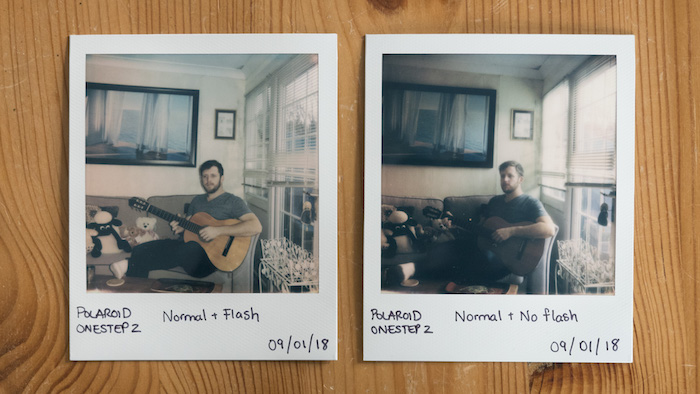
A photo will generally take anywhere between 5 and 10 minutes to develop depending on the ambient conditions and the type of film you use. It is best to shield the photo from light as it develops inside a jacket pocket or face down on a table for example.
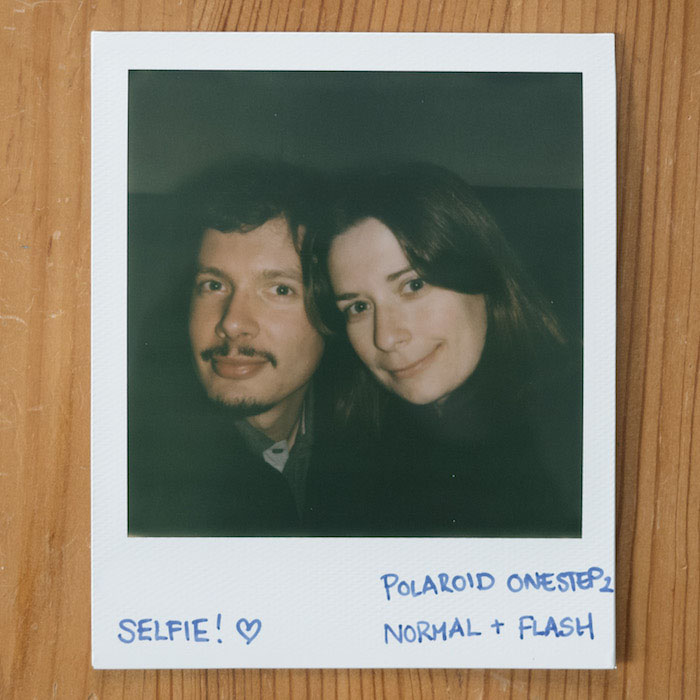
Because the camera has a minimum focus distance of 60cm, always be aware of how close your subject is to the camera. This is especially true when taking selfies!
5. Experiment!
Once you feel comfortable with the basic controls, you can take some time to experiment with the camera.
Self timer: The timer is a fun tool that gives you ample time to jump into your photo. When you press the timer button, a countdown of 8 seconds will begin and the LED light on the front will light up to solid orange to confirm that the timer has been activated. Note that if you want to suppress the flash, you have to press the shutter button and ‘no flash’ button at the same time after the timer has been set.
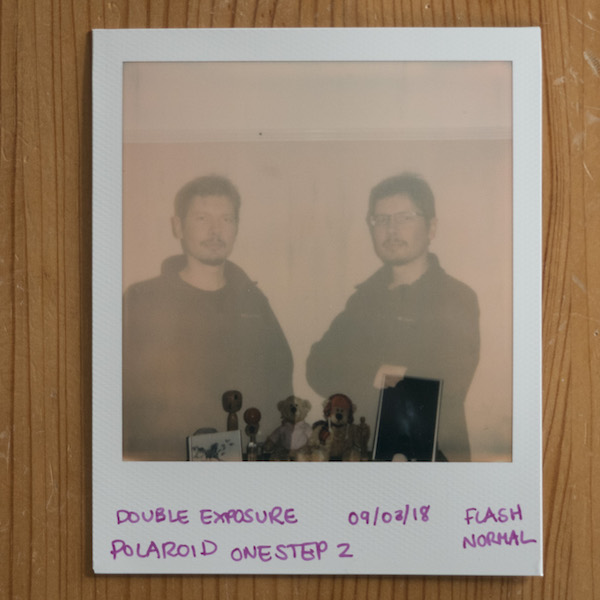
Multiple exposures: Here is a neat tip I learned from photographer Matt Day. Though the camera doesn’t have a dedicated function, you can easily create multiple exposures by holding the shutter button down after you’ve taken a shot, turning the camera off so it cannot eject the film, releasing the shutter button, and then turning the camera on again. Basically this lets you take additional exposure with the same slide of film. The results aren’t that impressive but it’s fun nonetheless.
Experience with i-Type Film
The OneStep 2 is primarily designed for use with i-Type film whose image area is 7.9 x 7.9cm.
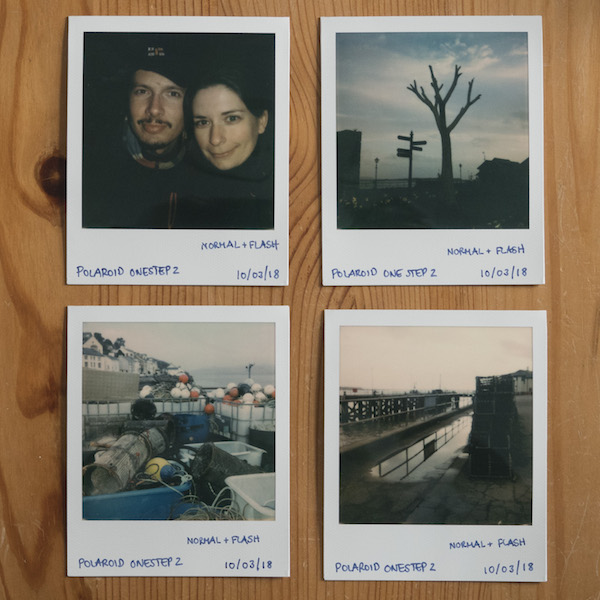
Though I really enjoyed the experience of using the camera, I couldn’t help but feel a little let down by the image quality of the i-Type colour film, especially compared to my Instax photos.
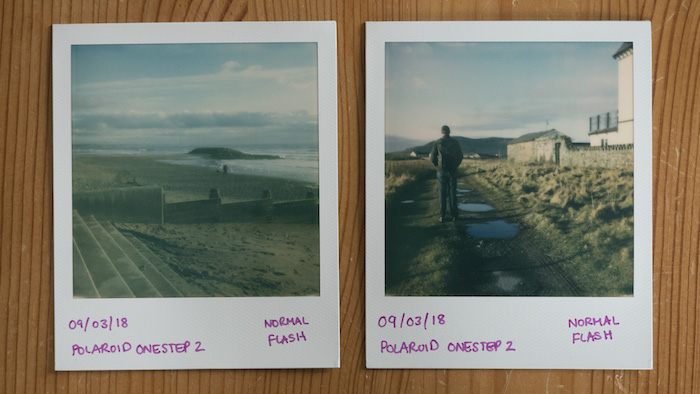
Most images I took have a desaturated, muddy appearance with a surprising amount of green and yellow cast. Some might call this a “vintage” look but it only really works for certain scenes. Instax photos, by contrast, have stronger contrast, more saturation and a colder hue that is more true to life.
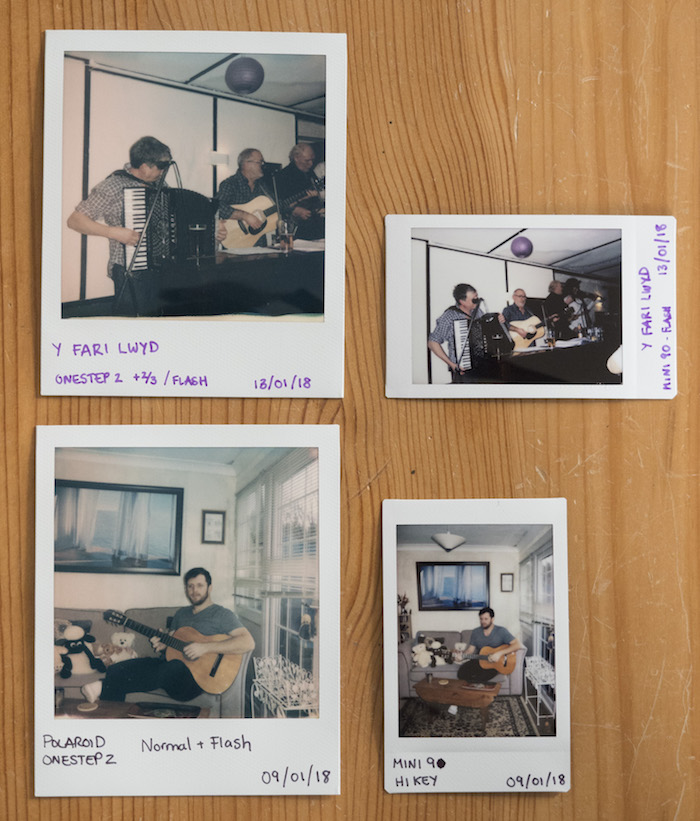
Interestingly, I also found that the old polaroids I took with my Spectra have better contrast and more colour accuracy than the i-Type prints. And they’ve been sitting in an album for nearly twenty years!
Polaroid Originals does state that their film works best between 13 – 28°C and that at lower temperatures, they tend to emerge over-exposed with less colour contrast and a green tint. Knowing this, I made a point to store the photos close to my body when shooting in colder temperatures but it didn’t really make a difference.
Another issue I found was that images featuring lots of open sky sometimes had small white dots – an issue that other reviewers have reported as well.
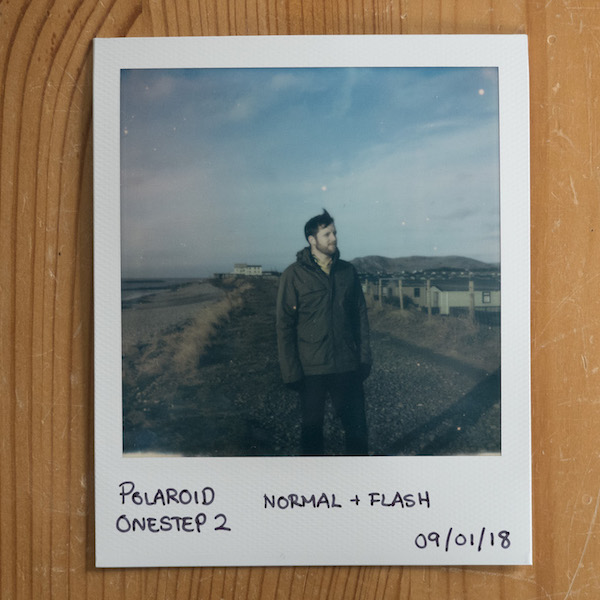
I realise that I might have ended up with a couple of dud packs, so I’ve ordered three more to see if I can achieve better results. I also plan to try shooting in warmer conditions since most of the shots you see here were either taken in cold conditions, or after I’d just left a cold environment. If I see a difference, I’ll be sure to update this article with my most recent findings.
Important tips to keep in mind:
- Once you’ve loaded a pack of film, use it up within 2 months for the best results.
- Keep your photos in a cool, dry place such a shoe box for 30 days after exposure. You can store the photos in an album or sleeve once the 30-day window has passed.
- Store your unopened film inside a fridge between 4 and 18°C. Let it warm up to room temperature for about an hour before shooting it.
- Clean the rollers of the camera with a soft cloth before loading a new film pack to avoid undesirable film defects. The rollers are found inside the film compartment.
What is the difference between i-Type and 600 film?
The OneStep 2 is compatible with two types of 600 ISO film. The first is the i-Type film designed specially for i-Type cameras like the OneStep2, and the second is 600 film, which works with both the new i-Type cameras and vintage 600 series cameras. Polaroid Originals recommends using i-Type because it is optimised for use with the OneStep 2.
The main difference is that the 600 type includes a battery pack whereas the i-Type doesn’t. This is because, unlike the OneStep 2 which you can charge via USB, old Polaroid cameras like the 600 series were powered by the battery inside the film pack. The 600 type film is also slightly more expensive, which is another good reason to choose the i-Type instead.
Note that for this review, I only used the colour i-Type film. I hope to try out the B&W version soon and perhaps write a dedicated article!
Conclusion
I’ve always loved Polaroid cameras and it’s wonderful to see that Polaroid Originals has revived the tradition with the new OneStep 2 instant camera. It looks and acts just like a vintage Polaroid yet benefits from its fair share of modern bells and whistles, such as the built-in battery powered via USB, LED light counter and a self-timer. And the price isn’t too prohibitive either, at around $100 US.
The only issue I have with the camera actually concerns the i-Type film. Not only is it expensive at approximately $2 per shot but it doesn’t render colours quite as well as I’d hoped.
If Polaroid Originals manages to improve the quality of the film, I can definitely see myself using this camera as much as my Instax Mini cameras, if only to have access to the wonderful square format and larger image area.
Check price of the Polaroid OneStep 2 on
Amazon | Amazon UK | B&H Photo
Enjoyed this post? Why not pin it!
