The other week, Fujifilm loaned us a sample of the X-A5 mirrorless camera to review, and it just so happened that the Instax SHARE SP-3 printer was included in the package along with the camera. Serendipitous, you might say, since I’ve been wanting to try the SP-3 for ages, and a few of you have been asking for feedback about it!
Up until then, I’d never used a wireless printer, so it was pretty thrilling to be able to print off some of my favourite digital shots in the style of an Instax. In fact, I’m even thinking of putting together a wall collage of my favourite prints at some point!
If you’re curious to know more about how I got on with the SP-3, I invite you to read the following review. In addition to my thoughts, I’ve also included a guide on how to use the printer in conjunction with the SHARE app and a Fujifilm digital camera. Enjoy!
Ethics statement: We were loaned the Fujifilm Instax SHARE SP-3 for review purposes. We were not asked to write anything about the printer, nor were we provided with any sort of compensation. Within the article, there are affiliate links. If you buy something after clicking the link, we will receive a small commission. To know more about our ethics, you can visit our full disclosure page. Thank you!
What is the Fujifilm Instax SHARE SP-3?
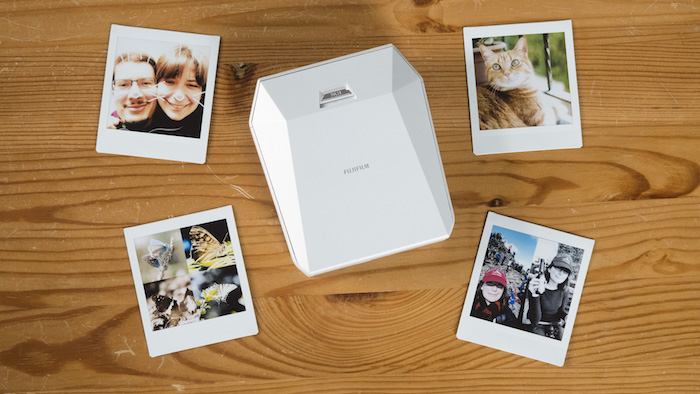
The Fujifilm Instax SHARE SP-3 is the third model in Fujifilm’s range of Instax printers. Like the previous models, it lets you print off shots directly from your smartphone or compatible Fujifilm X-Series camera, which you can then place inside a photo album, share with friends or put on display. Unlike the SP-2 which only accepts Instax Mini film, the SP-3 uses the larger Instax Square format.
How to Load Film into the SP-3
Before you even think about printing off your first picture, you must properly load a pack of Instax Square film into the SP-3. Thankfully, there aren’t many steps, and they’re super easy to follow as you’ll see below!
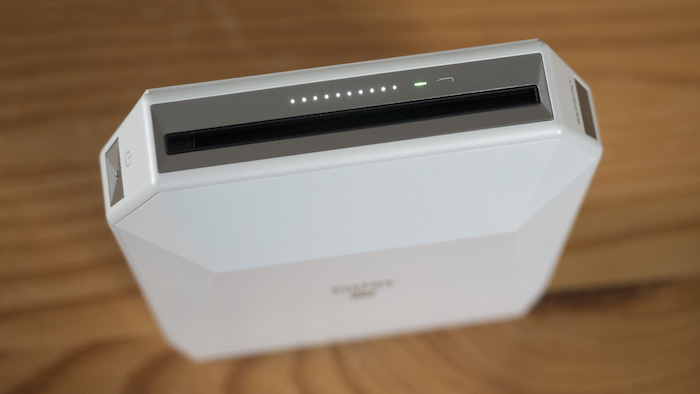
First, make sure that your printer’s battery is fully charged and loaded inside the printer. As with most recent products from Fujifilm, you can charge the printer via USB. A fully charged printer should display a green light on top like in the picture below. (You can find out more about the battery at the end of this article.)
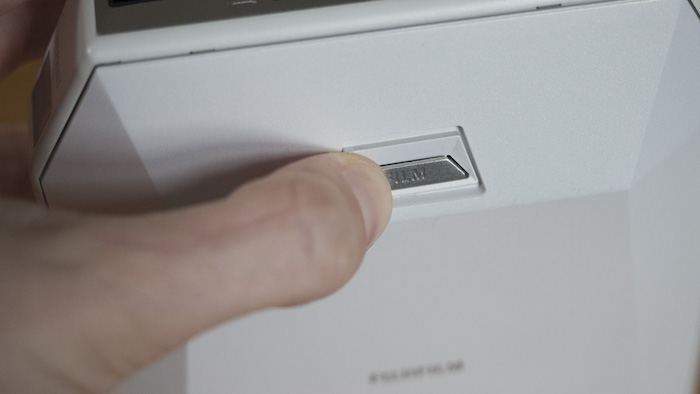
Next, you’ll want to open the film door. You can do this by firmly pressing the silver Film button and sliding it down at the same time. Admittedly it can be bit tricky to open but Fujifilm has done this on purpose so that you don’t accidentally open the door with unexposed film inside.
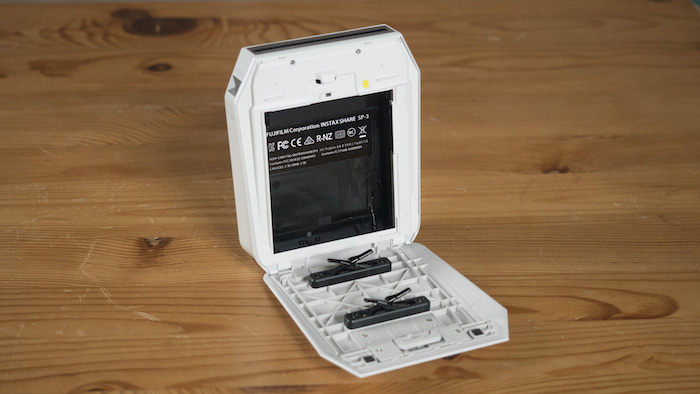
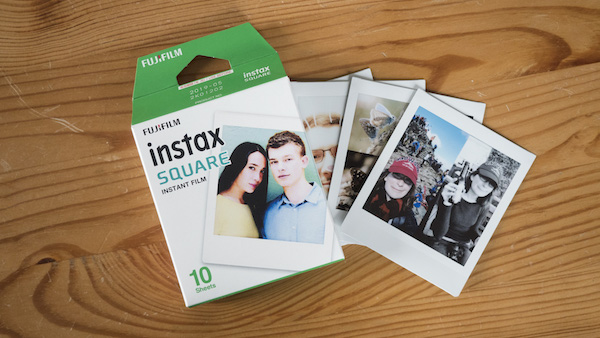
Next, open the Instax Square film box and carefully tear open the sealed package, making sure to hold it by the edges. Do not touch or apply pressure to the central area, as you might damage the film before you start using it.
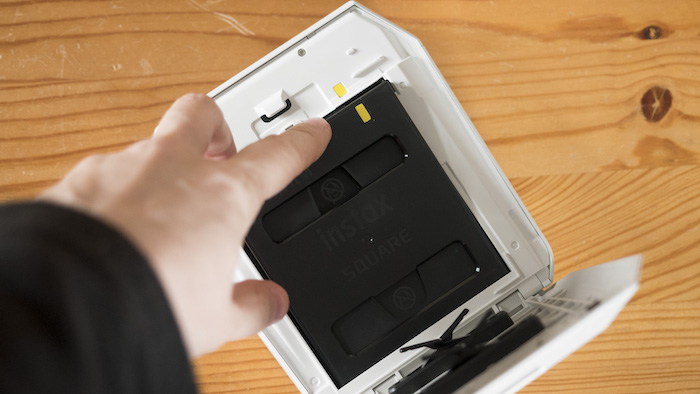
Then, gently slide the unused film pack into the printer, making sure that the yellow sticker on the film is aligned with the identical yellow sticker on the printer.
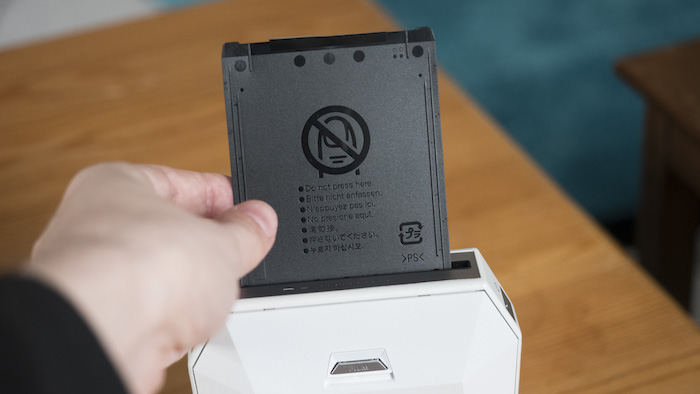
Once the film is firmly lodged inside, you can close the door. The printer should eject the black film slide that protects the unexposed prints almost instantaneously.
Congratulations – you’re now ready to start taking pictures with the SP-3!
How to Use the Instax Share SP-3
There are two ways of controlling the Instax Share SP-3: either via the Instax SHARE printer app on your smartphone or your Fujifilm X-Series camera. Since most of you are probably printing from a smartphone, let’s have a look at how to use the app first!
Printing Photos with the Instax SHARE Printer App
You can download the Instax SHARE app for free from the App Store (Apple) or Google Play (Android). When you download it, make sure to give it authority to take a picture, select photos and use the real-time template. Otherwise you may find that certain features don’t work as they should.
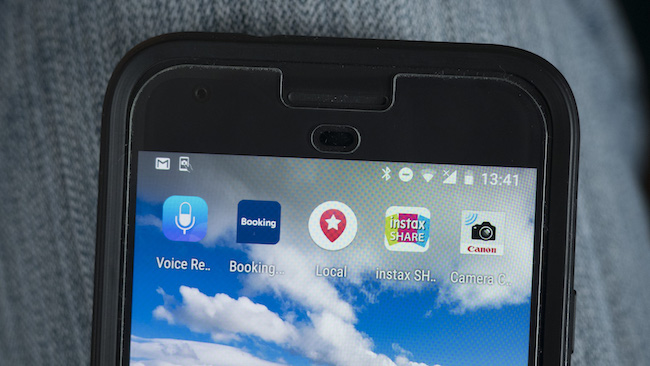
Now that you’ve downloaded the app, it’s time to browse through the various options on the main screen.
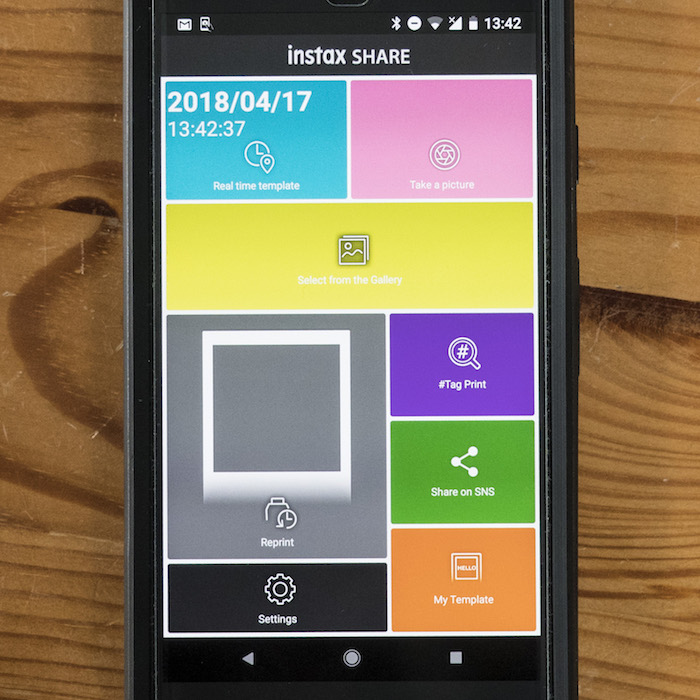
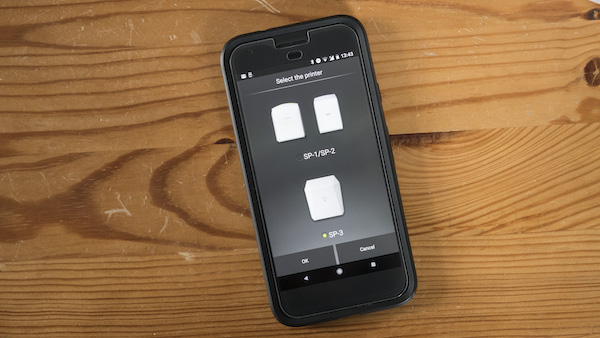
Before you do anything else, head into the Settings menu. This is where you can select the appropriate printer (Printer Model setting) and subsequently connect the smartphone to the printer (Printer setting). Below you can see that I’ve selected the SP-3 rather than the SP-1 or SP-2.
To connect the two devices, simply turn the printer on, press ‘printer setting’ in the Settings menu, and the smartphone will start searching for a printer. The process of searching and connecting generally shouldn’t take much longer than 10-15 seconds. Note that it may fail to connect the first time if you’ve only just turned the printer on.
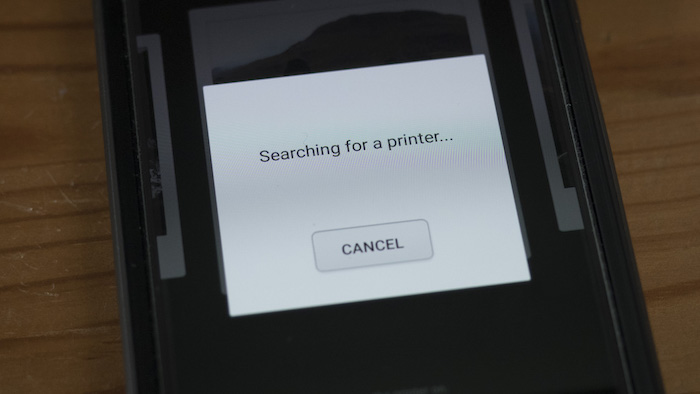
Once it has found your SP-3, you will be able to start using the Share app. Don’t panic if the printer asks you for a password: the default is always 1111. (You can change it to something more secure in the Settings menu later on if you wish.)
Now let’s dig into some of the options the Share app has to offer!
Real-time Template
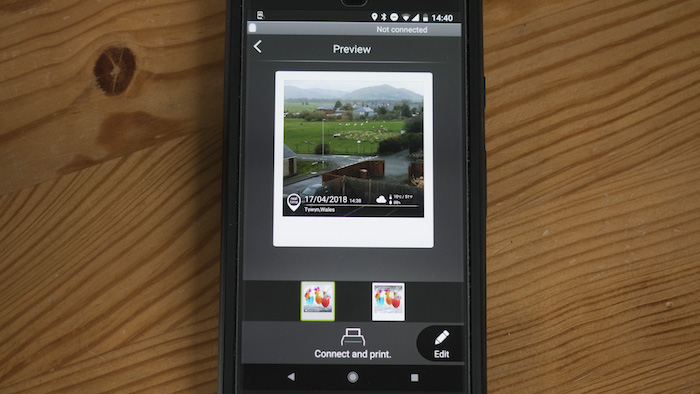
Real-time Template is all about capturing the moment. Let’s say you’re on vacation with your friends, it’s a gorgeous day, and you want to record that perfect instant in time with an Instax photo. Well, all you have to do is open up the Real-time Template while connected to 3G/4G or WiFi, take a shot, and the printer will overlay it with the date, time, location, weather, temperature and humidity.
(I know, the example below was taken on a pretty miserable day here in Wales – perhaps I should give it another go when the weather brightens up! 🙂 )
Take a Picture
The Take a Picture option is the same as the Real-Time option with the exception that the app doesn’t provide the information overlay. This option is ideal if you’d rather not overcomplicate your photos with text.
Select from the Gallery
Here’s the option that you will probably end up using the most. By choosing Select from the Gallery, you can browse through photos stored in your smartphone’s memory or on social media (Facebook / Instagram / Flickr / Google Photos and Dropbox).
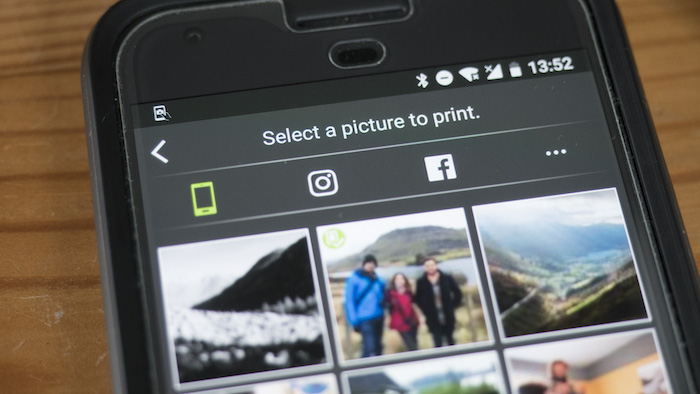
Now, there are lots of options here, so I’m not going to go into all of them – just the few that I personally found lots of fun to use.
After selecting a photo from your smartphone’s gallery, you are presented with three options: Template, Print and Edit.
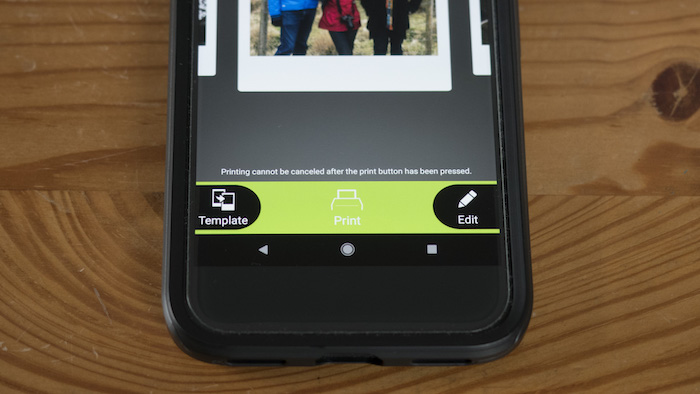
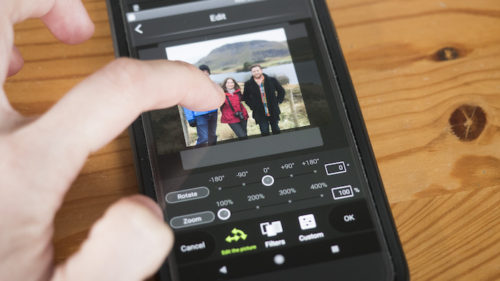
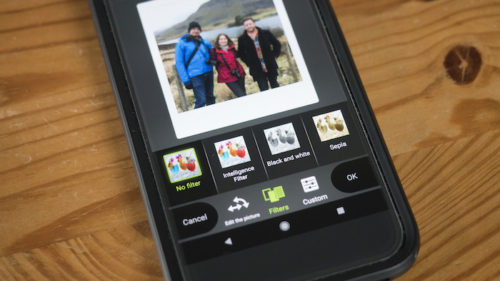
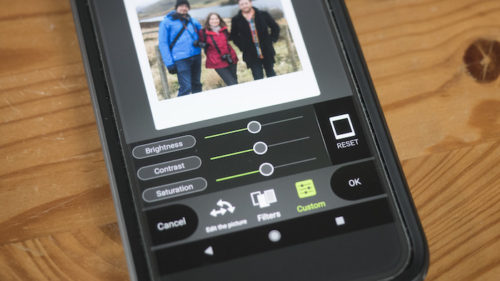
If you choose the Edit, you can edit the picture (zoom in and out / rotate / change cropped area), add filters (black and white, intelligence filter, sepia), and make custom adjustments (brightness, contrast, saturation).
- Edit the photo
- Add a filter
- Make custom adjustments
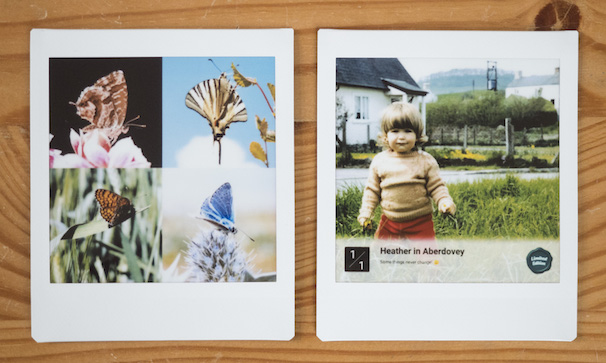
If you choose Template, you’ll be presented with three options: Template (either Standard or Limited Edition), Collage (make a collage of images), and Photo Split (split one image into two prints). Below you can see examples of how I used the ‘four-image collage’ for my butterfly photos, and the ‘limited edition’ template for the photo of myself as a kid.
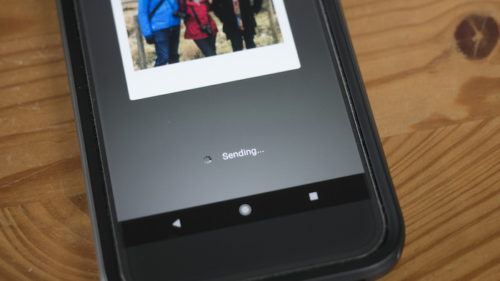
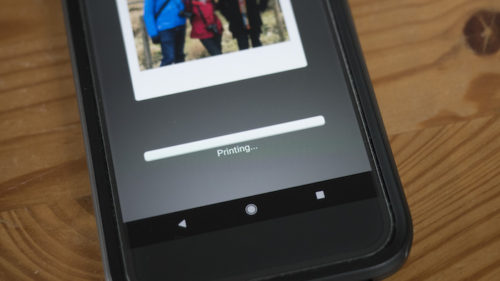
Print is pretty self-explanatory: by pressing the button, the app will connect to the printer and print off your chosen image. On average, it takes anywhere between a minute or two for the image to develop.
- Sending the image
- Printing the image
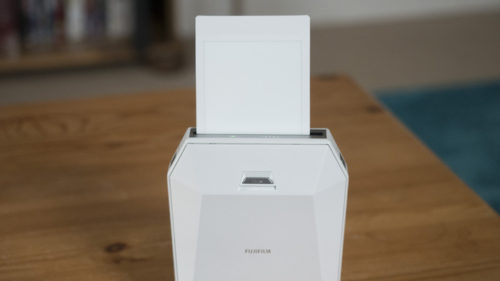
- The final print emerges!
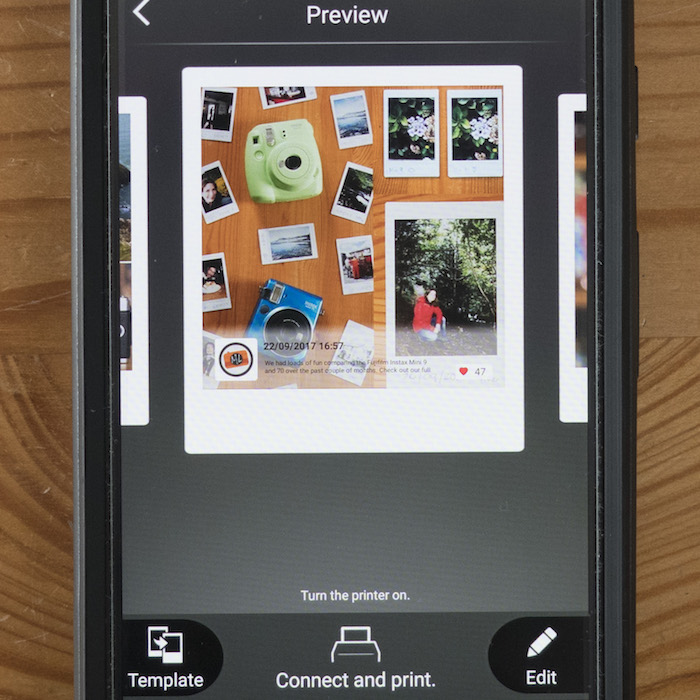
A unique feature you get when printing off images from your social media accounts is an information overlay showing your profile picture, the number of likes the photo received, the date it was posted, and so on.
#Tag Print
With this option, you can search for photos to print by typing in a hashtag that interests you. Because these photos were taken by other people, you won’t be able to overlay them with information in the same way as when printing off your own Instagram photos.
Share on SNS
This is simply a shortcut that lets you share the digital versions of your Instax prints on your social media channels.
Reprint
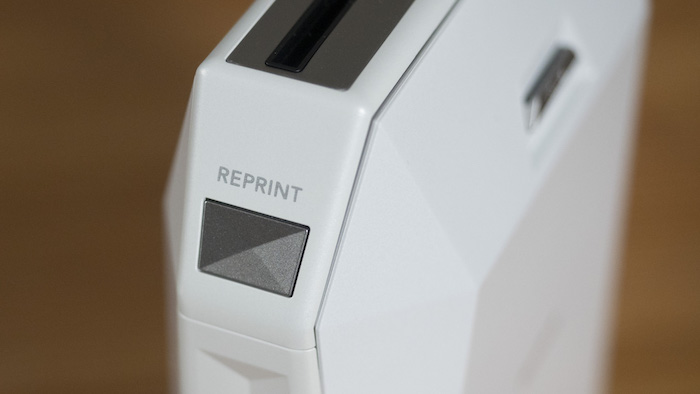
With this feature, you can reprint any shot without losing the template you selected and/or edits you applied. Note that you can also reprint the last image you took directly from the printer by pressing the “Reprint” button on the side.
My Template
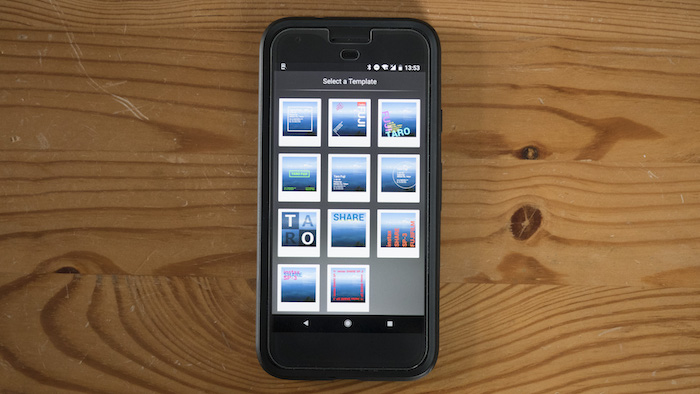
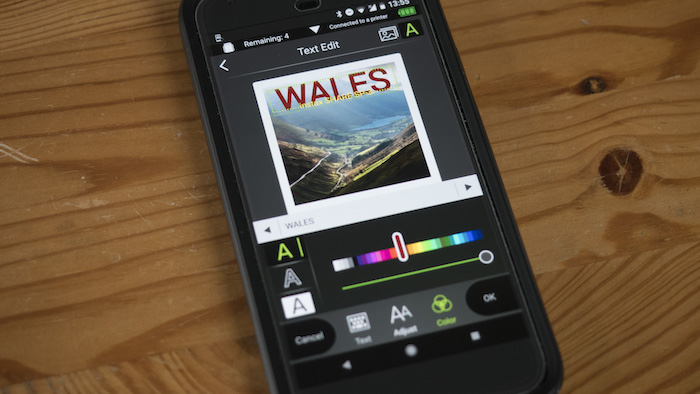
This final option gives you a range of 11 different text templates to choose between. To be honest, none of them really appeal to me for a couple of reasons.
First, there isn’t much scope for editing the size, position and font of the text. For example, it would be better if you could choose the positioning of the text by dragging it around the screen with your finger.
Second, I find that the default templates cover up too much of the image, so you almost always have to adjust the size of the text using the editor.
But don’t take my word as gospel – you might enjoy them more than I do!
Printing Photos with a Fujifilm X-Series Camera
Another way to print off photos from your SP-3 is to connect it to a Fujifilm X-Series camera that supports SHARE printers. The steps are pretty simple as you’ll see below.
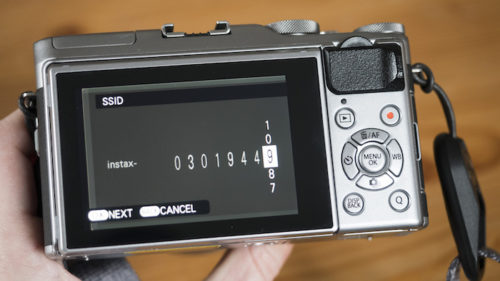
First, go into the Connection Setting sub-menu and scroll down to Instax Printer Connection Setting.
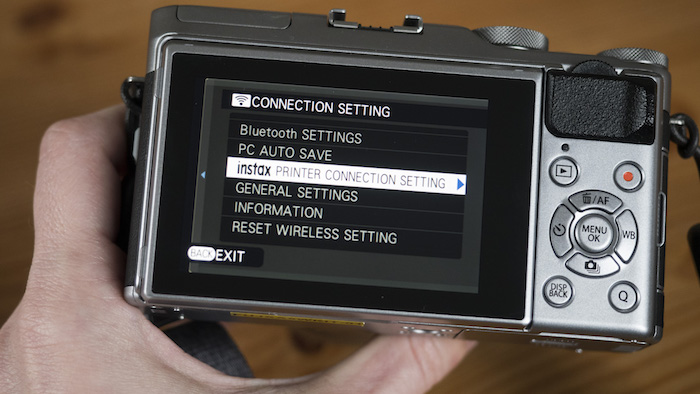
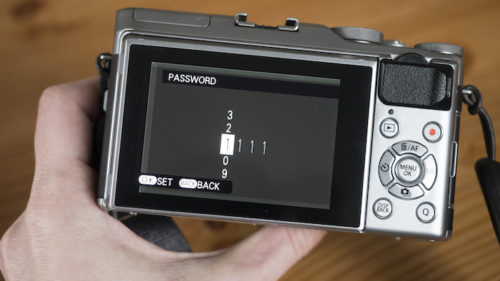
Here you’ll be prompted to insert the SSID followed by the password. You can find the former on the bottom of the printer whereas the latter is 1111 by default.
- Insert SSID (found on the bottom of your printer)
- Insert password (the default is 1111)
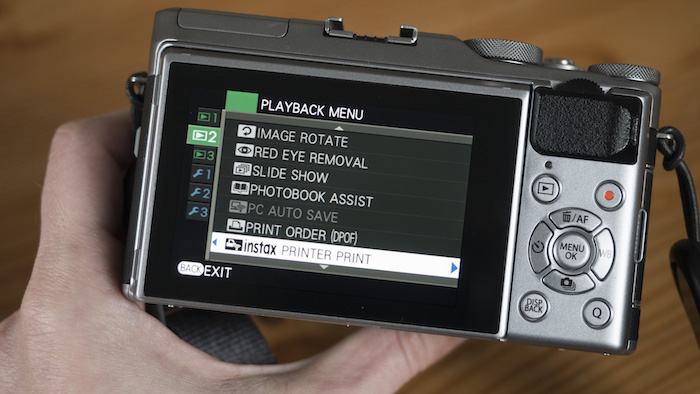
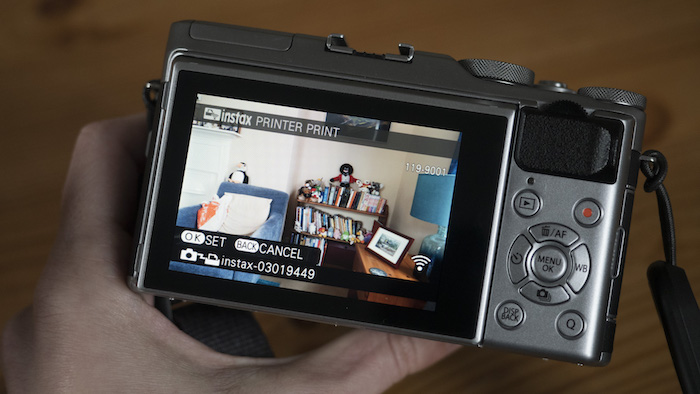
Finally, click on Instax Printer Print in the Playback Menu, select the shot you wish to print, and press OK to send the photo to the printer.
Instax Share SP-3 Film: Instax Square
When you first go to use your SP-3 printer, always make sure that you’re using the right film. People often email me asking why their film doesn’t fit inside their Instax product – be it a camera or printer – and it’s almost always because they’ve accidentally bought the wrong size.

The SP-3, unlike its predecessors, uses the Instax SQUARE film which is square in shape (as the name implies) and quite a bit larger than Instax Mini film. The actual measurements are as follows: 62mm x 62mm (image size) and 86mm x 72mm (film size).
Each pack of Instax SQAURE film comes with 10 shots, so you’ll want to use them sparingly as each shot is worth the equivalent of around 80 cents to a dollar. I’ve found that it can take an image anywhere up to five minutes to full develop but generally it will look fairly rich and vibrant within two minutes. As with all Instax film, try to keep it out of direct sunlight as it develops and avoid using it in extreme temperatures.
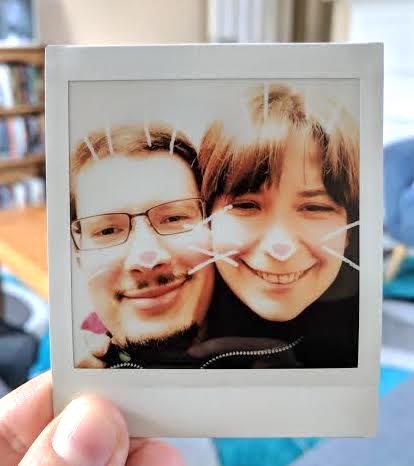
Overall the film does a good job of faithfully reproducing the colours, tones and white balance of your original image. However I would avoid printing off images with lots of bright highlights, as the film doesn’t seem to handle them as well as shadows. A good example is the following selfie I took with Mathieu: in the digital version, you can clearly see more detail than in the final print.
- Digital image taken with Google Pixel phone
- Final print
Instax Share Printer Battery
As we mentioned above, the SP-3 uses Fujifilm’s NP-50 battery which takes about three hours to charge from empty. Because the printer can be charged via USB, you can leave the battery inside the compartment at all times.
If the battery is empty or close to empty, the LED light on top of the printer will turn red, whereas a sufficiently charged battery will display green. Orange will display if the battery is half-charged.
Fujifilm claims that on average, the battery should last for 160 shots and I have to say that in the two weeks I’ve been using the printer, I haven’t had to recharge it once.
Conclusion
The Fujifilm Instax SHARE SP-3 printer is an extremely fun and easy tool to use if you like the look of Instax photos but want the assurance that the images you print are actually keepers, not duds that will end up in the bin. The concept is completely opposite to that of Instax Mini or Wide prints, which, more often than not, don’t turn as you envision due to improper exposure or a misjudged composition. At around $180, it isn’t a cheap product but at least you know that every print you create will be one for the album.
What I like about the Instax Share SP-3:
- very easy to connect to your smartphone
- sleek and minimalistic design with easy-to-use controls
- takes larger Square format rather than Mini film
- you have a pretty good idea of what your final shot will look like even before you print it
What I don’t like about the Instax Share SP-3:
- I’d like to see more template options in the SHARE app
- the film doesn’t handle bright highlights very well
- a little on the expensive side (but at least you know that every shot you print is worth keeping)
Check price of the Instax SP-3 on

Sp2 or sp3? Is sp3 wide films easily available at airports?
Not sure if you can buy it at airports, sorry!
well well iget now error printingo on bot apple iphone or android it does not rpint at all anyone knows why? sp3 brand new
now i get error on both iphone or android picture could not be printed on a brand new sp3 wow anyone knows why?
Do you mean could not connect to the printer? For Android I had to enable GPS and enable all permissions from Android app settings.
I did buy one of these… Honestly there’s a few things I don’t like. Here’s what they are:
– Colors and highlights are usually slightly off, and sometimes very far off
– Have to disconnect from the wifi connection you’re using so you can connect to the printer via that wifi. That’s just kind of silly, but it’s annoying too in case you want to do something other than print, like download a file or use the internet.
– The printer turns off automatically after a very short period of time if no print jobs are sent. This is dumb; I think as long as someone has the app open, the printer should remain on – its kind of obvious that the user is making edits or deciding what photo to choose.
With these shortfalls, it’s kind of a toss up for me on whether I really enjoy it and feel it’s worth the cost; it’s a cool device and I like the square photos (totally retro polaroid-style and more unique than what everyone else is doing), but I’m still left a bit unsatisfied with my purchase. I’ll be keeping the device, but again, possibly, with a slightly heavy heart. Maybe this will change after I start using it more and get some positive feedback from those around me that I give photos to.
For anyone considering buying one of these. I think the biggest thing to take into consideration is do you want square photos that are retro polaroid-style. If you do, this is pretty much your only option, and it’s a decent one. If that’s not so important to you, then you should absolutely consider something else that’s less expensive to buy and operate, smaller, and has more features. This is what I would tell a friend.
I learned more about this post than the manual it came with!! When using the real time template, is there anyway to save the picture without printing it right away? I love the concept but won’t be carrying the printer with me every where I go.