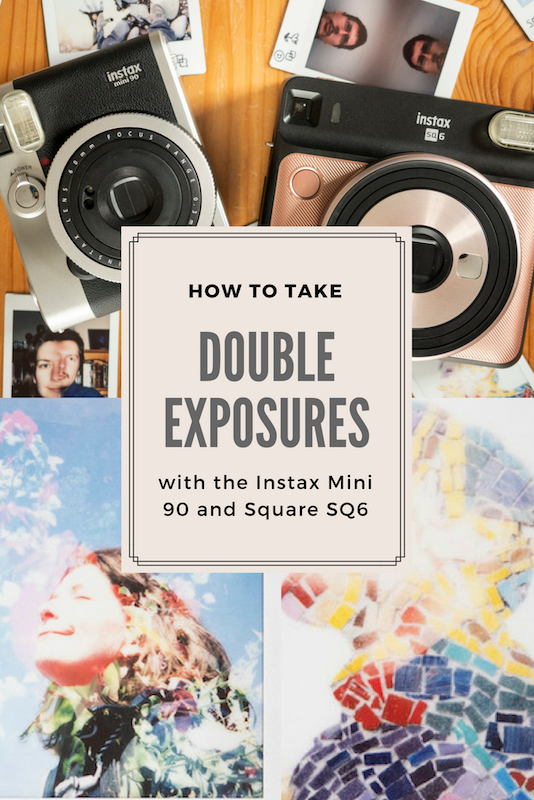
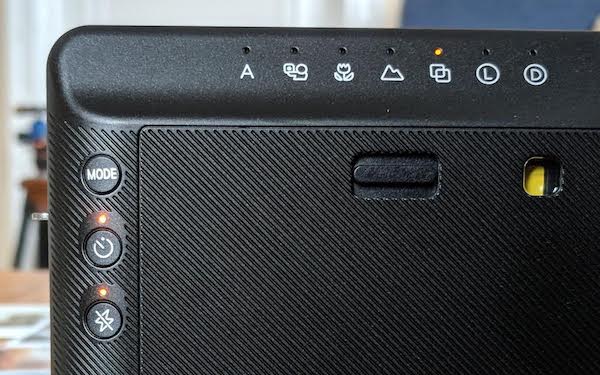
One of the most interesting, and at the same time, most challenging modes you can find on the Instax Square SQ6 and Mini 90 is called Double Exposure, represented on both Instax models by an icon featuring two overlapping squares.
I’ve been playing around with this mode for a while now, so I thought I’d share some tips and tricks on how to use it most effectively.
What are double exposures?
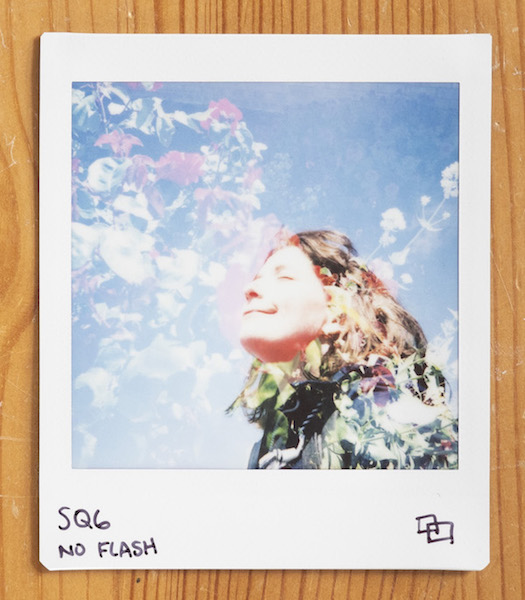
In film photography, double exposures are created by exposing a single slide of film twice. The second image is superimposed onto the first, resulting in a single image made up of two different compositions.
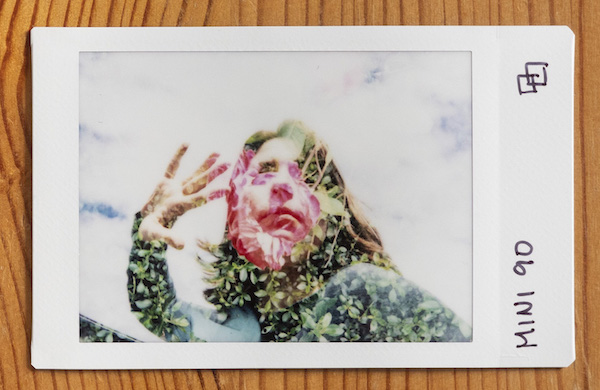
A self portrait combined with a rose bush.
The best (and worst) part about double exposure photography is that the final result remains a complete mystery until the film has developed. Granted, there’s nothing quite as exciting as seeing your photo emerge just as you had envisioned, but if you’re anything like me, you’ll easily end up going through a full pack of film to achieve that result!
How to take double exposures with the SQ6 and Mini 90
The process behind taking a double exposure is more or less the same on both cameras.
Once you’ve selected the ‘Double Exposure’ setting on the rear, simply choose a subject and take the first exposure by pressing the shutter button. Then, repeat the first step with a different subject and wait for the film to eject.
A double exposure of Mathieu holding up a miniature version of himself.
An advantage the Mini 90 has over the SQ6 is that you can combine additional modes with the double exposure mode, giving you more control over the final result.
Below are the modes you can use in conjunction with Double Exposure:
- Macro: choose this mode if you want photograph subjects that are 30-60cm away
- Suppress flash: choose this mode if there is already enough ambient light in your scene
- Red eye flash: choose to minimise the “red-eye” effect in people and animals
- Forced flash: choose this mode if you definitely want the flash to fire
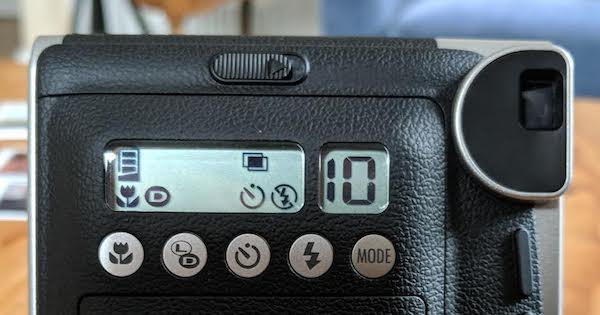
- Timer: gives you 10 seconds to place yourself in the frame
- L/D: allows you darken or lighten the exposure
Double exposure combined with macro, darken, timer and suppressed flash
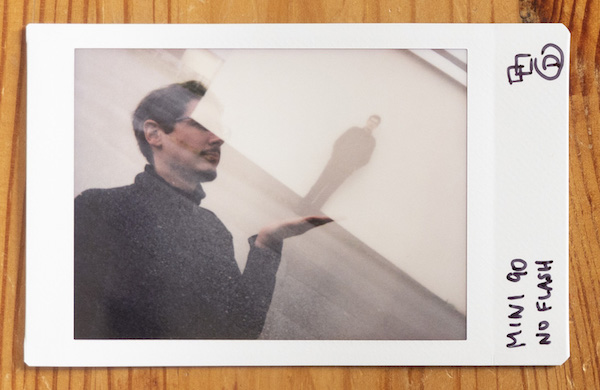
With the SQ6, you have to be more careful when choosing your two subjects because you cannot combine Double Exposure with the other modes. (The only exceptions are the flash, which you can suppress at any time, and the timer, which can be used in any mode.)
Double exposure combined with timer and suppressed flash
For example, it is best to avoid macro subjects because the default focus range in double exposure mode is 50cm to 2m. Likewise, you probably don’t want to be photographing bright landscapes because a) you can’t darken the exposure and b) the default focus range is too short.
Example #1: The silhouette
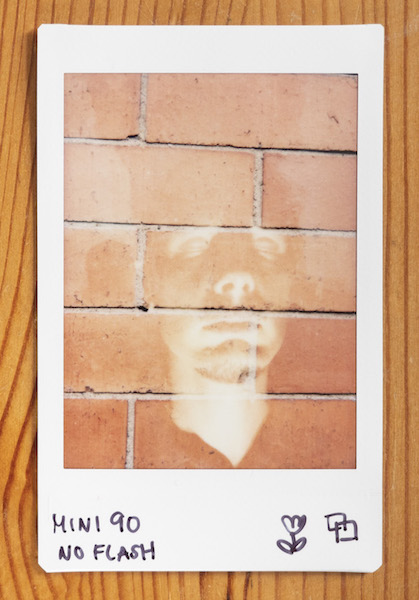
The easiest kind of double exposure you can take with the Instax Mini 90 and SQ6 is a silhouette combined with a repetitive pattern or texture of some sort.
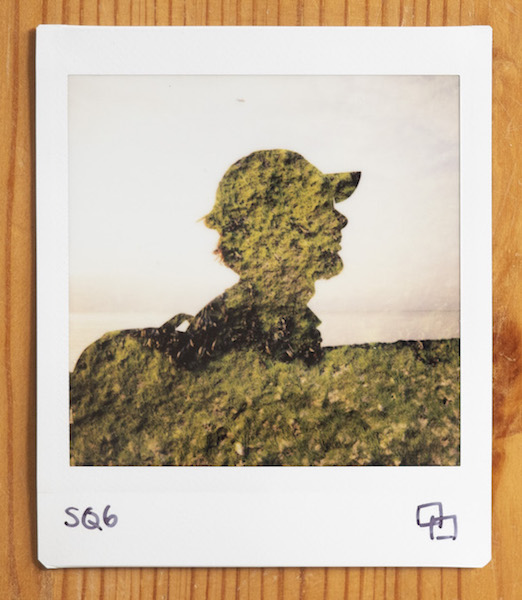
Silhouette of Mathieu’s profile combined with seaweed on a groyne

Silhouette of Mathieu’s profile combined with wall art
Start by photographing the silhouette against a bright background such as the sky or a white studio backdrop. The silhouette should be something with an interesting, well-defined shape such as a person’s profile or a hand.
Then see if you can find an appropriate pattern for the second exposure. I’ve found that flower beds, brick walls and pebbles on the beach all work well. Try to avoid patterns with too many bright patches as they can wash out the edges of the silhouette.
Silhouette of Mathieu against a stoney beach. Note how the white rocks wash out some parts of the silhouette.
Example #2: The ghost
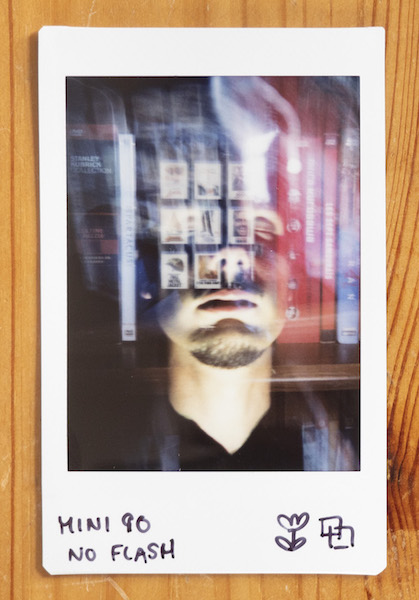
For this kind of double exposure, the goal is to combine a strongly illuminated subject such as a person’s face with a dark background to create a ghostly effect.
Have your subject sit in a very dark room with an intense single light source illuminating his or her face. For this example, we used the light from two smartphones to illuminate Mathieu’s facial features.
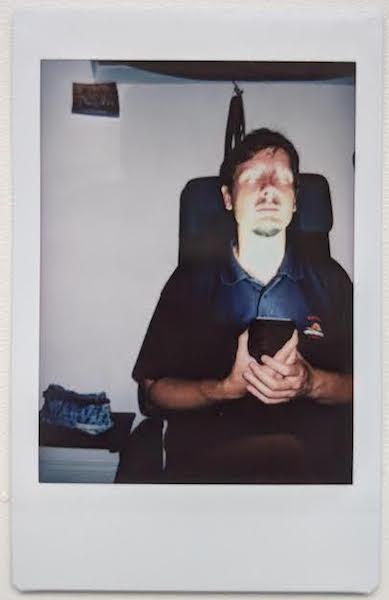
Mathieu using two smartphones to illuminate his face.
Place the camera on a tripod, suppress the flash and take the first exposure. You may want to use the Macro mode on the Mini 90 if you decide to fill the frame with the person’s face.
The streaky lines are due to the fact that I accidentally moved the tripod during both exposures. I actually kind of like the result!
Then find a second subject that is fairly uniform such as the DVD shelf in example above or the brick wall in the example below and take the second shot, preferably without the flash if there is enough ambient light.
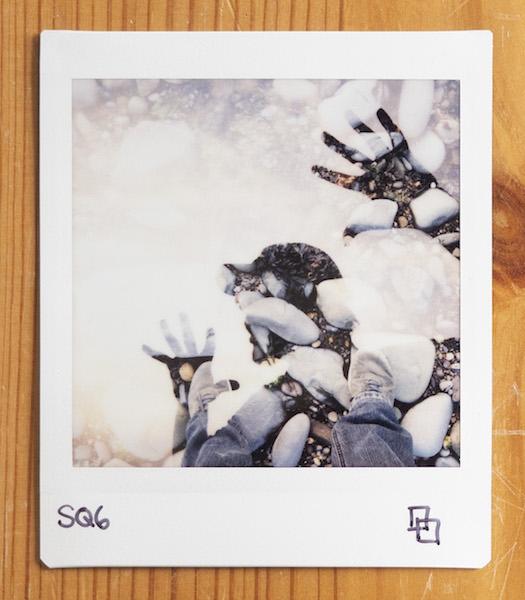
Example #3: Double trouble
Have you ever wanted an identical twin? Well, with this double exposure technique, you can have one – almost!
Simply place the camera on a tripod in front of an interesting background, position your subject at the edge of the frame, and take the first shot. Then, reposition your subject so that it appears in a different area of the frame and without moving the tripod, take the second shot. In the final image, the subject will appear twice in two different areas of the same frame.
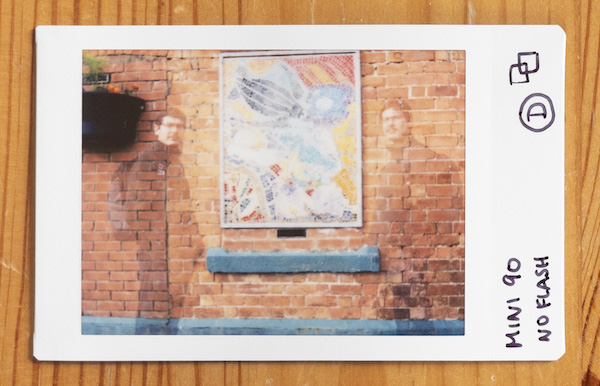
Mathieu appearing on either side of the wall art used in the silhouette example.
With either camera, you can use the ten-second Timer mode to enter the frame yourself. Just make sure you know exactly where to stand before you press the shutter button!
Example #4: Mirror image
For this kind of double exposure, the goal isn’t to overlay two images. Rather, you want two different images to appear in the lower and upper halves of the frame. You can achieve this by covering one half of the lens for the first shot, and the other half for the second.
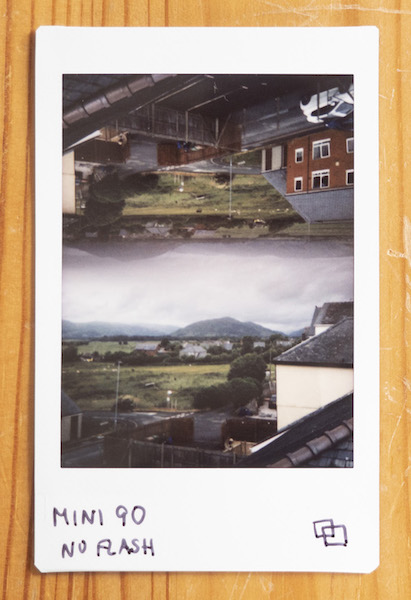
A mirrored landscape image.
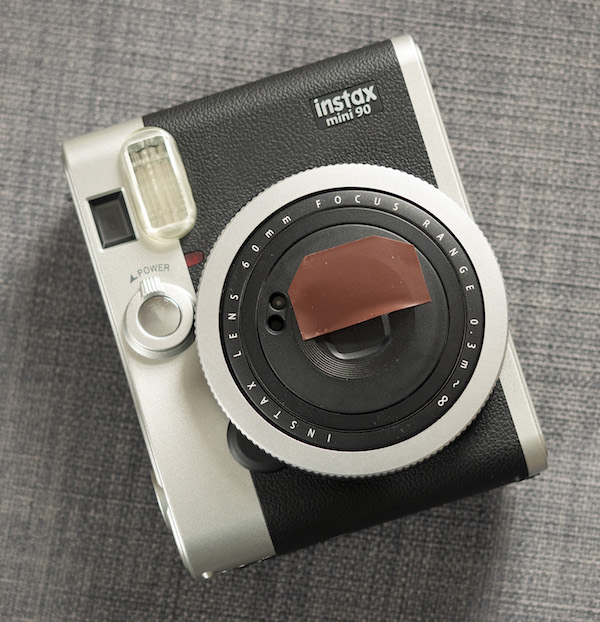
Start by cutting off a small strip of black tape and placing it over the top half of the lens so that it covers just a little more than half of the front element. Also make sure to avoid covering the light meter (the two holes on the lens) as you don’t want to throw off the exposure.
Take your first shot, making sure to leave some space above the subject. Then, move the strip of tape to the bottom half of the lens and flip the camera upside-down. Take the same shot, making sure once again to leave some space.
As you can see below, the result is a mirror image connected by the negative space left around the subject.
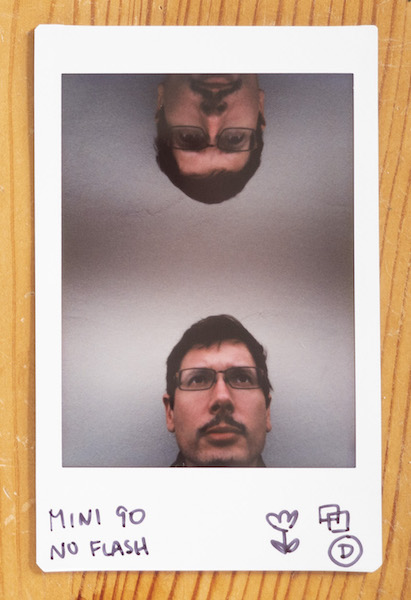
A mirrored image of Mathieu. The negative space (white wall) connects the two images.
Of course, this is just one of many ways to create a split image. Instead of splitting the upper and lower halves, try experimenting with the left and right sides of the frame or doing a diagonal cut. You can also try photographing completely different subjects – it’s up to you!

A split image of Mathieu and me. Kinda creepy!
Conclusion
I hope this article has inspired you to start experimenting with double exposure photography on the Mini 90 and SQ6. As you can imagine, there are many other techniques you can try but hopefully these ones are enough to get your creative juices flowing!
My favourite double exposure so far!
By the way, I admit that I too am still fairly new to the genre, so I’ll continue to update this article as I discover new and interesting techniques. (And if you have any advice or tips to share, I’d be more than happy to hear from you!)
Enjoyed this article? Why not pin it!