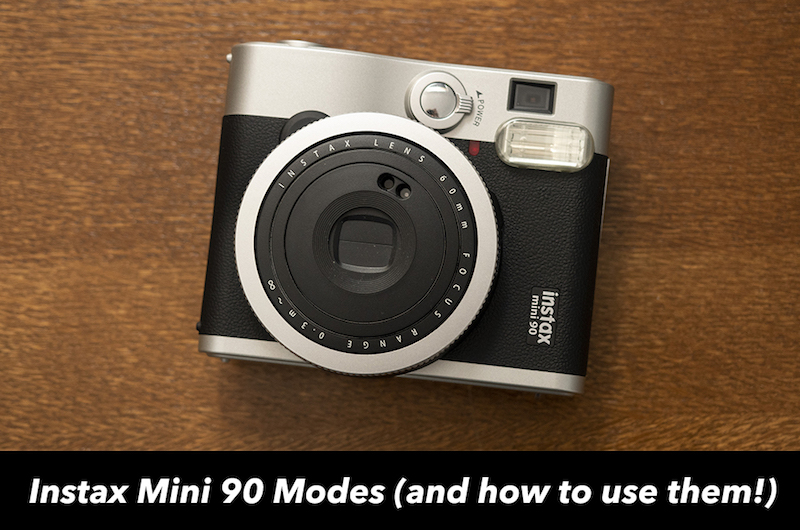
The Instax Mini 90 Neo Classic is the premium model in the Mini range and despite being released nearly five years ago, it hasn’t yet been succeeded by a newer model. Unsurprisingly it is also is the Mini camera with the broadest range of shooting modes. Not only do they help users gain more control over the final prints, but they also allow for added photographic creativity.
In this article, I’m going to go through the various Instax Mini 90 modes and explain how to use them each most effectively. I hope you find these tips and tricks useful!
Lighten / Darken Mode
The Lighten / Darken Mode is one of the most useful modes the camera has to offer because it can be combined with any of the other modes except for Bulb.
So, what does it do? Well, it lets you manually brighten and darken the exposure of any image by 2/3EV. What’s more, there is an additional Lighten+ option that raises the exposure by a full stop.
This means that if you find yourself in a situation where you’d like to brighten the image without resorting to the flash, or darken the image in very sunny conditions, you can do so without worrying about it turning out over or underexposed.*
Below you can see the difference in exposure for a shot taken indoors in the evening of a subject located about a meter and a half away from the camera.
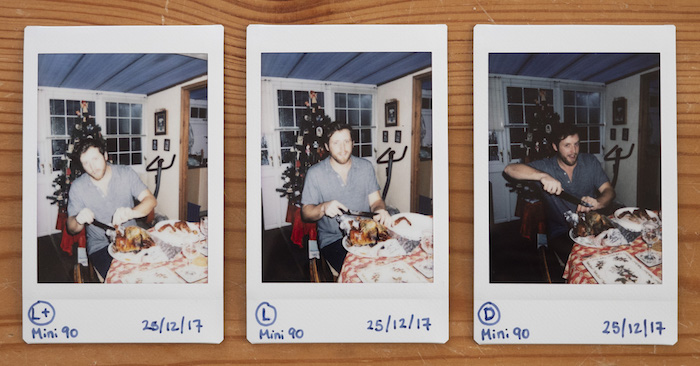
Lighten+, Lighten and Darken
*If the scene you’re photographing is extremely dark or light, this mode may still not be enough to compensate. In general, it is best to avoid all extremely bright scenes because the camera’s fastest shutter speed and slowest aperture aren’t enough to prevent overexposure. Dark scenes should also be avoided in situations where the flash isn’t powerful enough to illuminate the subject, such as a landscape or cityscape at night.
Normal Mode
This is the default mode the camera uses when you turn it on. It has a focus range of 60cm to 3m and will always cause the flash to fire unless you choose to suppress it.
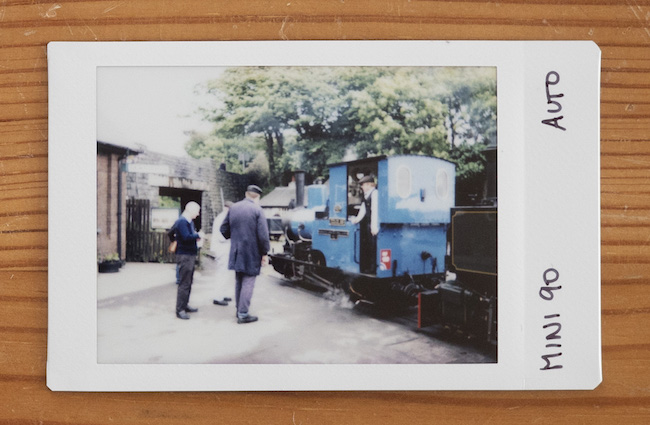
Note that the camera will reset to this default setting even if you were using other modes before turning it off.
Flash Mode
With four different Flash Modes, the Mini 90 has the richest selection of any Mini camera to date.
The default mode is Auto which lets the camera decide when to trigger the flash. I’ve found that in most cases, it will err on the side of caution and fire.
Red Eye reduces the red eye effect that occurs in photos taken with flash, Forced Flash forces the flash to fire in all situations and Flash Off suppresses it.
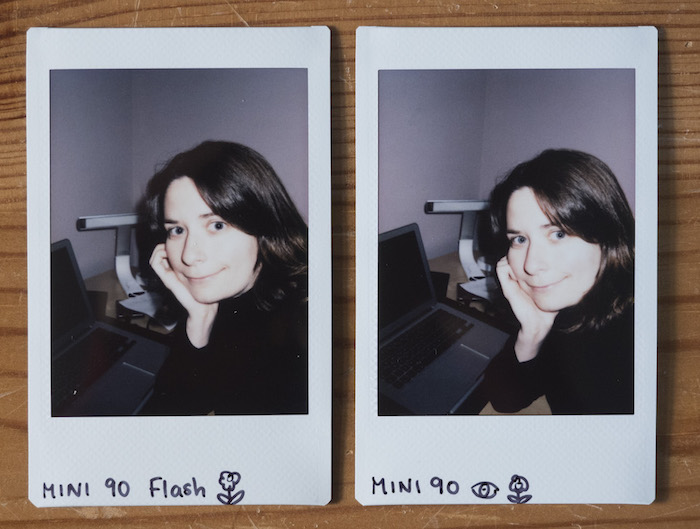
Normal Flash vs Red Eye Flash
The only modes that don’t let you suppress the flash are Party and Kids which we’ll talk about further down.
Macro Mode
The Macro Mode is useful because it brings close objects into focus by reducing the focus range to 30cm to 60cm. In this mode, the camera closes the lens’ aperture down to f/22, so you’ll definitely want to make sure the flash is firing in low-light situations. Alternatively you can use the Lighten or Lighten+ modes if there is enough ambient light in the room.
For the shot below, I chosen Darken instead because the ambient sunlight was very intense.
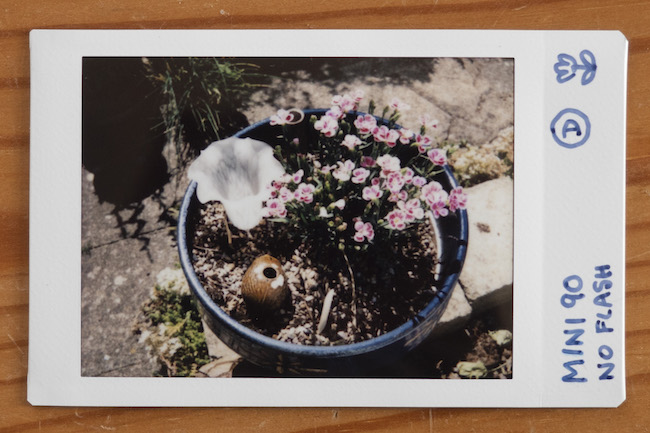
Macro can be combined not only with Lighten/Darken but also Bulb and Double Exposure, so there is lots of room for experimentation!
Party Mode
The job of the Party Mode is to make the background look brighter when using the flash to photograph a clear subject in a dark room. It does this by keeping the shutter open for longer than it would in Auto mode, letting in more light as a result. The flash always fires to freeze the subject and reduce motion blur.
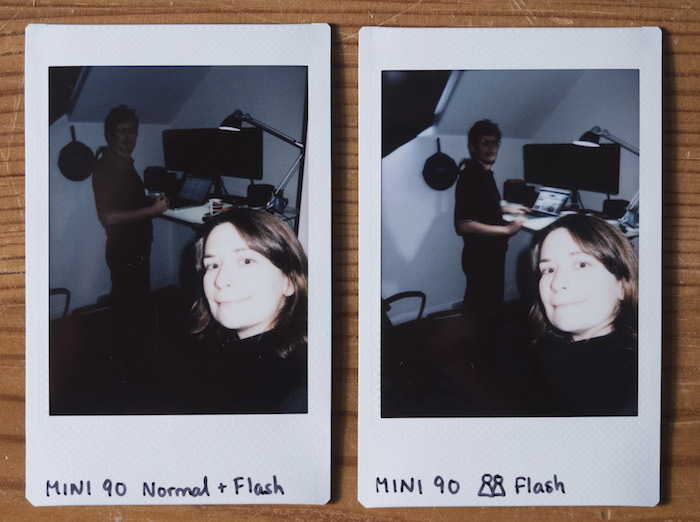
Normal (with flash) vs. Party Mode
Kids Mode
Capturing moving subjects is never easy, which is why Fujifilm has given the Mini 90 a Kids Mode. It forces the camera to use the fastest shutter speed possible – which is 1/400 of a second on the Mini 90 – to reduce motion blur. While this speed is usually enough for kids and pets, it is still too slow for fast moving subjects such as cars or trains.
Below is an example of me spinning around in a circle, first with Normal Mode and then with the Kids Mode. As you can see, the Kids Mode appears to have used a higher shutter speed to capture the action, which is why the background isn’t as blurry as in the Auto example.
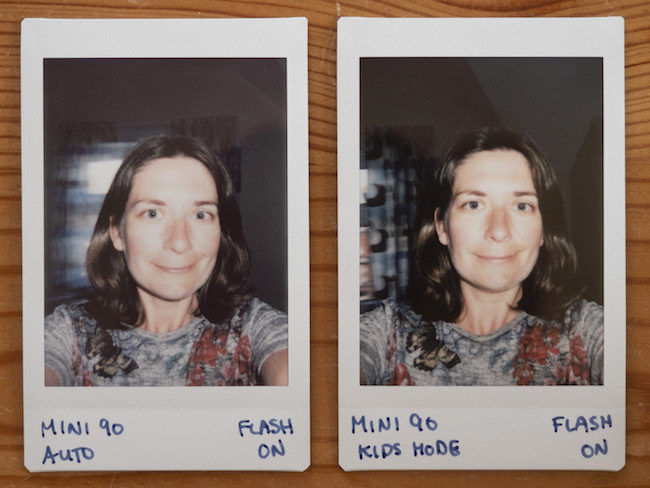
For the best results, use this mode in low-light indoor conditions or on cloudy days. By the same token, try to avoid sunny conditions as your images could turn out overexposed. One way to combat this is to combine Kids Mode with Darken, which reduces the exposure by 2/3EV.
Landscape Mode
The Landscape Mode is pretty self-explanatory. It brings all elements in the distance into sharp focus by changing the focus range to 3m to infinity. As you can imagine, you’ll mostly want to use it for landscapes and cityscapes but it’s also a good choice for full-body portraits if your subject is more than 3m away.
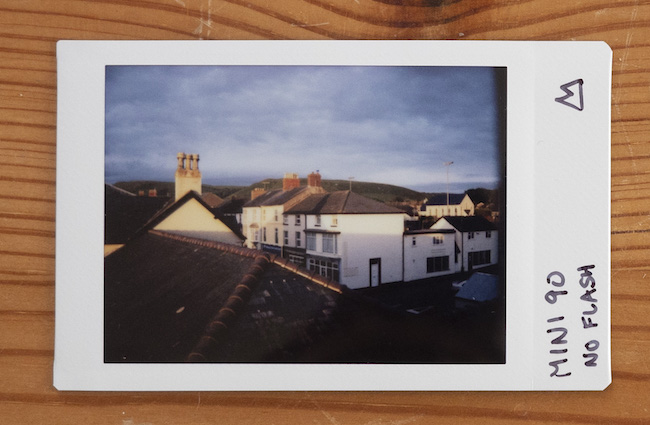
Landscape mode
Double Exposure Mode
Here we have my favourite mode on the Mini 90: the Double Exposure Mode. By pressing the shutter button twice, you can superimpose two completely different images in a single shot. For even more creative flexibility, try combining this mode with other modes such as Lighten, Darken and Macro and see what kind of results you get. I can guarantee the fun is endless!
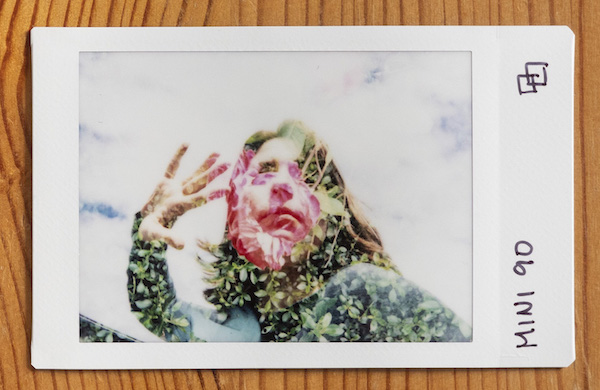
>> Find out more about this mode in our Double Exposures article!
Timer Mode
The purpose of the Timer mode is to delay the shot by ten seconds. This gives you sufficient time to press the shutter button and jump into the shot if the camera is on a tripod. In poor light, it is also helpful if you want to prevent motion blur caused by your finger pressing the shutter button.
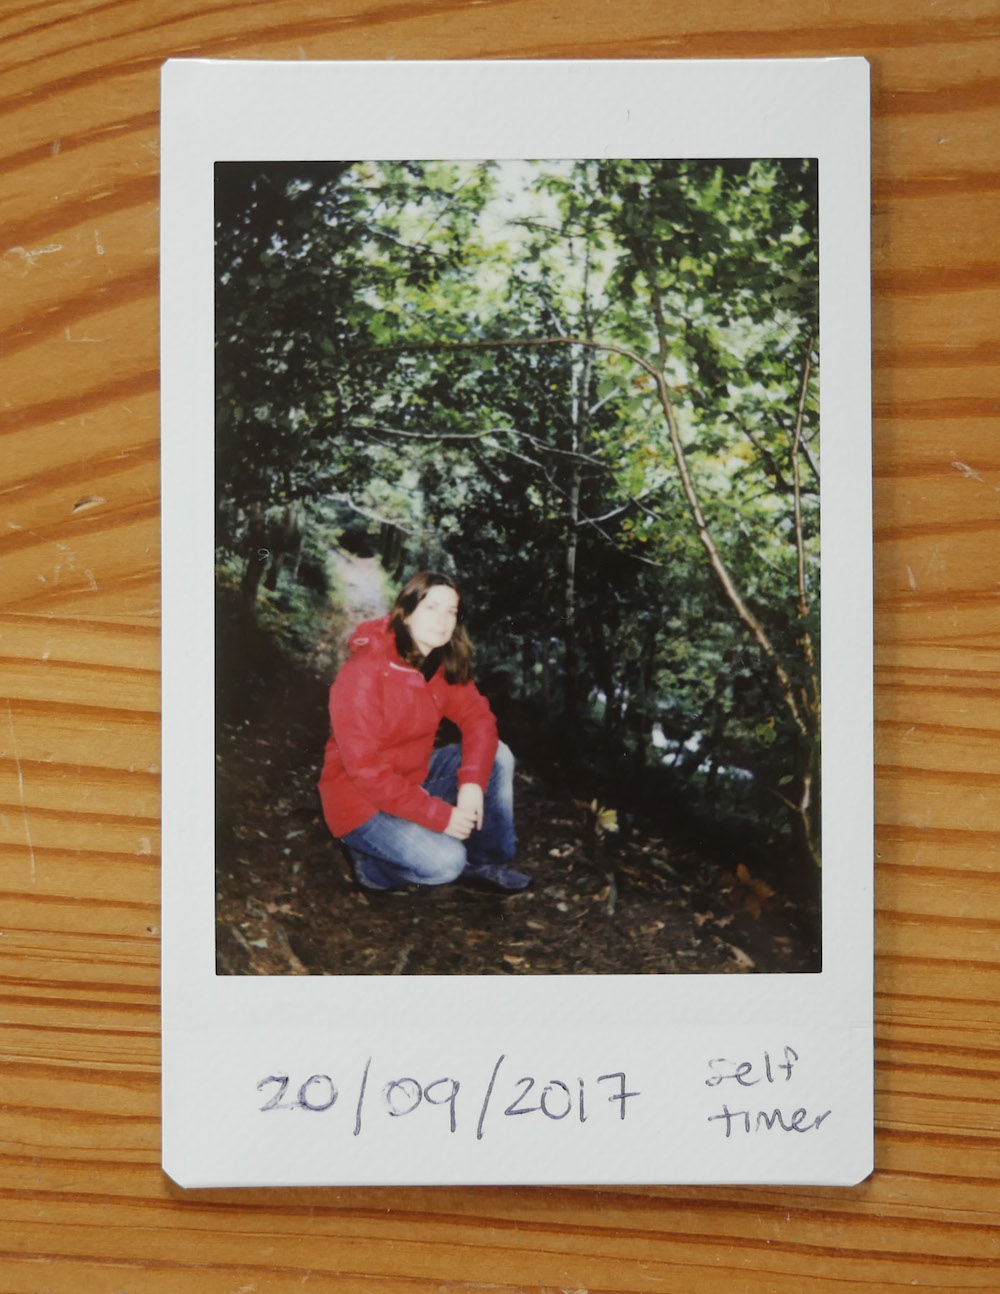
You can also set the timer so that it takes a second picture after the first, which is perfect for group shots where one person always inevitably blinks! Press the timer button until it displays X2 and the camera will take two shots, one after 7 seconds have elapsed and the second, 3 seconds later.
Bulb Mode
If you love taking long exposures, the Bulb mode of the Mini 90 will definitely become your best friend. By holding down the shutter button for a maximum of ten seconds, you can capture static night scenes without having to activate the flash.
Because the shutter stays open for such a long time, any illuminated moving subjects, such as cars driving along a highway, will appear as streaks of light in the image.
For this mode, you will definitely need a tripod, or at the very least a flat surface to place the camera on. Any movement – including micro-movements generated by your finger holding down the button – will cause the image to appear blurry.
Finally, never use this mode in daylight conditions as the excessive light entering the lens will overexpose the film.
Which is your favourite mode on the Instax Mini 90 Neo Classic? Let us know in the comments section below!

