If you’ve never used an instant camera before, you might feel nervous when the time comes to load your first pack of film into your Instax Mini 9 camera. Believe me, I was too the first time I tried!
The good news is that the procedure isn’t nearly as hard as it looks. In fact, you’ll be amazed at how quickly it become second nature – pretty much like taking a snapshot with your smartphone but with much more satisfying results!
Below we’ve prepared a quick and easy step-by-step guide that will help you load your film and start taking pictures with your new Instax Mini in no time. To make it as easy as possible to follow, we’ve include both written instructions with pictures, as well as a short video. Enjoy!
P.S. Don’t forget to share your favourite shots with us in the comments section below!
Ethics statement: We bought the Mini 9 for our personal use. We were not asked to write anything about the camera, nor were we provided with any sort of compensation. Within the article, there are affiliate links. If you buy something after clicking the link, we will receive a small commission. To know more about our ethics, you can visit our full disclosure page. Thank you!
Step 1: Insert batteries into the camera
The very first step before you even touch the film is to insert a fresh set of AA alkaline batteries of the same brand into the camera.
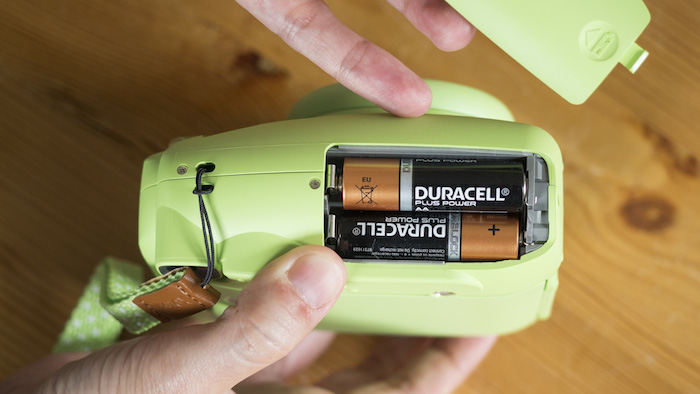
The battery compartment, which opens and closes via a sliding battery lid, can be found on the right side of the camera. The lid can be a bit difficult to unlock at first but it does loosen up over time.
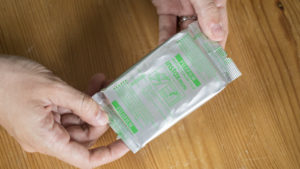
Step 2: Remove film from the package
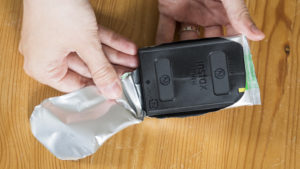
Next we have to remove the film from the packaging. As you do so, make sure not to touch the two rectangular holes on the back as you will damage the film. It is also important to avoid direct sunlight when loading the film pack into the camera.
In one corner, you’ll notice there is a yellow mark – make a note of it as it is important for the next step!
Note: If you notice that the film is beyond its shelf life, it is best not to use it as expired film can damage the camera. Also avoid storing the film in very hot, cold or humid places.
Step 3: Place film inside the rear compartment
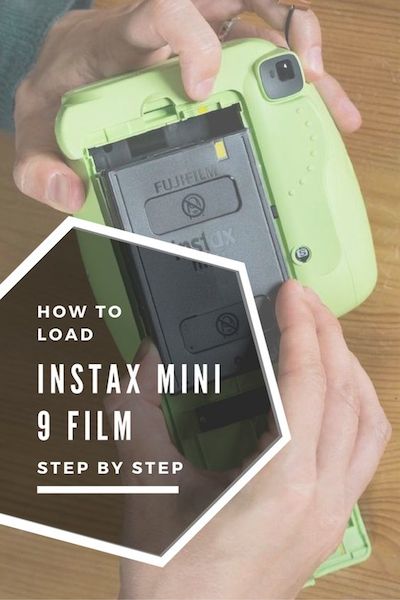
Once you’ve opened the film, you can place it inside the camera’s rear compartment.
(While I couldn’t find anything in the instruction booklet saying otherwise, I figure it’s best not to turn on the camera at this stage.)
To open the compartment, press down on the back cover lock and open the back cover. You’ll notice another small yellow mark in the top right corner of the compartment.
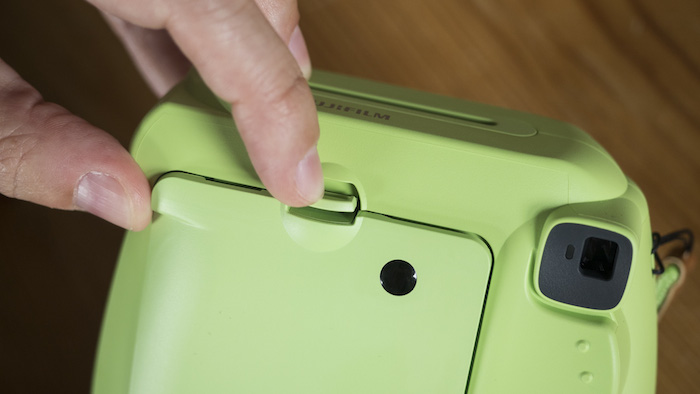
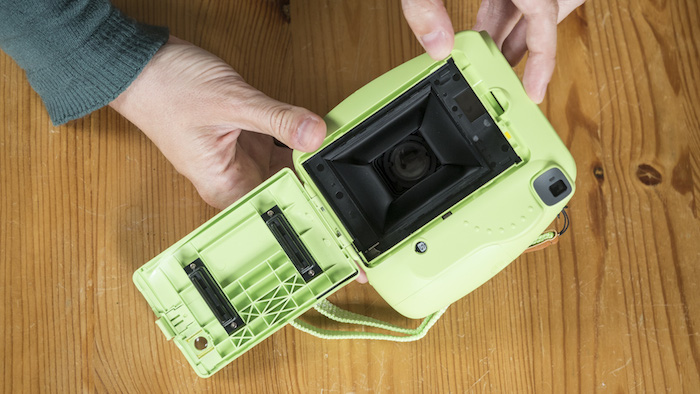
Place the film inside the camera by aligning the yellow marks. If you load it any other way, you risk damaging the film or even worse, the camera!
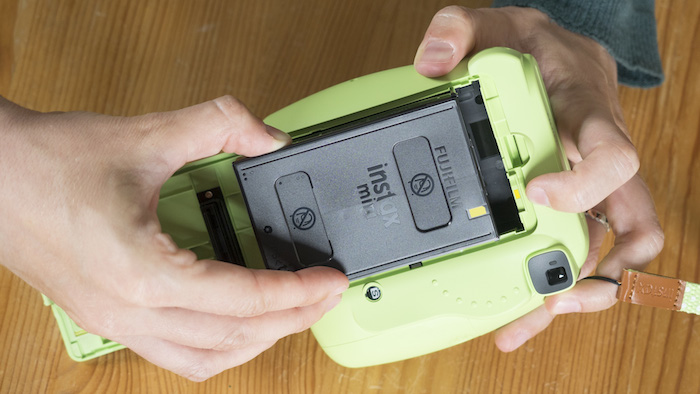
Finally, close the back cover and make sure the lock clicks into place.
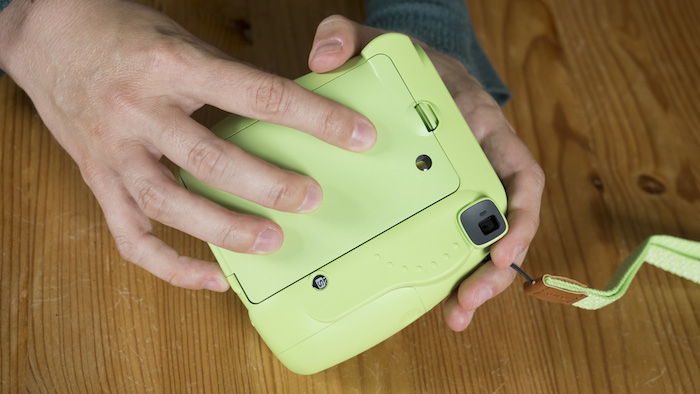
Step 4: Eject the film cover
Before you can take your first Instax photo, there’s one final step!
On the rear, you’ll notice that the film counter display (the number of shots remaining) is set to S. This is because you still have to eject the black film cover.
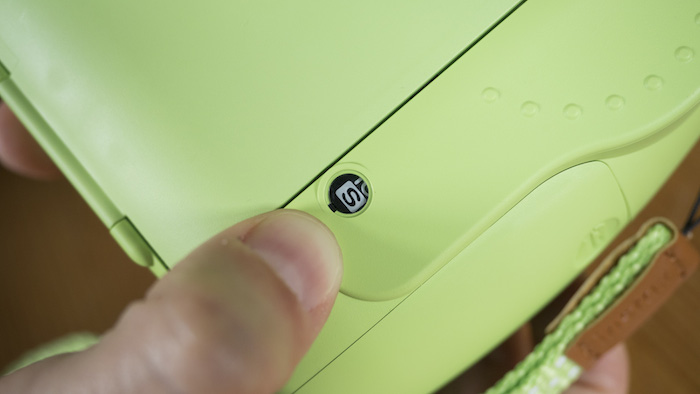
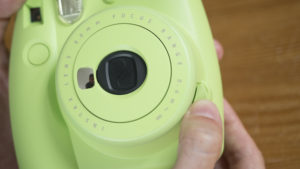
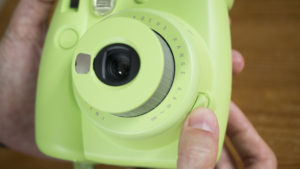
To do this, simply turn on the camera by pressing the large button located directly beside the lens and press the shutter button. The camera will continue to make a noise until the film cover has been completely ejected.
- Press the button beside the lens…
- …to turn the camera on.
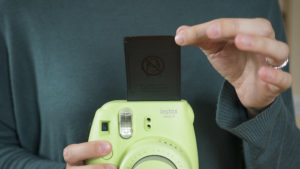
- Press the shutter button…
- …and pull out the film cover.
Gently remove the film cover, grasping it by the edges. The film counter display will now show 10 instead of S, which means you’re reading to start shooting!
Video: How to Load Instax Mini Film Step-by-Step
Helpful Tips and Tricks:
- Once you’ve loaded the film, do not open the rear compartment again until you’ve used up all your shots. Doing so will expose the rest of the film, making it unusable.
- Do not cut or peel apart new or newly used film. The small amounts of caustic paste contained within the film can cause an alkali burn.
Want to find out more about how to use the Instax Mini 9? Then head on over to our full review!
You might also enjoy the following articles:
Found this article useful? Please take a moment to pin it!
