When digital cameras first burst onto the scene back when I was a teenager, I, like many others, was convinced it was the end of an era for film. Never would I have predicted that instant film cameras like my old Polaroid would one day enjoy such a resurgence in popularity.
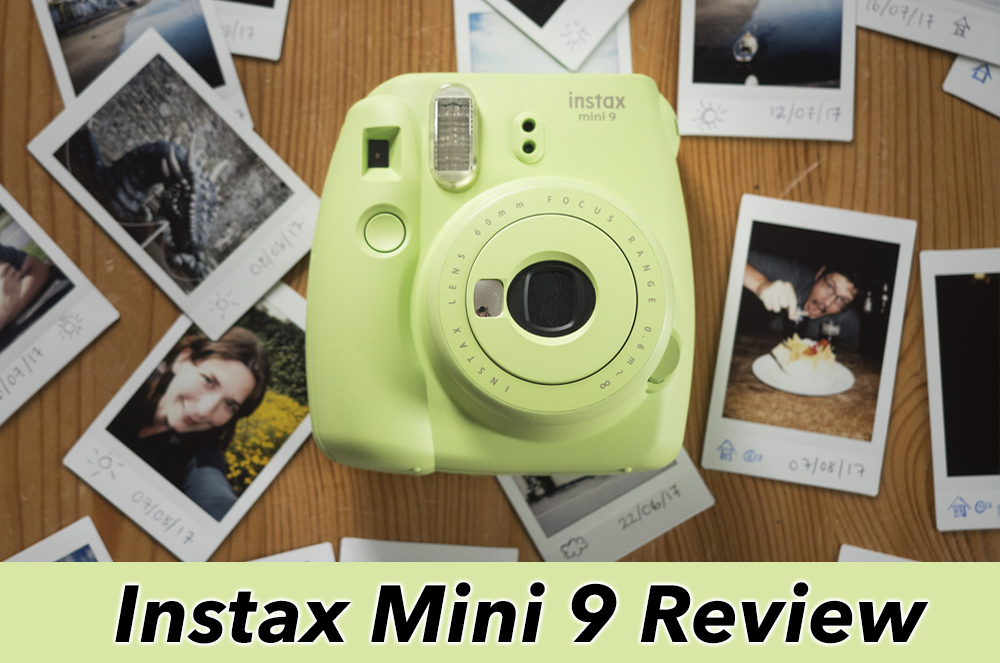
Today, one of the best-selling models on the market is the Instax Mini 9 – the successor to the extremely popular Mini 8 – and it happens to be, not a super advanced digital camera with the latest specifications, but an extremely basic instant film camera.
I recently picked it up to satisfy some of that ‘90s nostalgia that creeps up on me every now and then, and despite a handful of quirks, I can officially say that it has reignited my love for instant film photography.
Because I’ve been using the camera for over a month now, I felt it was high time I wrote a review – the first of many I hope to publish on this new blog. I hope you find it useful! 🙂
Ethics statement: We bought the Mini 9 for our personal use. We were not asked to write anything about the camera, nor were we provided with any sort of compensation. Within the article, there are affiliate links. If you buy something after clicking the link, we will receive a small commission. To know more about our ethics, you can visit our full disclosure page. Thank you!
What is the Instax Mini 9?
The Instax Mini 9 is the latest entry-level model in Fujifilm’s range of point-and-shoot instant cameras that uses Instax Mini film. Though it is technically the successor to the enormously popular Instax Mini 8, the truth is that there are only a handful of differences between them. These include colour selection and the inclusion of a close-up lens in the package.
>> To read about all the differences in detail, check out our Instax Mini 8 vs 9 comparison.
It joins a number of other cameras in the Instax range including the Mini 90, Mini 70, Mini 25, Wide 300 and the Square Sq10, all of which have proven extremely popular.
Design and Build Quality
With its chunky build, large buttons and bright selection of colours, the Instax Mini 9 almost looks more like a toy than an instant film camera. While it primarily targets young people, it has also gained some traction amongst more serious film photographers who want a simple, low-cost film camera they can enjoy without worrying about it getting stolen or confiscated.
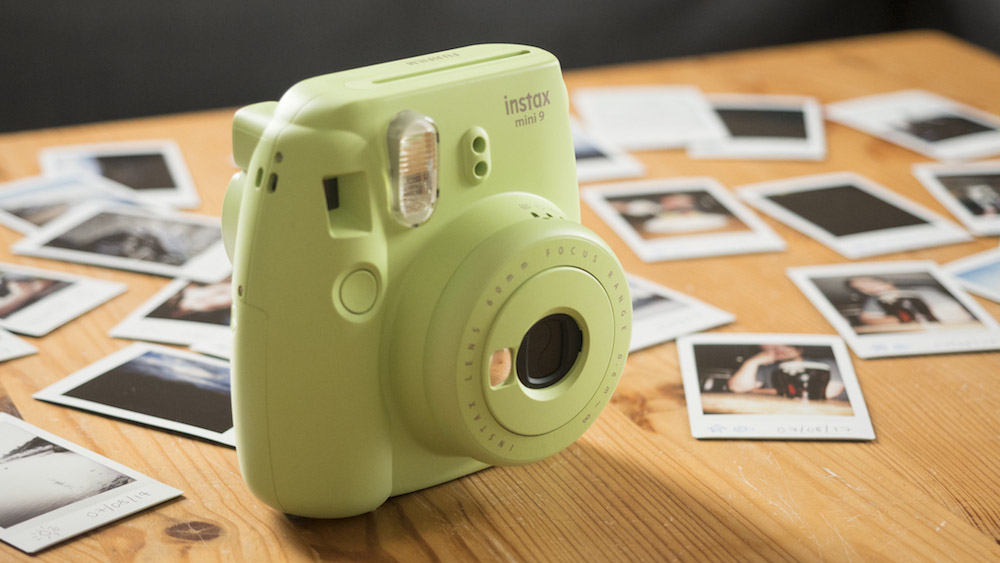
Fun Fact: The Instax Mini 9 comes in five different colours: Cobalt Blue, Ice Blue, Smoky White, Flamingo Pink and the version used for this review, Lime Green.
It isn’t the most compact of cameras out there with measurements of 116mm x 118.3mm x 68.2mm but it is surprisingly light for its size at around 360g with the batteries
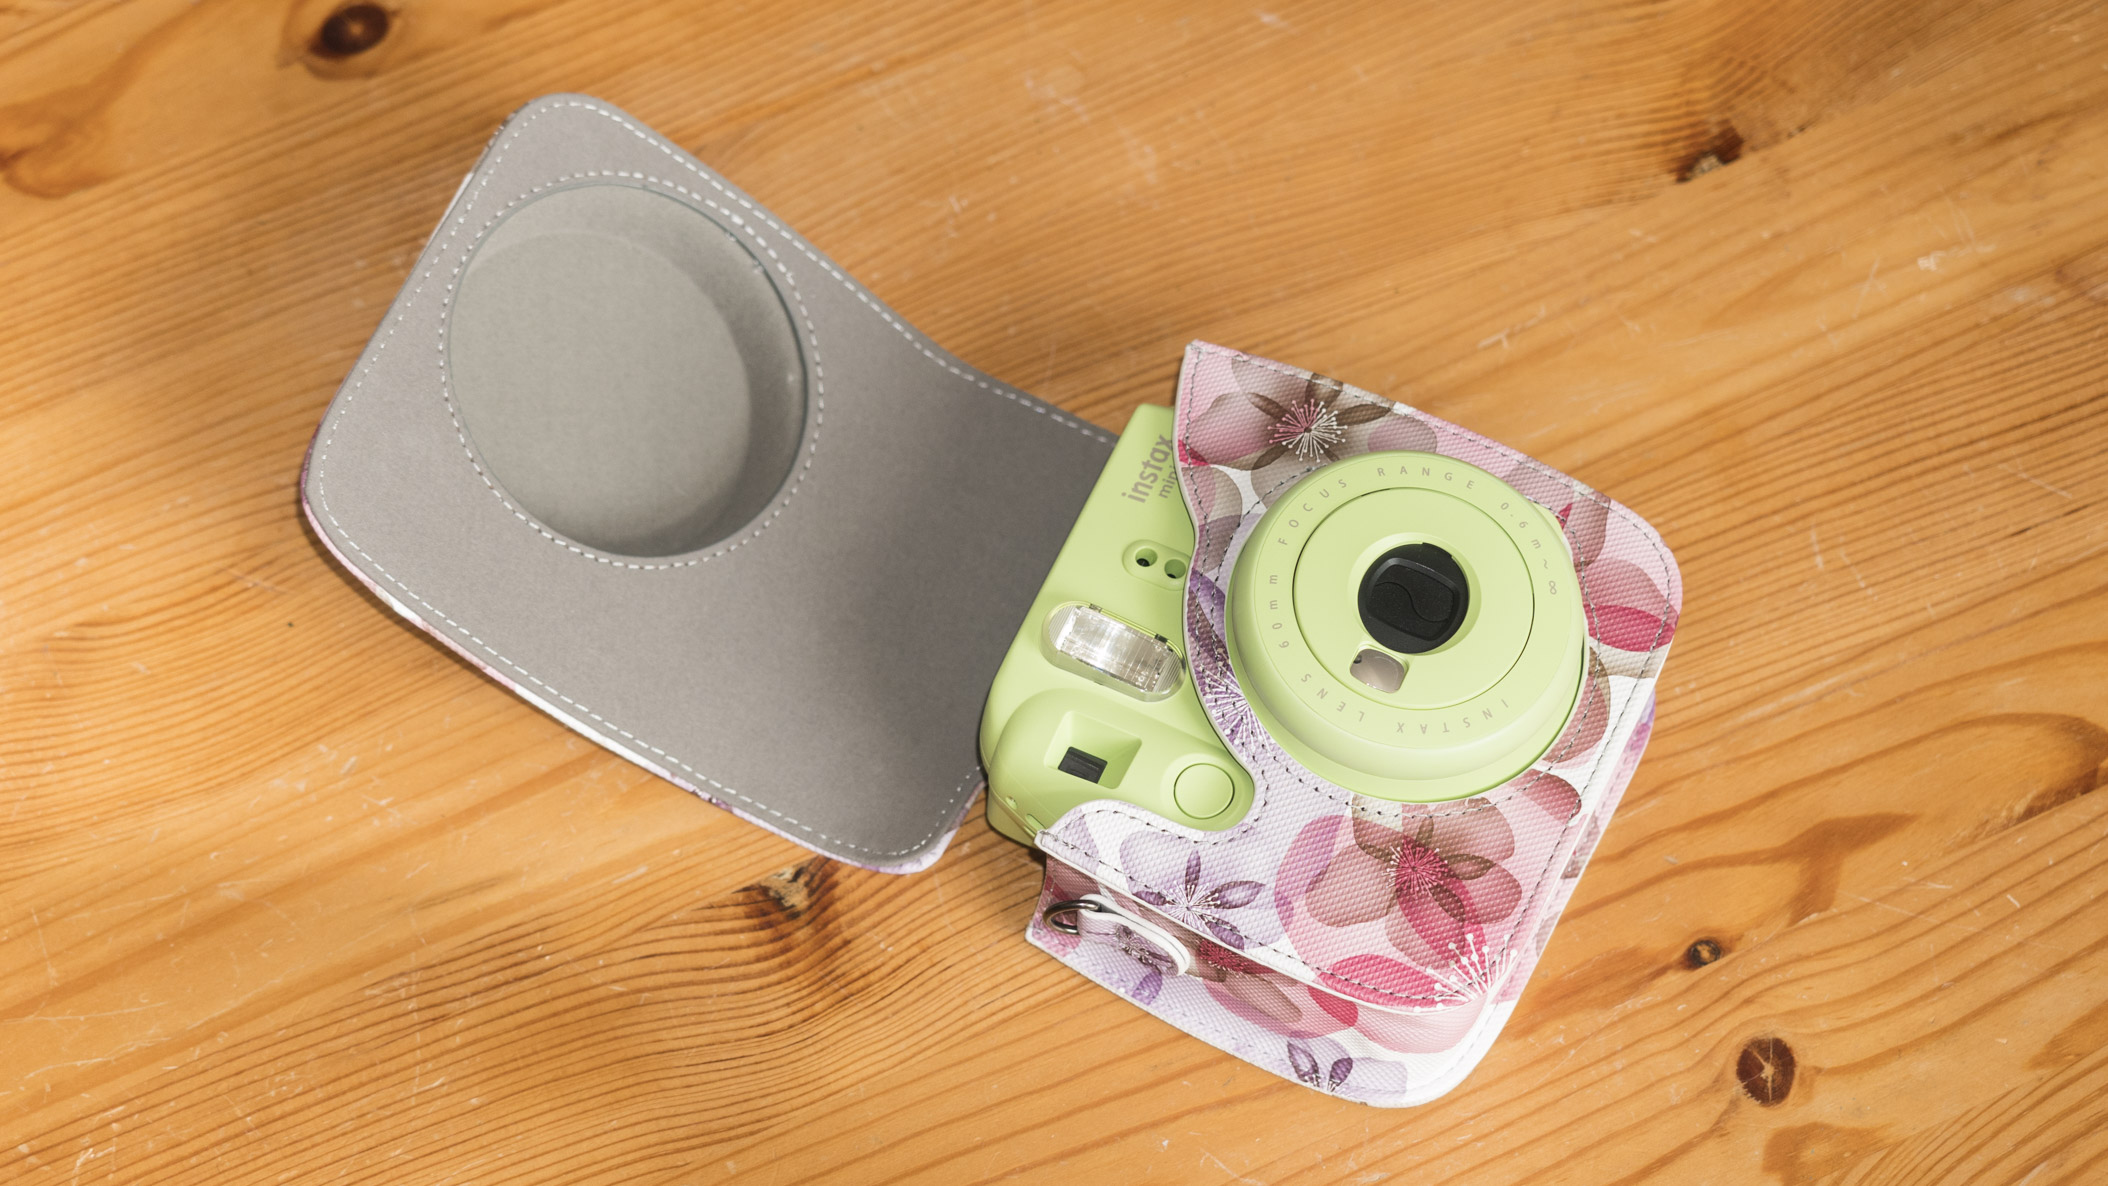
Because the body is made of plastic and the lens unit is quite fragile, it’s a good idea to carry it around with a strap or a camera case so that you don’t drop it by accident.
It comes with a rounded grip on the side that is comfortable to hold and helps you compose in both landscape and portrait orientation.
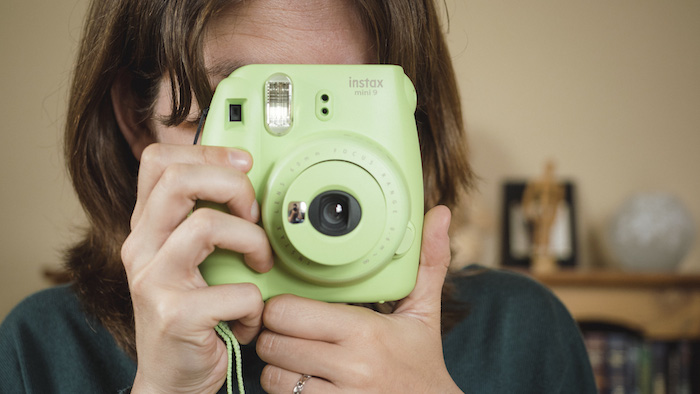
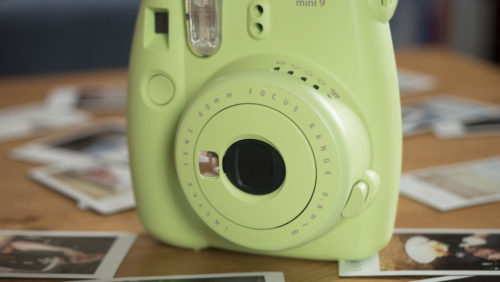
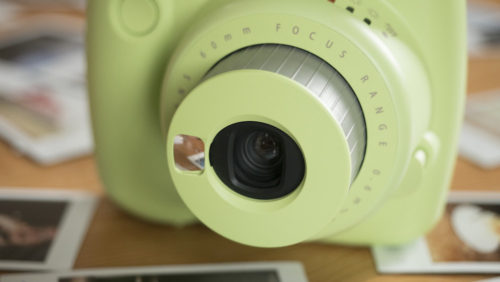
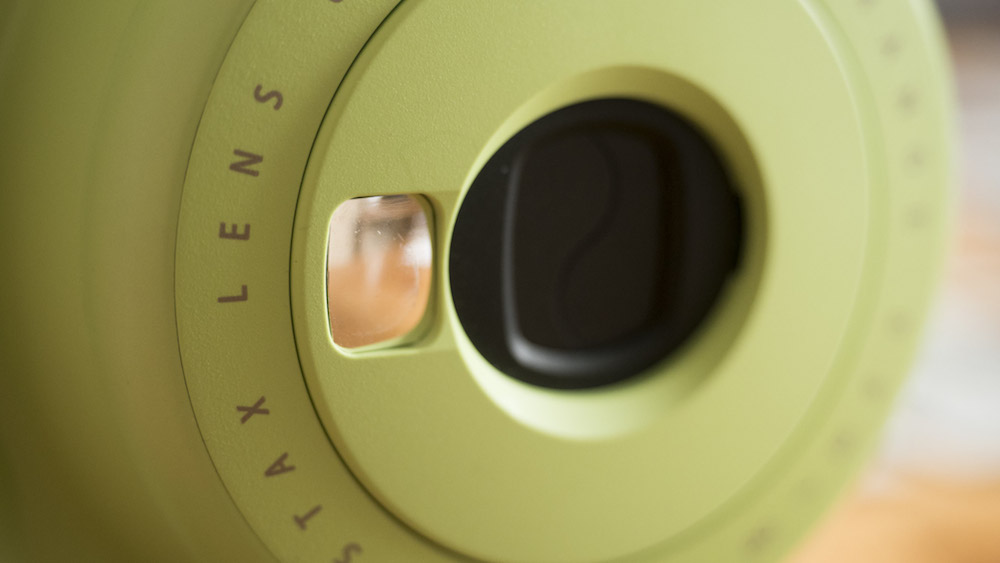
The camera features a 60mm moderate wide-angle lens, making it a good option for a variety of genres including portraits, street, travel and more. Popping it out of the body by pressing the button beside the lens turns the camera on, and pushing it back into the body turns it off again.
Note for the techies: The 60mm lens is the equivalent of a 34mm lens on a full-frame camera.
Surrounding the lens unit is a brightness adjustment dial with four main settings: Very Sunny, Sunny, Cloudy, and Indoors. The camera’s light meter will suggest which setting to pick according to the ambient light. For example, if it’s a bright and sunny day, it will likely pick Very Sunny, whereas if you’re indoors or out at night, it will suggest Indoors.
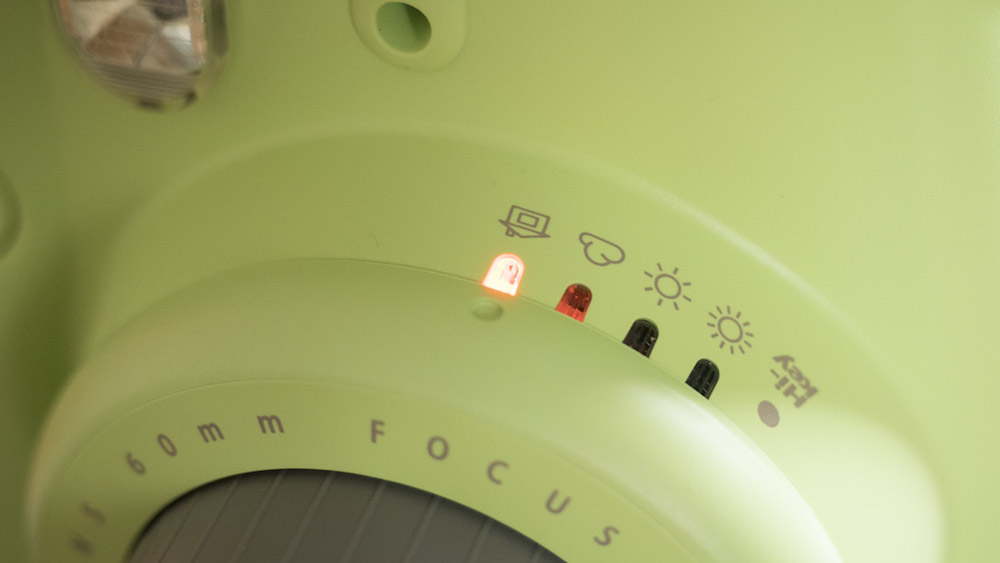
Note for the techies: Each setting corresponds to an aperture value: Indoors (f/12.7), Cloudy (f/16), Sunny (f/22) and Very Sunny (f/32). The shutter speed remains constant at 1/60s.
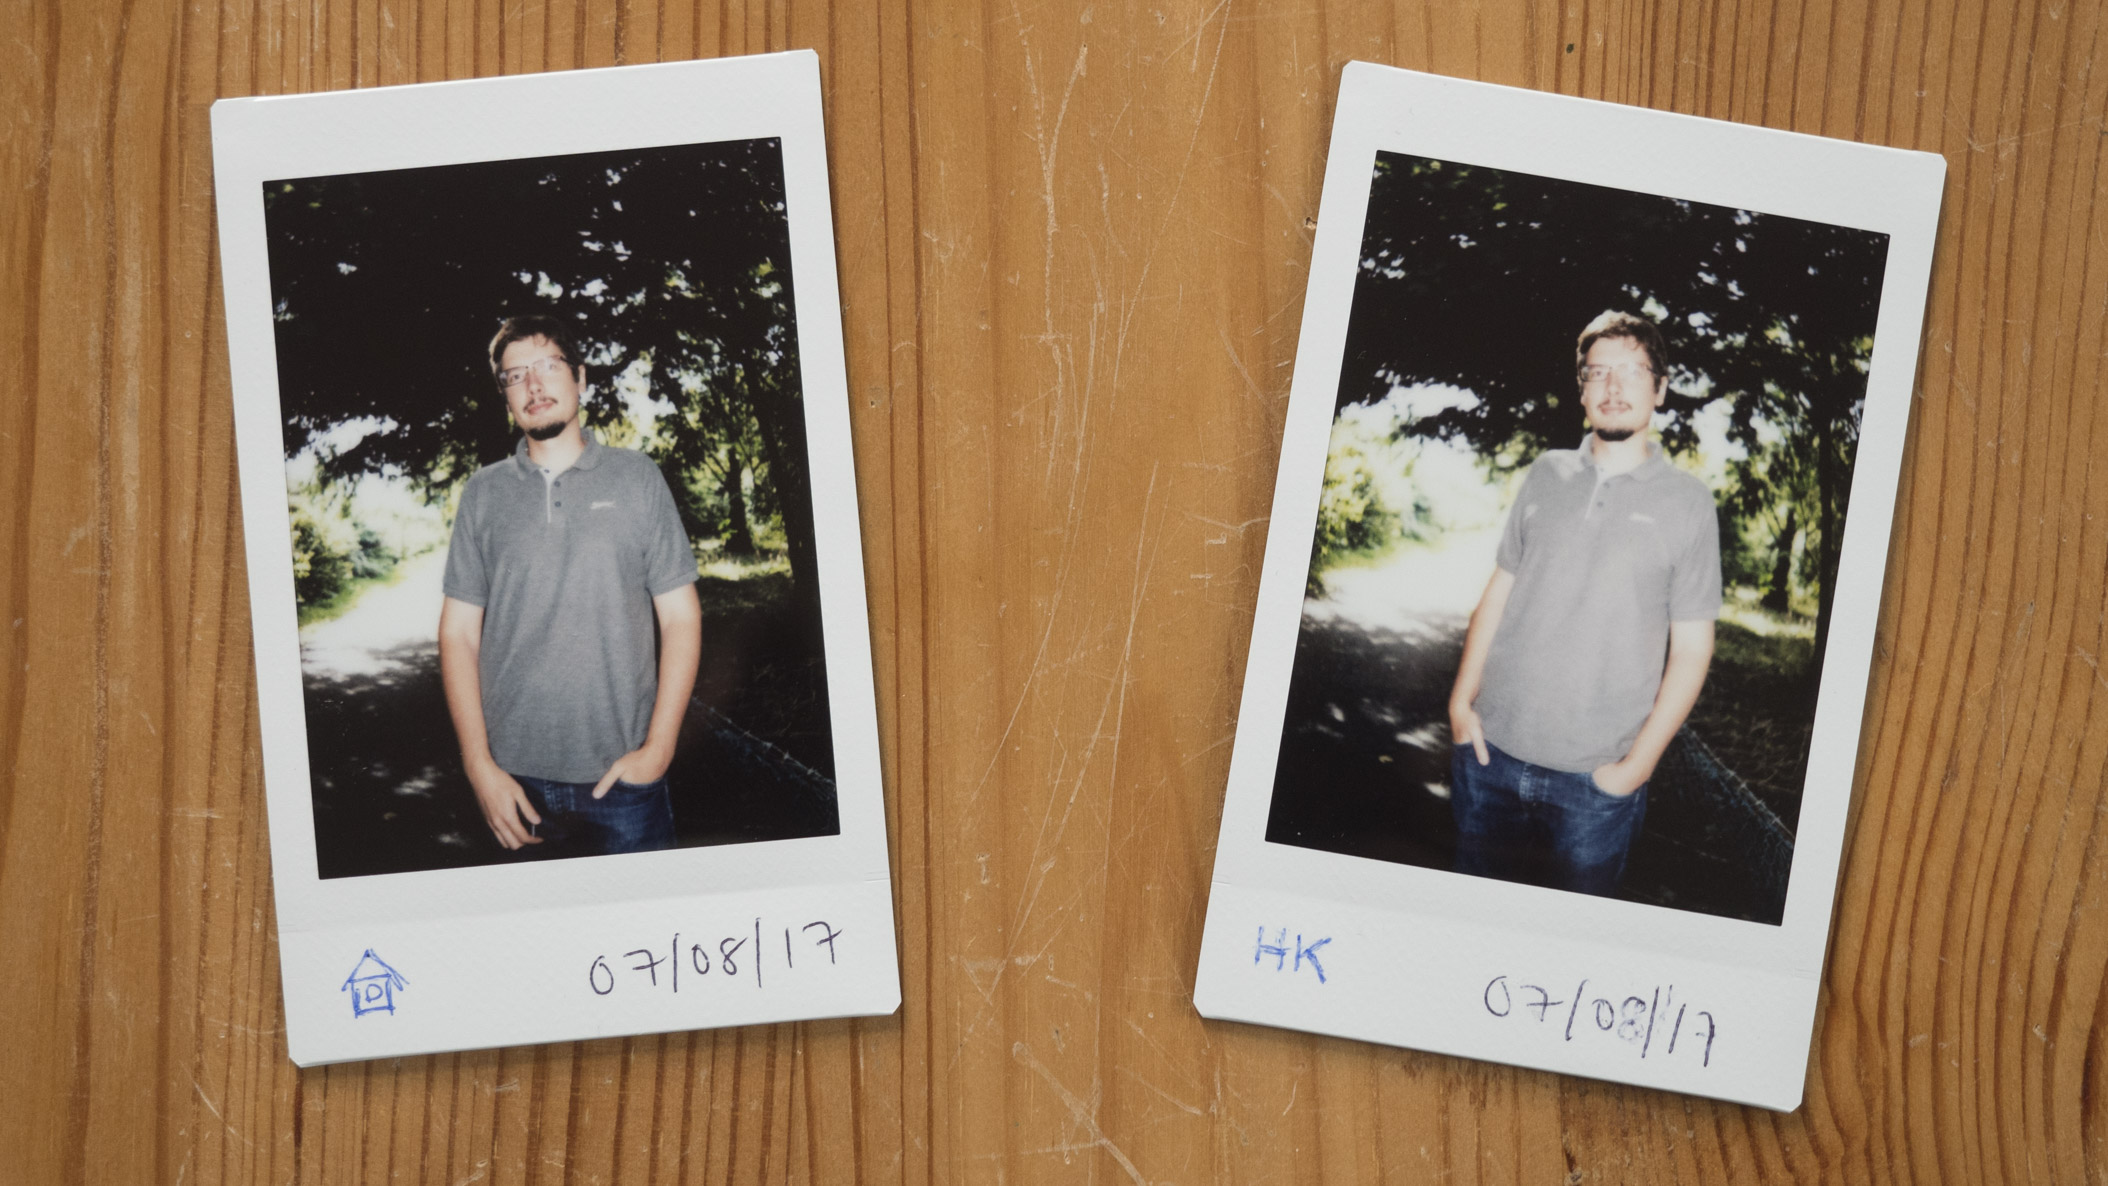
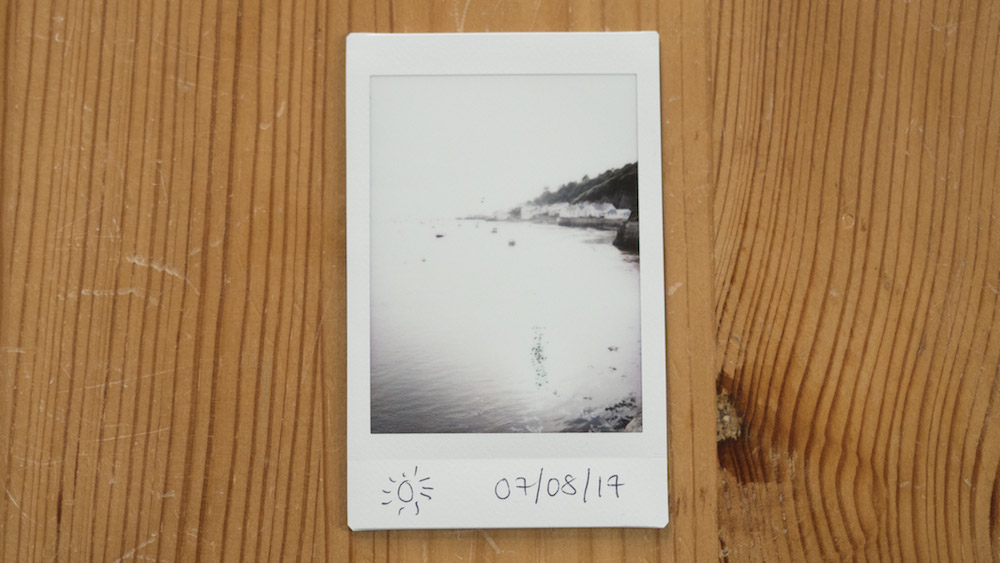
Hi-Key is an additional setting on the dial that the camera will never suggest on its own. It both brightens and softens the image to give it an ethereal look, and should only be used in places with very little ambient light, just like Indoors. I’ve also noticed that it produces a swirlier background than the other settings as you can see from the pair of images below.
To one side of the lens, you’ll notice a small mirror that helps you frame your face for the perfect selfie. It works really well, even when two people pose together.
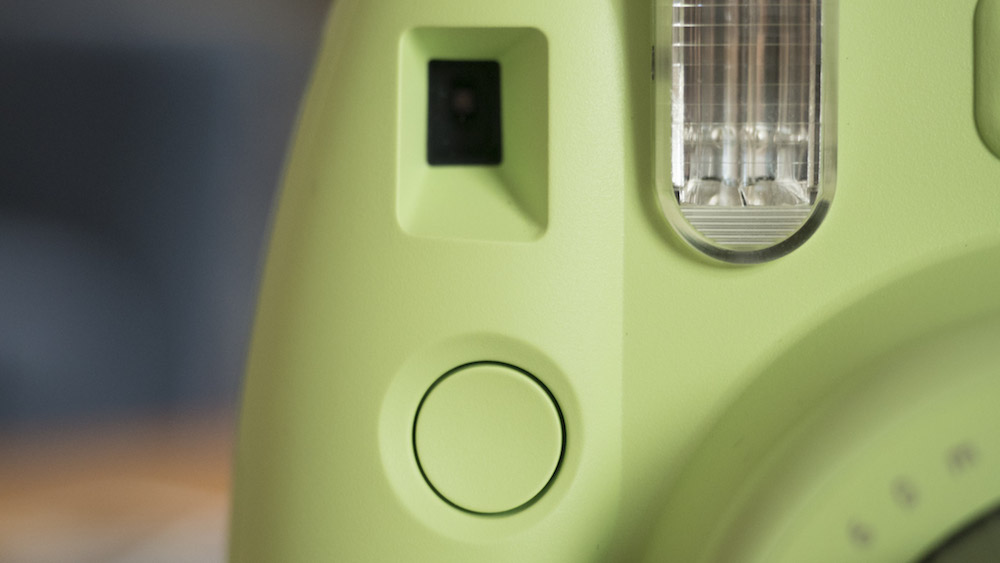
Placed near the top of the camera is the optical viewfinder, and below it is a recessed shutter button which is both large and within easy reach of your pointer finger.
Also found on the camera are a built-in flash that fires no matter which brightness setting you choose, and a light meter (two holes on the front) that reads the intensity of the ambient light.
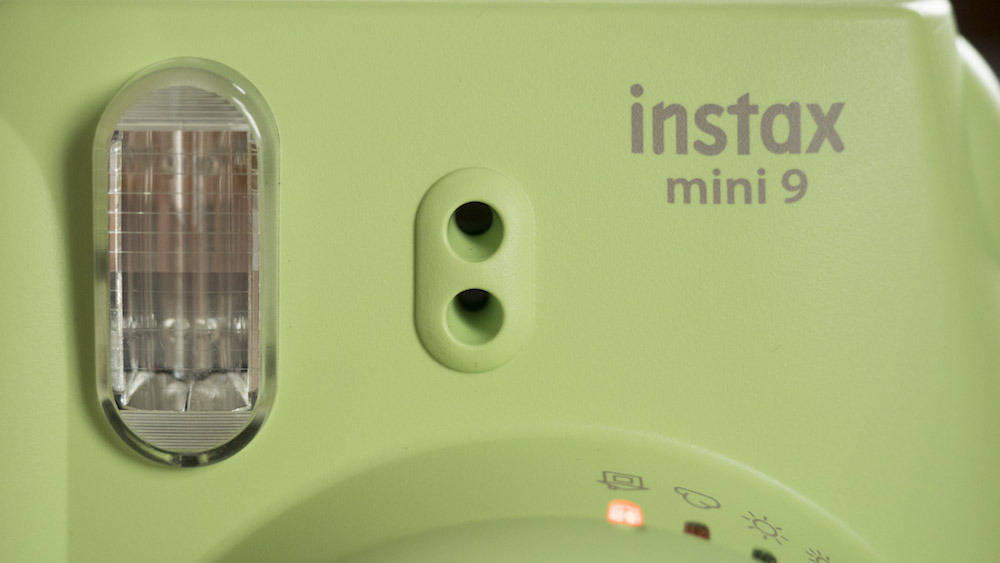
It is important to avoid covering either the flash or the light meter as they work together to deliver the correct exposure. (More on this later!)
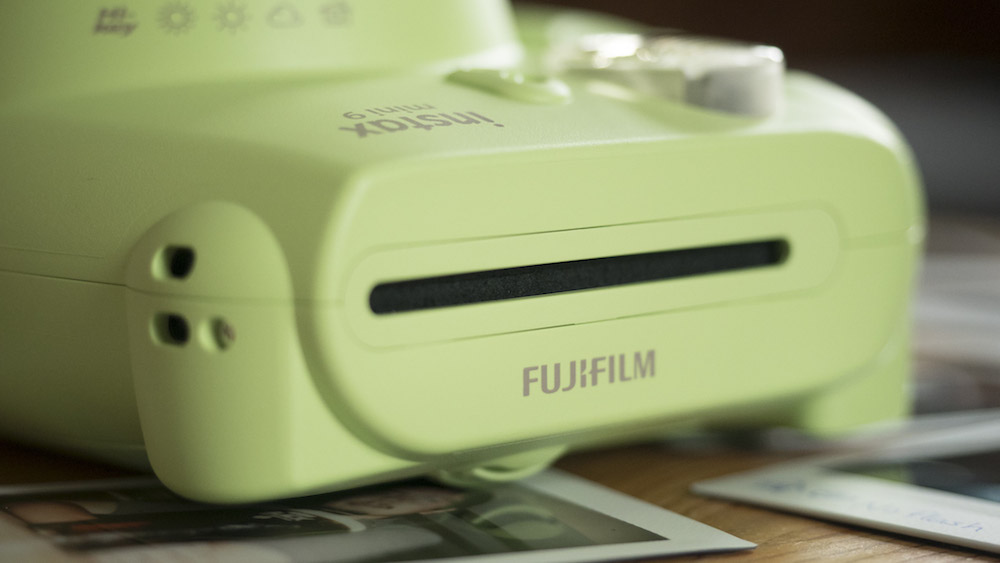
The very top of the camera is home to the film ejection slot. This is where the film comes out after you take a picture.
Turning to the rear, you’ll notice that the camera is almost completely devoid of features except for the large door for the film and the film counter. The area where your thumb rests is textured with a series of raised bumps which give you a better hold on the camera.
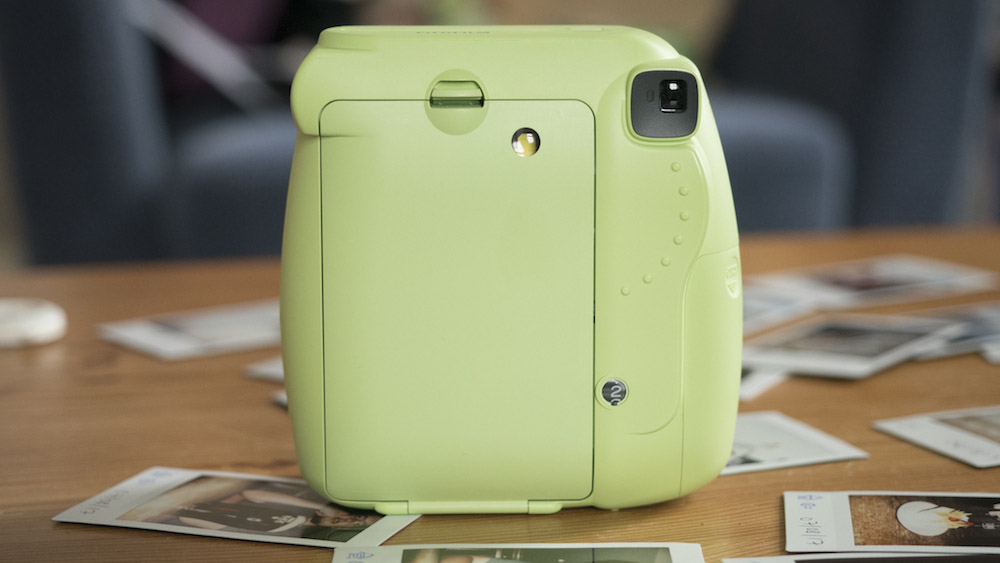
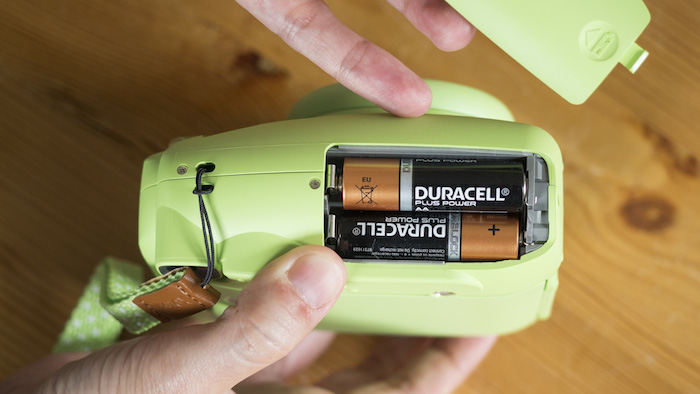
The Instax Mini 9 requires two AA alkaline batteries to run properly. If both batteries are brand new, you can usually take around 100 shots, which equates to ten rolls of film.
I personally find the battery compartment door somewhat difficult to slide open but that’s a good thing – you don’t want it popping off by accident!
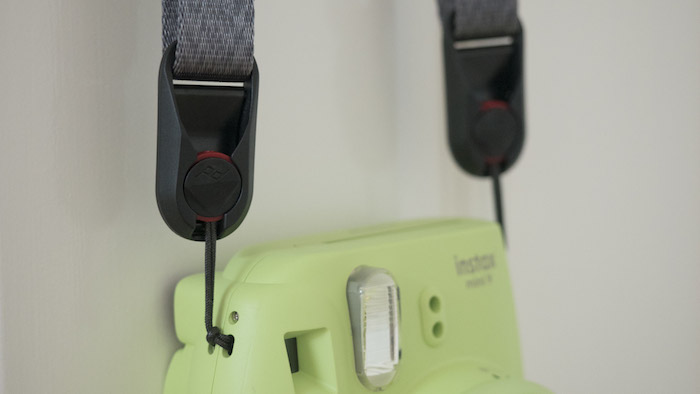
Finally, on either side of the camera, you’ll find eyelets for a camera strap. You can either use the provided wrist strap (which is pretty cheap) or a third-party strap with loops small enough to fit through the holes. I personally recommend the Peak Design Leash, which I recently reviewed here.
How to Use the Instax Mini 9
From loading the film to taking a shot, it is hard to find a camera that’s more straightforward than the Instax Mini 9. That said, there are a few instructions you need to follow.
The first thing you want to do after removing the camera from its packaging is load it with two brand new AA alkaline batteries. If you use anything else, such as non-alkaline or partly charged reusable batteries, you may find that the camera won’t turn on or that it won’t take any pictures. This is because a quick, high-current draw is required for the flash to charge.
>> Check out the top five reasons the Instax Mini 9 tends to stop working.
The battery compartment is located on the right side of the camera and you can open it by sliding the door out of place. The camera should be turned off when you insert the batteries.
The next step is to load the film which, depending on the bundle you choose, may have to be bought separately.
To do this, remove the film from the package without touching the two rectangular slots on the back, open the film door on the rear of the camera, and slide the film into place by aligning the yellow markers on the film and camera. Once in place, you can close the film door.
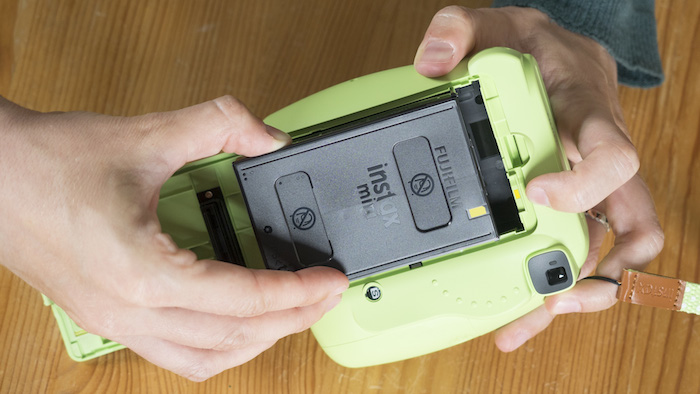
Next, turn the camera on by pressing the button beside the lens and press the shutter button to eject the black film cover from the film slot. You’ll notice that the counter on the rear will switch from S to 10, which means you’re almost ready to take your first shot!
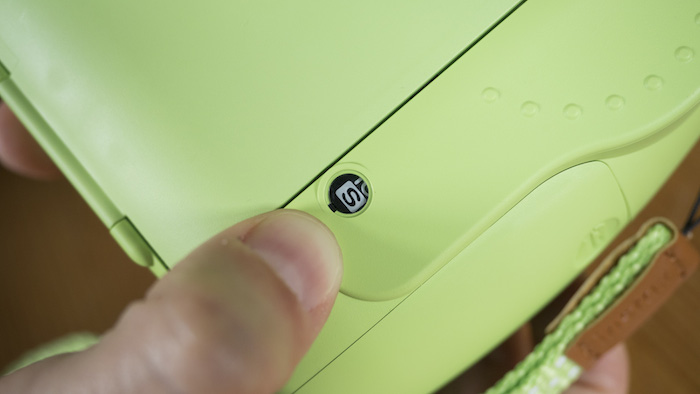
>> Check out our full instructions on how to load Instax Mini film step-by-step.
The final step before taking a shot is to check which setting the camera recommends on the brightness adjustment dial and rotate it accordingly. The camera will not do this automatically, so if you forget to rotate it to the right setting, you may end up with completely the wrong exposure!
Speaking of the dial, I personally find it a bit odd that Fujifilm didn’t give the camera an Auto mode whereby it selects the brightness setting on its own. But having said that, it only takes a couple of over or underexposed shots to drill the importance of picking the right setting into your head!
>> Check out the most common reasons Instax film ends up overexposed.
Once you’ve chosen your brightness setting, all that’s left is to look through the optical viewfinder, compose, and press the shutter button.

While composing, make sure that your fingers aren’t covering the light meter because the camera uses it to read the intensity of the ambient light. Also check to see that your hair and fingers aren’t in the frame.
One of this biggest mistakes you can make at this point is getting too close to your subject. The camera’s minimum focus distance is 60cm, so any shot taken closer than that will end up blurry. To take close-up shots between 35-50cm, you’ll need to attach the provided close-up lens.
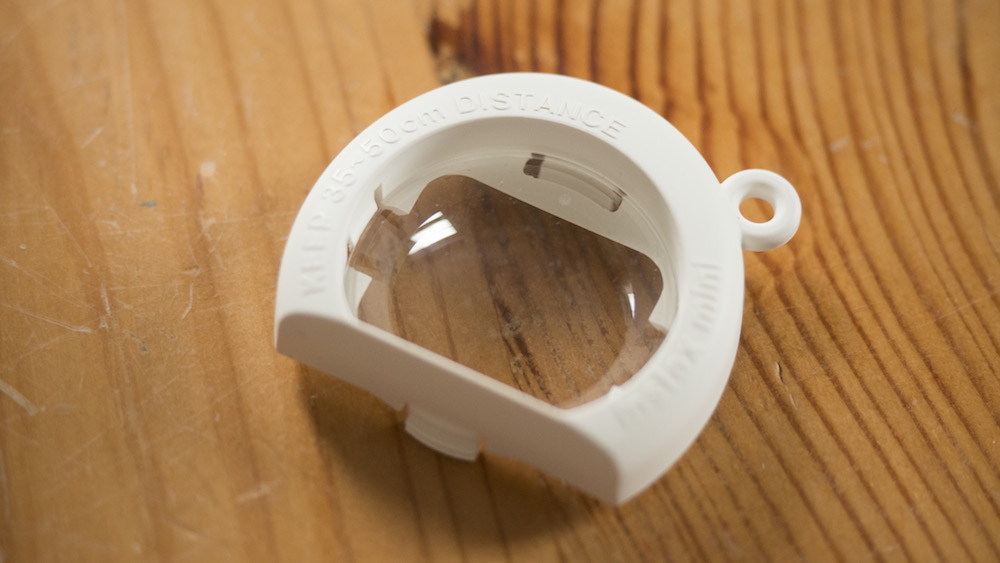
>> Find out more about how to use the Instax Mini 9’s close-up lens.
Once you’ve finished taking photos, turn the Instax Mini 9 off by pushing the lens unit back into the body. If you leave it on, the camera will go into Auto Power Off (sleep) mode after five minutes of inactivity to preserve battery life. When in sleep mode, the red lamp beside the viewfinder lights up when you press the shutter button, which essentially wakes the camera up. The only way to take a picture is to press the shutter button a second time.
Viewfinder
The rectangular optical viewfinder of the Instax Mini 9 is located on the right-hand side of the camera. It is in portrait orientation, just like the resulting Instax prints. Located in the middle of the viewfinder is a circle that indicates the centre of your frame.
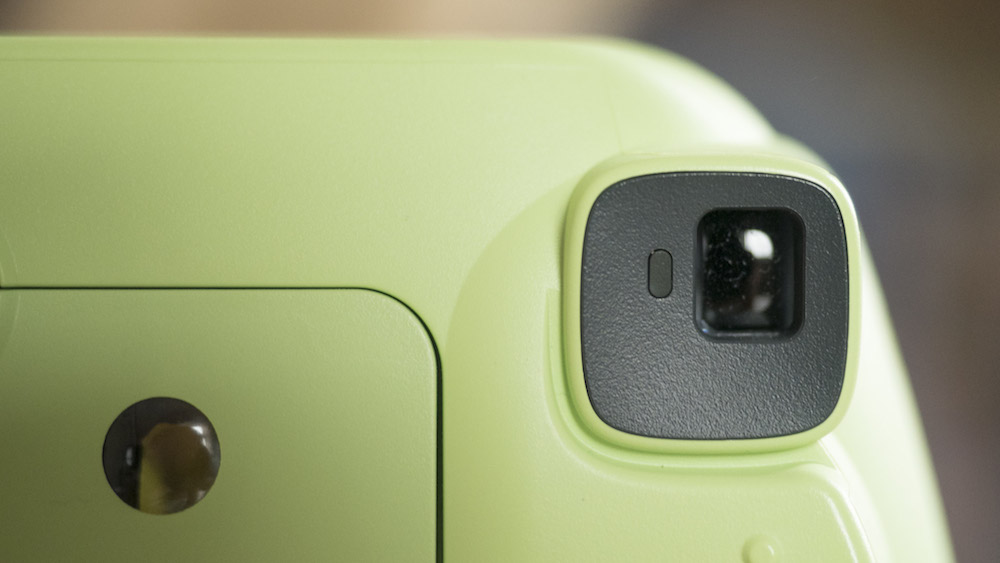
Note for the techies: the magnification is of 0.37x which isn’t great.
I personally find the viewfinder quite small – so small, in fact, that I have to squint to see directly through it. The centre is sharper than the edges too, so it can get tiring to use after a while. That said, I don’t consider it a deal breaker. After all, it’s not as if the average user is going to fire off dozens of shots in a row with his or her eye glued to the finder.
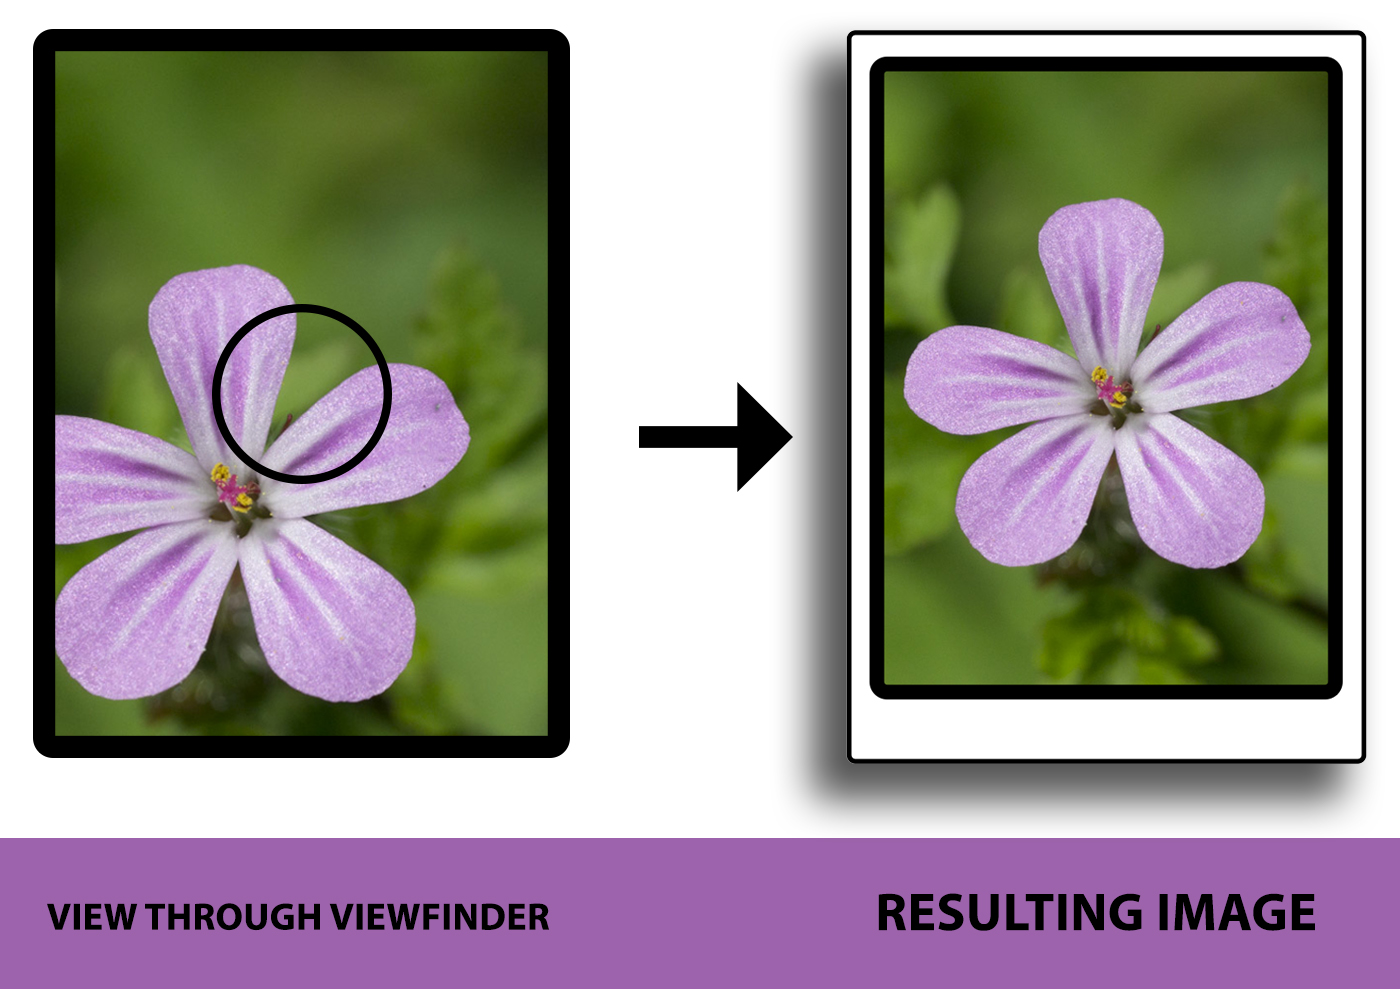
Like many other film cameras, the Instax Mini 9 suffers from a phenomenon called parallax error. Because the viewfinder and the lens are a few centimetres apart, the lens doesn’t “see” the same composition you do through the viewfinder. The issue is far more prevalent at close focus distances than long distances.

I failed to compose the first image properly due to parallax.
Overcoming the parallax issue can require some trial and error. One helpful tip is to slightly offset the image you see in the viewfinder by positioning your subject in the bottom left quarter (just below the circle). By doing this, you are essentially aligning it with the lens rather than your line of sight through the viewfinder.
Flash
As I mentioned in the design section, the flash on the Instax Mini 9 always fires, regardless of the setting you choose on the brightness dial.
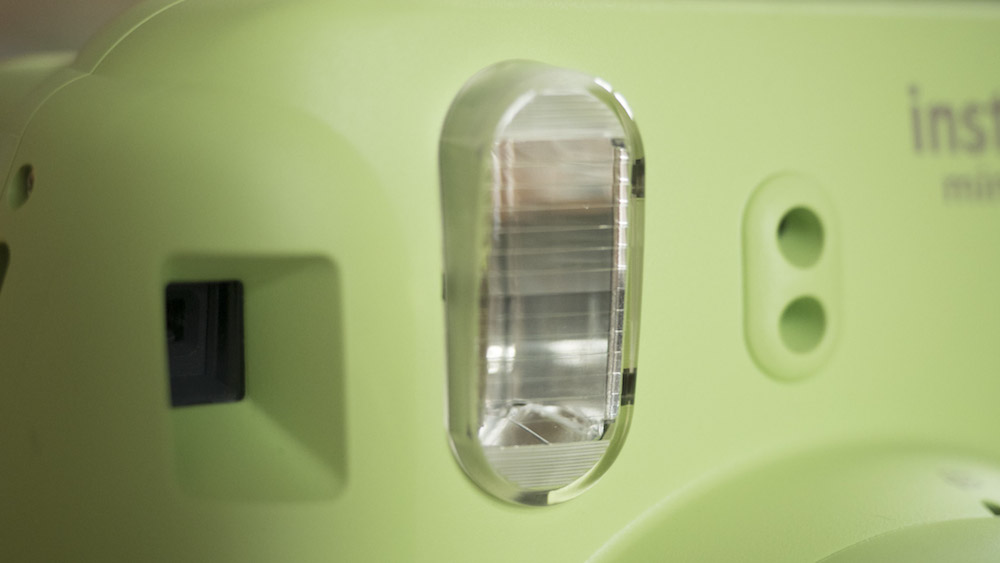
For indoor and low-light work, this is a good thing because the ambient light will never be enough to properly expose the film.
Take for example the two shots below of Mathieu inside a pub. For the first one, I let the flash fire whereas for the second, I covered it with two fingers. As you can see, even though the pub was fairly well-lit, it wasn’t sufficient to expose the film.
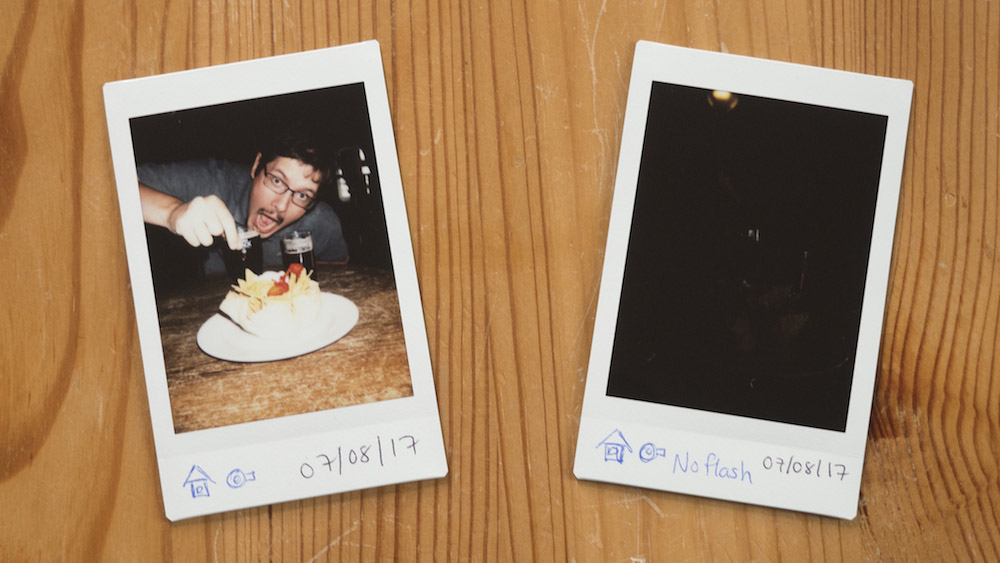
But what if you are outdoors on a bright, sunny day? In this case, the flash is optional because the sun more than compensates for any lack of light from a secondary source.
Some photographers choose to cover the flash with their fingers or duct tape when using the camera for outdoor work, especially if they don’t want it to interfere with shadows located within the firing range of the flash, whereas others use masking tape or foam to diffuse the light without completely blocking it.
Note for the techies: The flash has a recycle time of 0.2 to 6 seconds when using new batteries, and has an effective range of 0.6m to 2.7m.
Light Meter
Did you notice the raised bump with two holes beside the flash? That’s the ambient light meter that the camera uses to evaluate the intensity of the light hitting the camera.
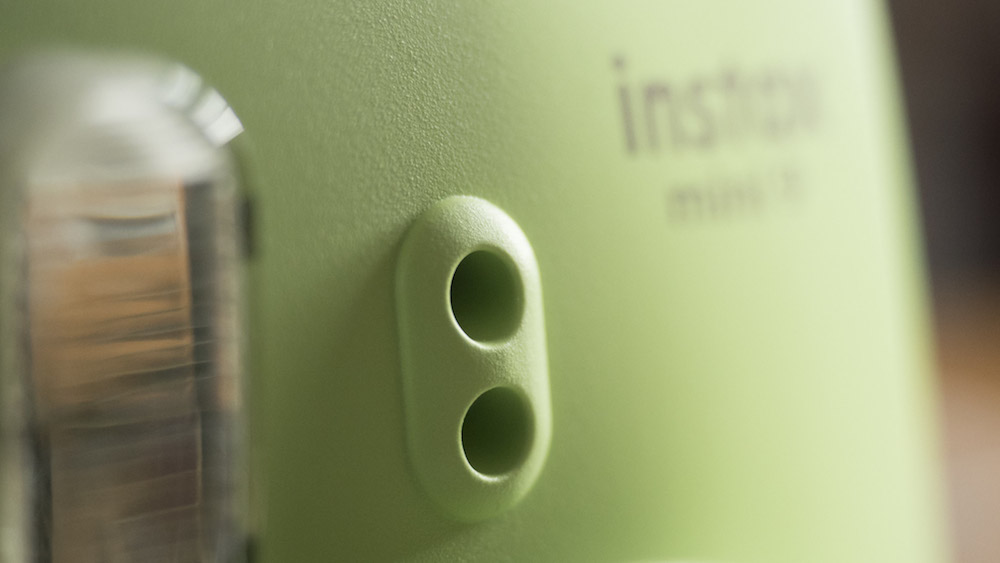
Once it has taken a reading, the brightness setting the camera deems most appropriate will light up on the brightness adjustment dial.
Though it is accurate in most situations, I’ve found that it is sometimes better to trust your gut, especially in scenes where there is a lot of contrast.
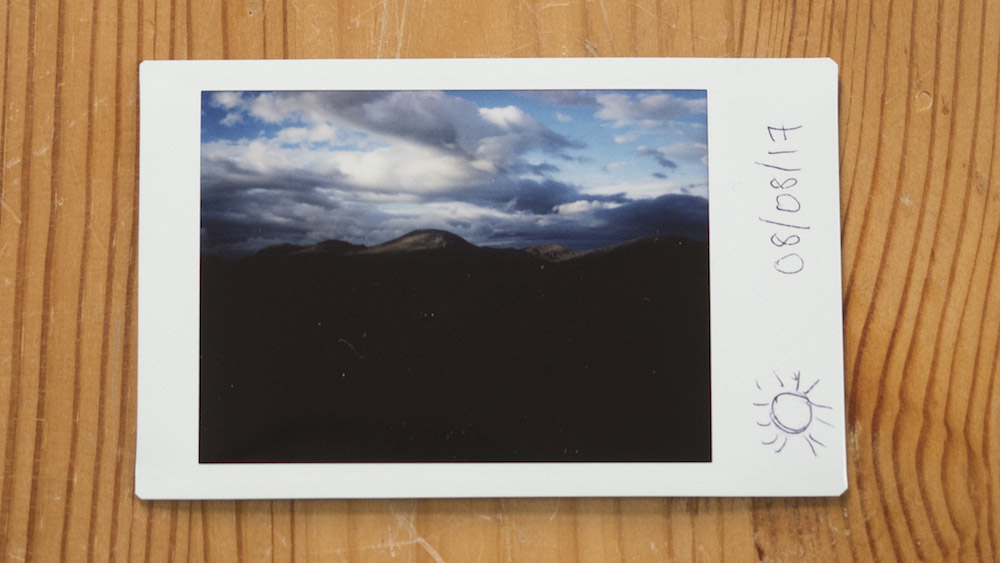
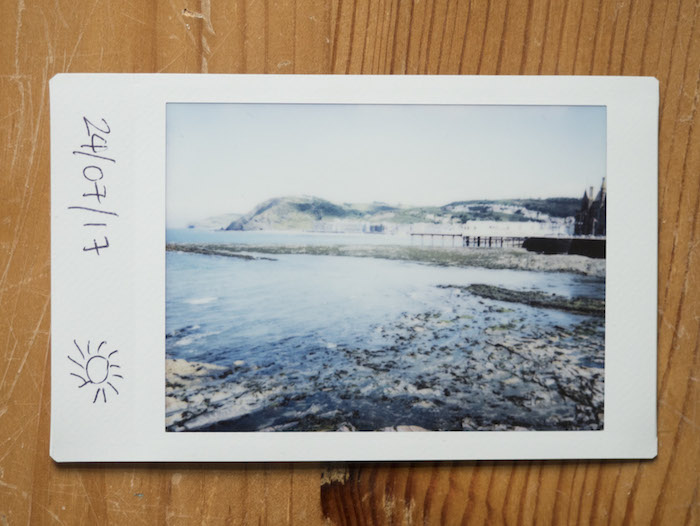
A good example is the following picture I took of the Snowdonia mountain range. The camera suggested that I use Very Sunny and despite the overwhelming number of shadows in the foreground, I decided to trust the metering system.
The result was a very underexposed foreground with a properly exposed sky and mountain tops, probably because the meter was reading the brighter area of the frame without taking the shadows into account. Had I tilted the camera down a little, it may have suggested a darker setting.
I also found that the Instax Mini 9 doesn’t handle extremely bright scenes very well, even when the camera tells you that Very Sunny will do the job. It will almost always overexpose the shot, especially if there aren’t any clouds in the sky and you’re out in the midday sun.
A word about the Instax Mini Film
The Instax Mini 9 uses Fujifilm’s Instax Mini film. At 6.2 by 4.6cm, each frame is more or less the size of a credit card.

Note for the techies: the Mini Film speed is ISO 800 while the colour temperature is 5500°k (daylight).
Because the film is quite small, it delivers better results with prominent subjects that fill the frame than landscapes or cityscapes with lots of small details. Think selfies, group shots, street photography, food, and still life, just to name a few.
One cartridge contains ten sheets of film. Bought separately, they cost just over $10 but you can save quite a lot of money by buying them in bulk.
Beyond the standard Mini film with the white border, Fujifilm has also produced Mini Monochrome (black and white film) and colour film with decorative borders (rainbow, black, stained glass, and more).
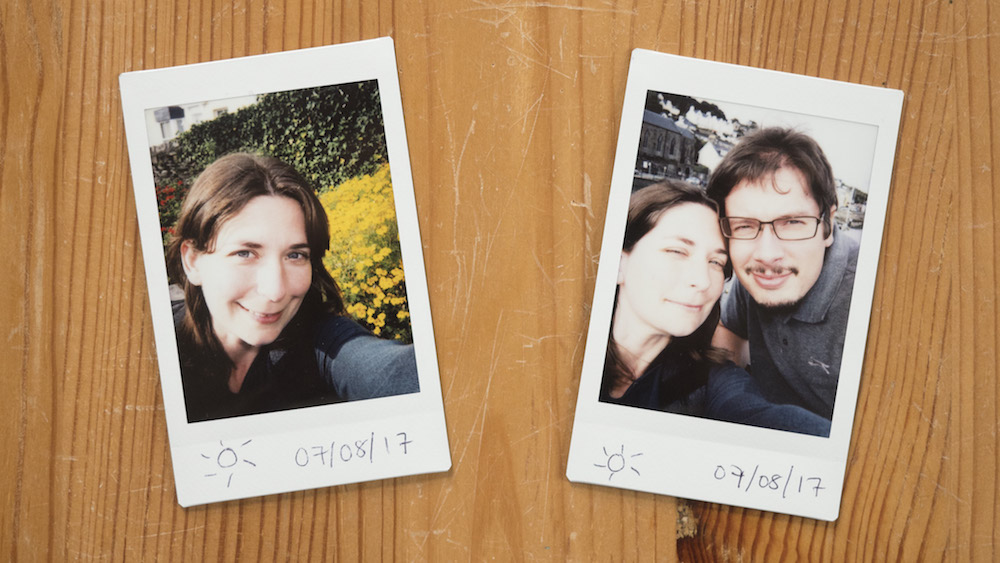
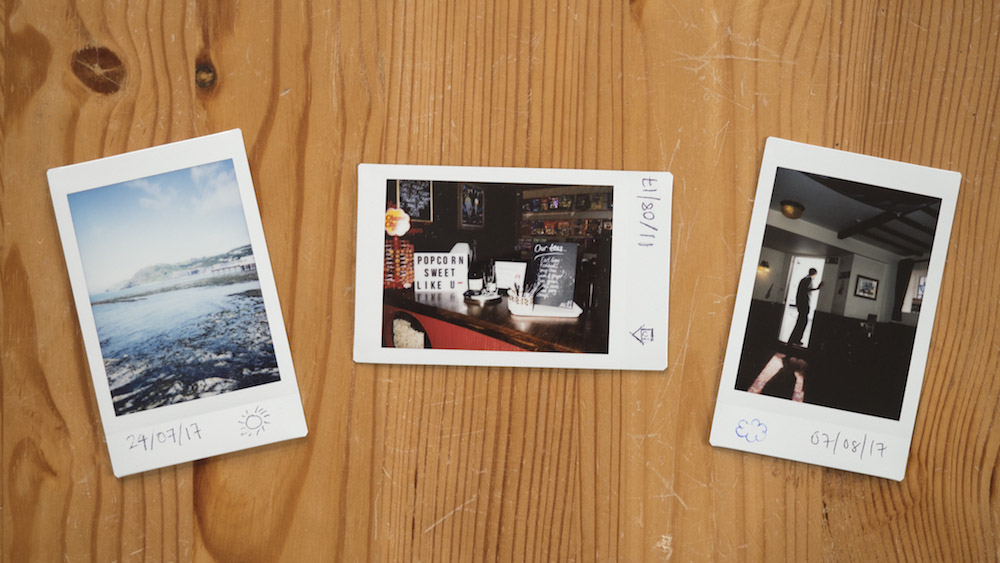
When you manage to nail the exposure, the colours are punchy and pleasant and the glossy texture of the film gives the image a 3D pop. There is also some slight vignetting in the corners which adds to the vintage look of the film.
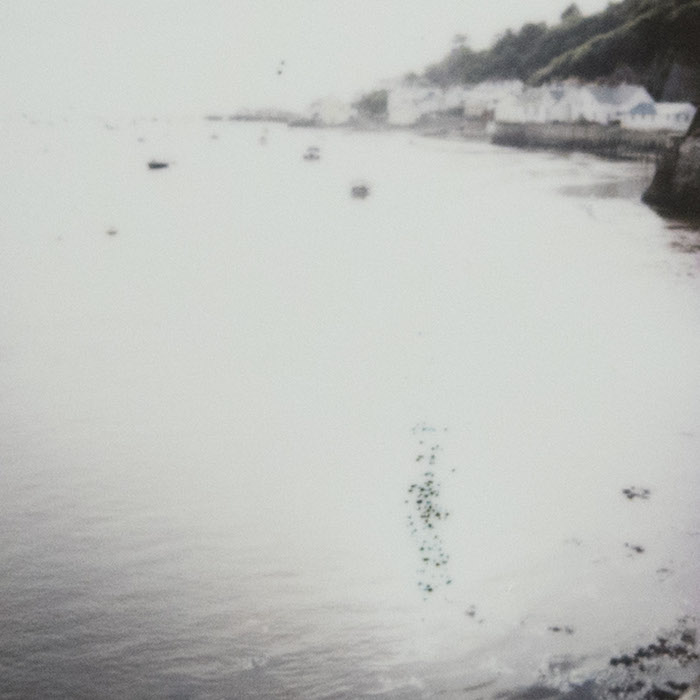
One issue with the film is that black speckles sometimes emerge in extremely overexposed areas of the frame, such as the highlights on the water in the backlit image below. The best way around this is to avoid photographing scenes with very intense light sources.
Crop of the black speckles
It takes around 1-2 minutes for an image to develop. When indoors, you can leave it on any surface and watch the magic happen right before your eyes but when outdoors, it is best to store it inside a bag or flat pocket to keep it out of the sun.
You’ll also want to avoid taking pictures in extreme temperatures as the film is engineered for optimum performance between 5°C to 40°C. If you do take an image in very cold conditions, slide it into your pocket immediately to keep it warm.
Finally, despite what the ‘Shake It Like a Polaroid’ song says, do not – I repeat do not – shake or bend your image while it’s developing as doing so could disperse the chemicals and ruin your shot!
Conclusion
Before investing in the Instax Mini 9, I really wasn’t sure whether or not I’d take to instant photography again. Sure, it was something I adored in the past, but that was before the immediacy and ubiquity of digital photography which, incidentally, I also enjoy.
It turns out I needn’t have worried – I’ve found more reasons to love the Instax Mini than I’d ever imagined despite its imperfections.
I love going out knowing that I can only take a maximum of ten shots. Sometimes I take one, sometimes I use up the whole roll. Either way, knowing I have a limit forces me to consider the value of each shot I take.
I love having to wait those sixty seconds to discover whether my image is one for the collection … or one for the bin.
I love how the camera settings have been stripped down to the bare minimum so I can think more about the composition and less about the technicalities.
I love how perfection never comes into the equation. It’s an escape from today’s world of megapixels, bokeh and sharpness. Capturing the moment itself becomes far more important than the quality of the image.
And finally, at the risk of sounding terribly cliche, I love how it brings the fun back into photography. That isn’t to say digital isn’t fun as well but nothing can beat the magic of snapping a shot and watching it develop before your eyes.

What I like about the Instax Mini 9:
- fun and friendly design
- various body colours
- grip is very comfortable
- extremely straightforward to use, even for those who have no experience with film
- the mirror helps you take well-composed selfies
- comes with a close-up lens that improves the minimum focus distance unlike the Mini 8
- is everything an instant film camera should be in a very simple package
What I don’t like about the Instax Mini 9:
- film is on the expensive side so it’s best to buy it in bulk
- no Auto mode for the brightness settings
- optical viewfinder is very small
- parallax issue can make it difficult to compose at close focus distances
- metering system isn’t always 100% accurate
- bright daylight scenes are often overexposed even at the smallest aperture
Check price of the Instax Mini 9 on Amazon | Amazon UK | B&H Photo
You might also enjoy the following articles:
Found this article useful? Please take a moment to pin it!
