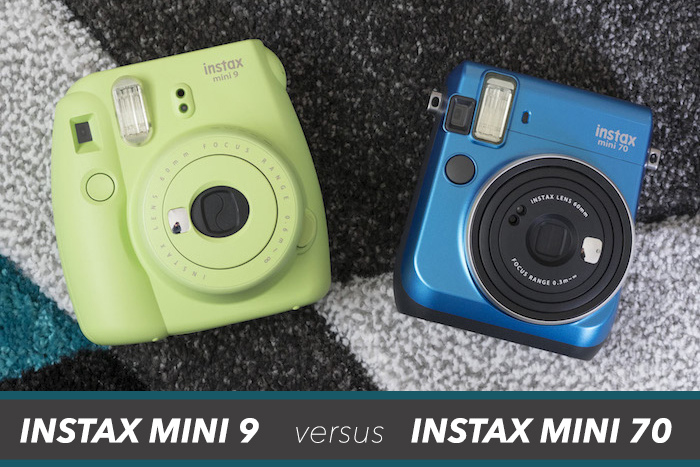
Two of the most well-loved models within Fujifilm’s range of instant cameras are the Instax Mini 9 and the Mini 70. The former is the official successor to the Instax Mini 8, the most popular consumer-oriented instant camera on the market, whereas the latter is a slightly more advanced model with a more refined design and extra controls.
I’ve been using both cameras over the past few months, and felt it was high time to share my thoughts on how they compare. Let’s get started!
Ethics statement: We bought the Mini 9 and Mini 70 for our personal use. We were not asked to write anything about the cameras, nor were we provided with any sort of compensation. Within the article, there are affiliate links. If you buy something after clicking the link, we will receive a small commission. To know more about our ethics, you can visit our full disclosure page. Thank you!
What do they have in common?
Before we start untangling all the differences, let’s first take a quick look at the characteristics the Mini 9 and 70 share. Both models:
- are only compatible with Fujifilm’s Instax Mini film
- have a retractable 60mm lens (approx. 35mm equivalent in full-frame terms)
- have an 0.37x optical viewfinder with a target spot at the centre
- and have a selfie mirror positioned beside the front element to help you compose self portraits with ease.
1. Design
One of the main differences between the Instax Mini 9 and 70 is the design, starting with the size and weight.
The Mini 9 is larger than the Mini 70 no matter which way you measure it, and is approximately 26g heavier. Both are constructed from plastic, though the coating of the 70 gives it a metallic sheen.
- Mini 9: 116mm x 118.3mm x 68.2mm | 307g
- Mini 70: 99.2mm ×113.7mm × 53.2mm, 281g
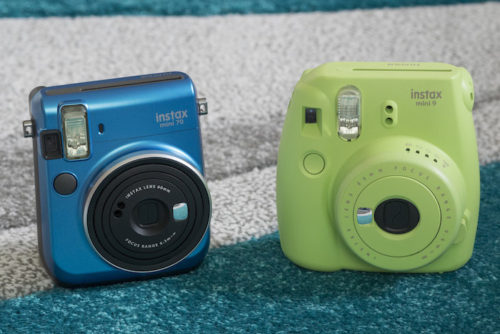
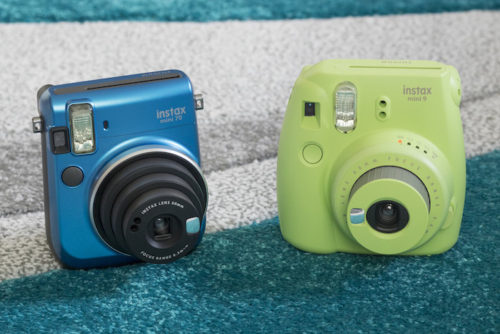
The Mini 9’s appearance is more akin to a child’s toy than a camera thanks to its round edges, large grip and chunky build, whereas the 70, with its slimmed down form factor and sharper edges, looks more elegant and mature.
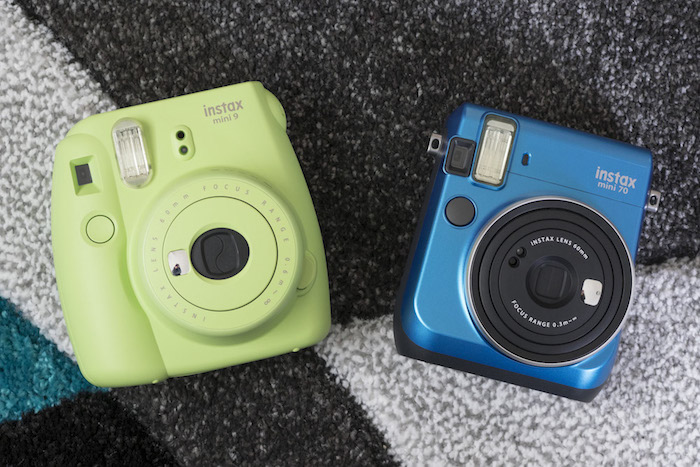
Adding to the toy-like appearance of the Mini 9 is the range of fun pastel colours it comes in. I went with the Lime Green version but you can also choose between:
The six different colours of the Mini 70, in addition to having a metallic sheen, are punchier and more saturated than the pastel hues of the Mini 9 range. The range includes:
- Island Blue (Amazon)
- Passion Red (Amazon)
- Stardust Gold (Amazon)
- Moon White (Amazon)
- Midnight Black (Amazon)
- Canary Yellow (Amazon)
On the front, both feature a shutter button, flash, optical viewfinder and a 60mm lens that pops out of the body when the camera is turned on.
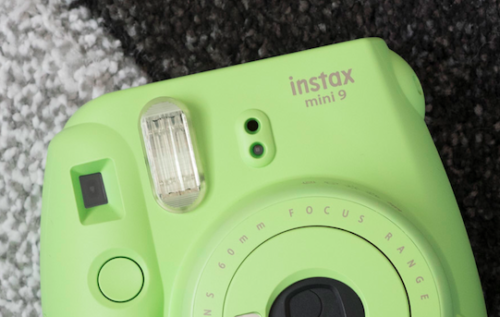
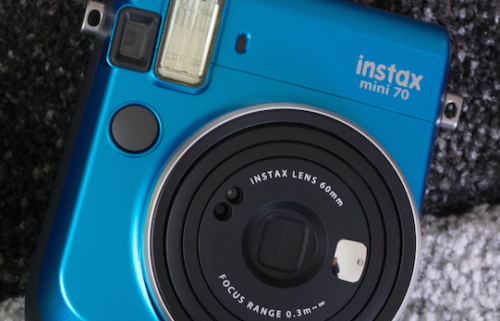
One difference is the location of the light meter: on the Mini 9, it is found on the body beside the flash, whereas on the Mini 70, it is located directly on the lens beside the front element. The positioning of the latter is more intelligent, as you are less likely to inadvertently cover the light meter with your fingers.
- Mini 9 light meter
- Mini 70 light meter
There are eyelets on either side of each camera for a strap and a film ejection slot on top.
>> Check out my favourite strap for Instax Mini cameras here!
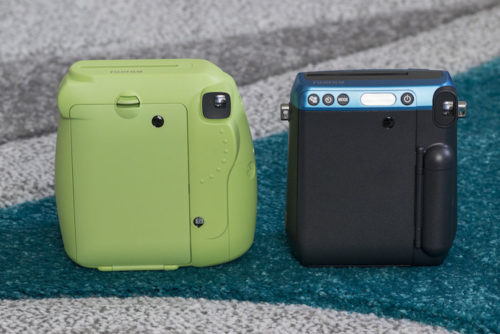
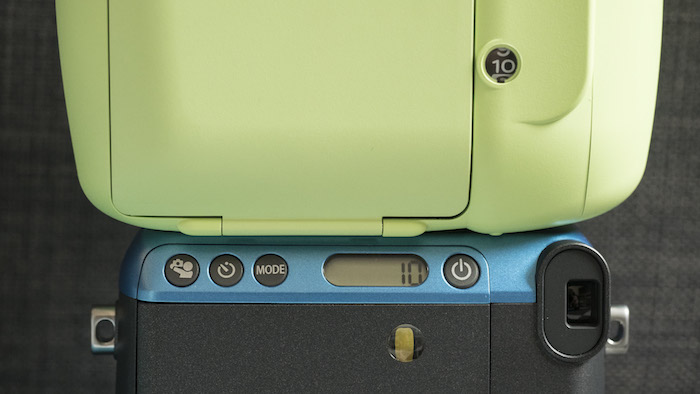
The rear is almost completely devoid of features on the Mini 9 except for the film door, viewfinder and shutter counter. On the Mini 70, the shutter count is displayed on a small LCD screen along with the mode you are currently using (self shot, timer, auto, macro, landscape, forced flash, and hi key). You can toggle between modes via the three buttons beside the screen.
To turn the Mini 9 on, you must pop the lens out by pressing the large button beside it. Turning it off again is simply a matter of pushing the lens back into the body. The Mini 70, by contrast, has its own on/off button located to the left of the crystal screen.
- Turned off
- Turned on
2. Lens
The lenses of both the Mini 9 and 70 have a focal length of 60mm, which is roughly the equivalent of 35mm in full-frame format.
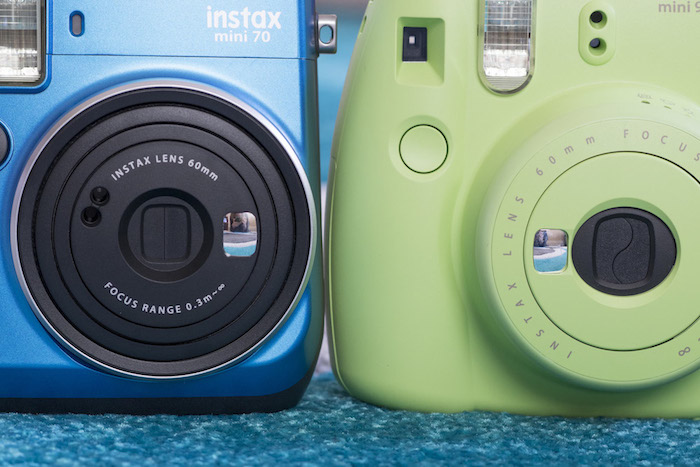
The difference is that the Mini 9 has a fixed focus range of 60cm to infinity, whereas the Mini 70 has a motor driven focusing mechanism that changes the distance depending on the mode you’re in. Macro will set it to a range of 30cm to 60cm, normal mode ranges between 60cm and 3 meters and landscape is for any distance between 3 meters and infinity.
The only way to take macros or self portraits with the Mini 9 is to attach the provided close-up lens which gives you a range of 35cm to 60cm. Just remember to remove it if you go back to shooting landscapes afterwards!
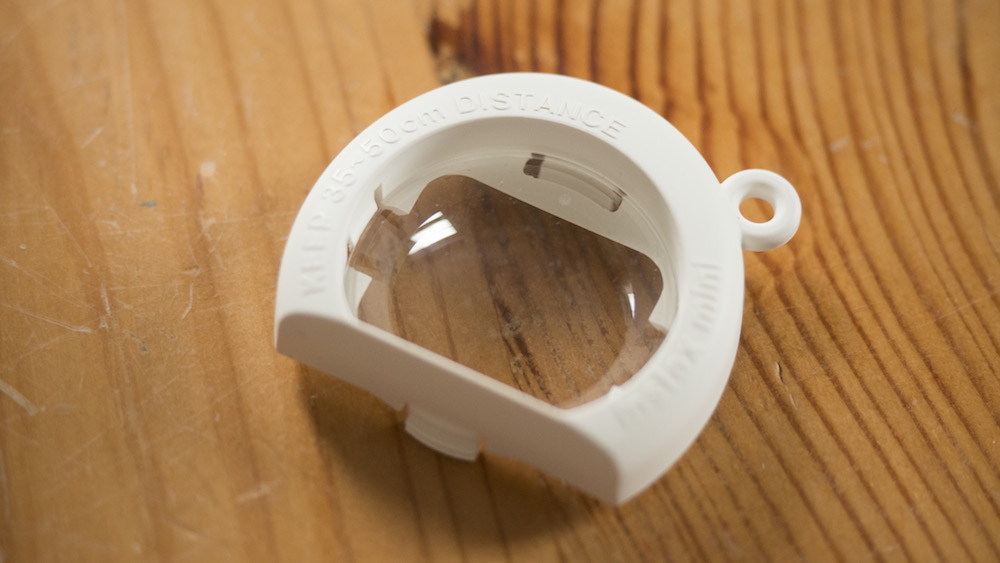
>> Check out our article about using the close-up lens on the Mini 9!
3. Shutter Speed and Aperture
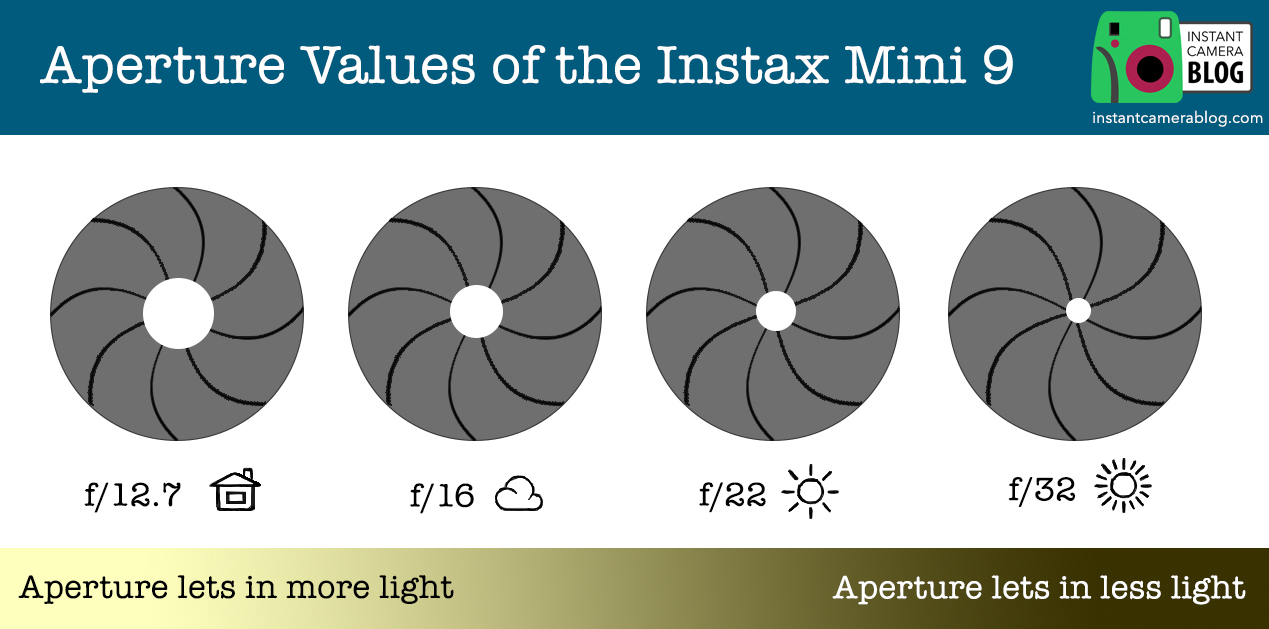
An interesting difference between the two cameras is that the Mini 9 has a fixed shutter speed (1/60 of a second) and a variable aperture (between f/12.7 and f/32) whereas the Mini 70 has a fixed aperture (f/12.7) and a variable shutter speed (1/2 second to 1/400 of a second).
On the Mini 9, you can open and close the aperture by turning the brightness adjustment dial on the lens. The camera will suggest the appropriate brightness setting by illuminating one of the lamps after reading the ambient light conditions.
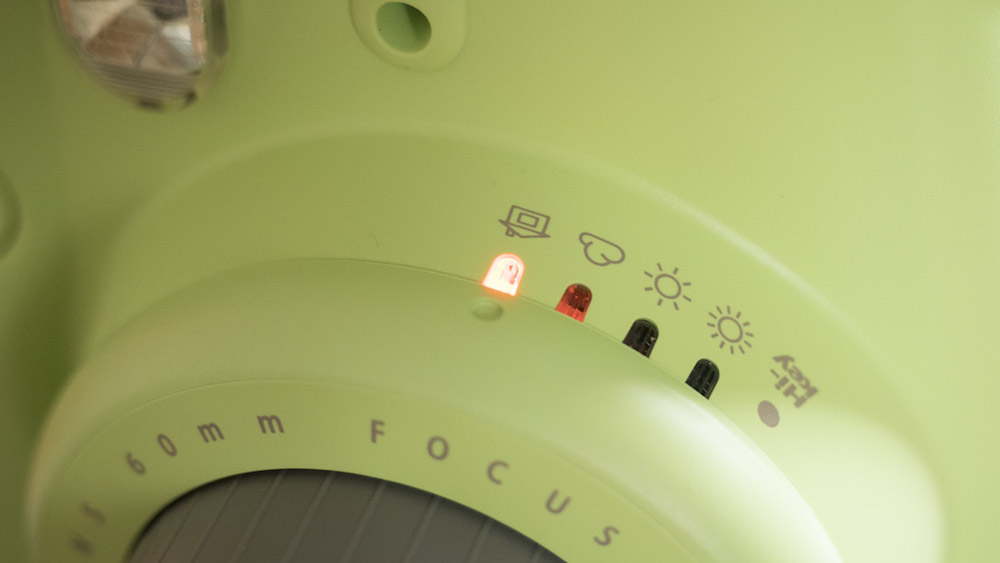
The darker the value you select (e.g. indoors), the more the aperture opens to let in as much light as possible. Likewise, the brighter the value you select (e.g. very sunny), the more the aperture closes to stop too much light from getting in. You can see a helpful diagram that shows how this works below.
Because the aperture is fixed at f/12.7 on the Mini 70, the only way the camera can control how much light reaches the film is by changing the shutter speed. Unlike the Mini 9 that forces you to manually select a brightness (aperture) value from the dial, the Mini 70 automatically reads the brightness of the scene and selects the most appropriate shutter speed accordingly. Sadly there is no way to manually select the shutter speed.
Just as a smaller aperture lets in less light, a faster shutter speed shortens the time the film is exposed to light. The maximum speed available on the Mini 70 is 1/400 of a second, which the camera uses for bright scenes, while the minimum is 1/2 of a second, which is useful for dark scenes.
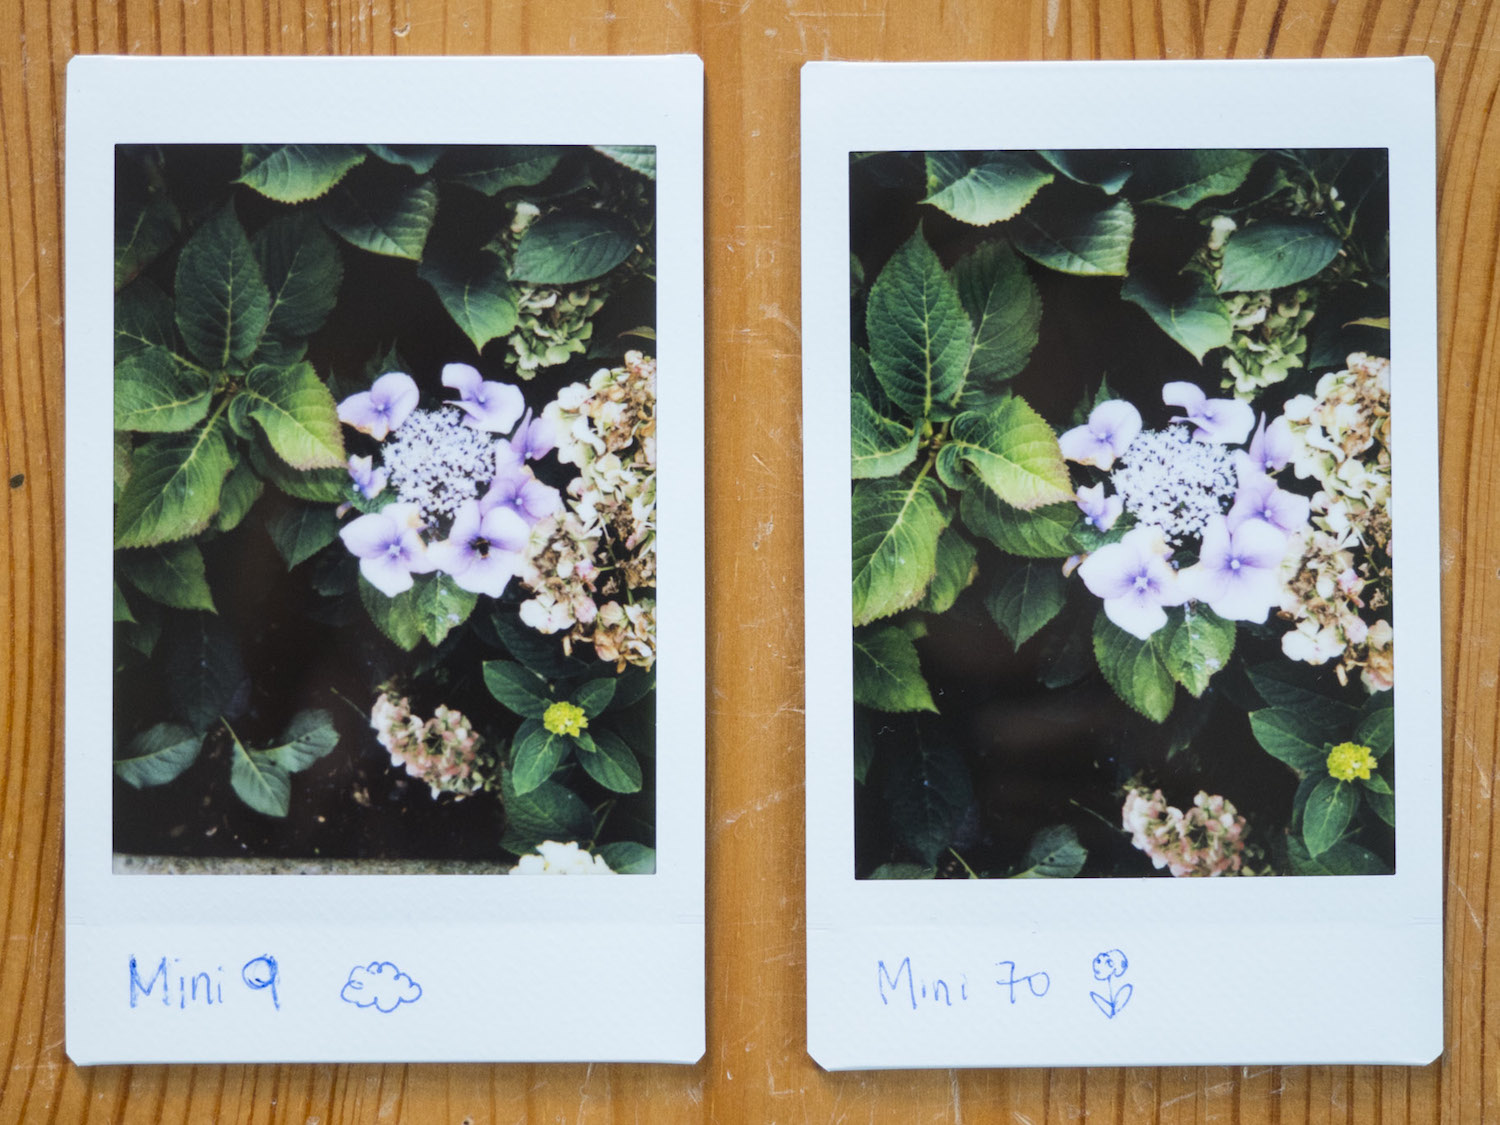
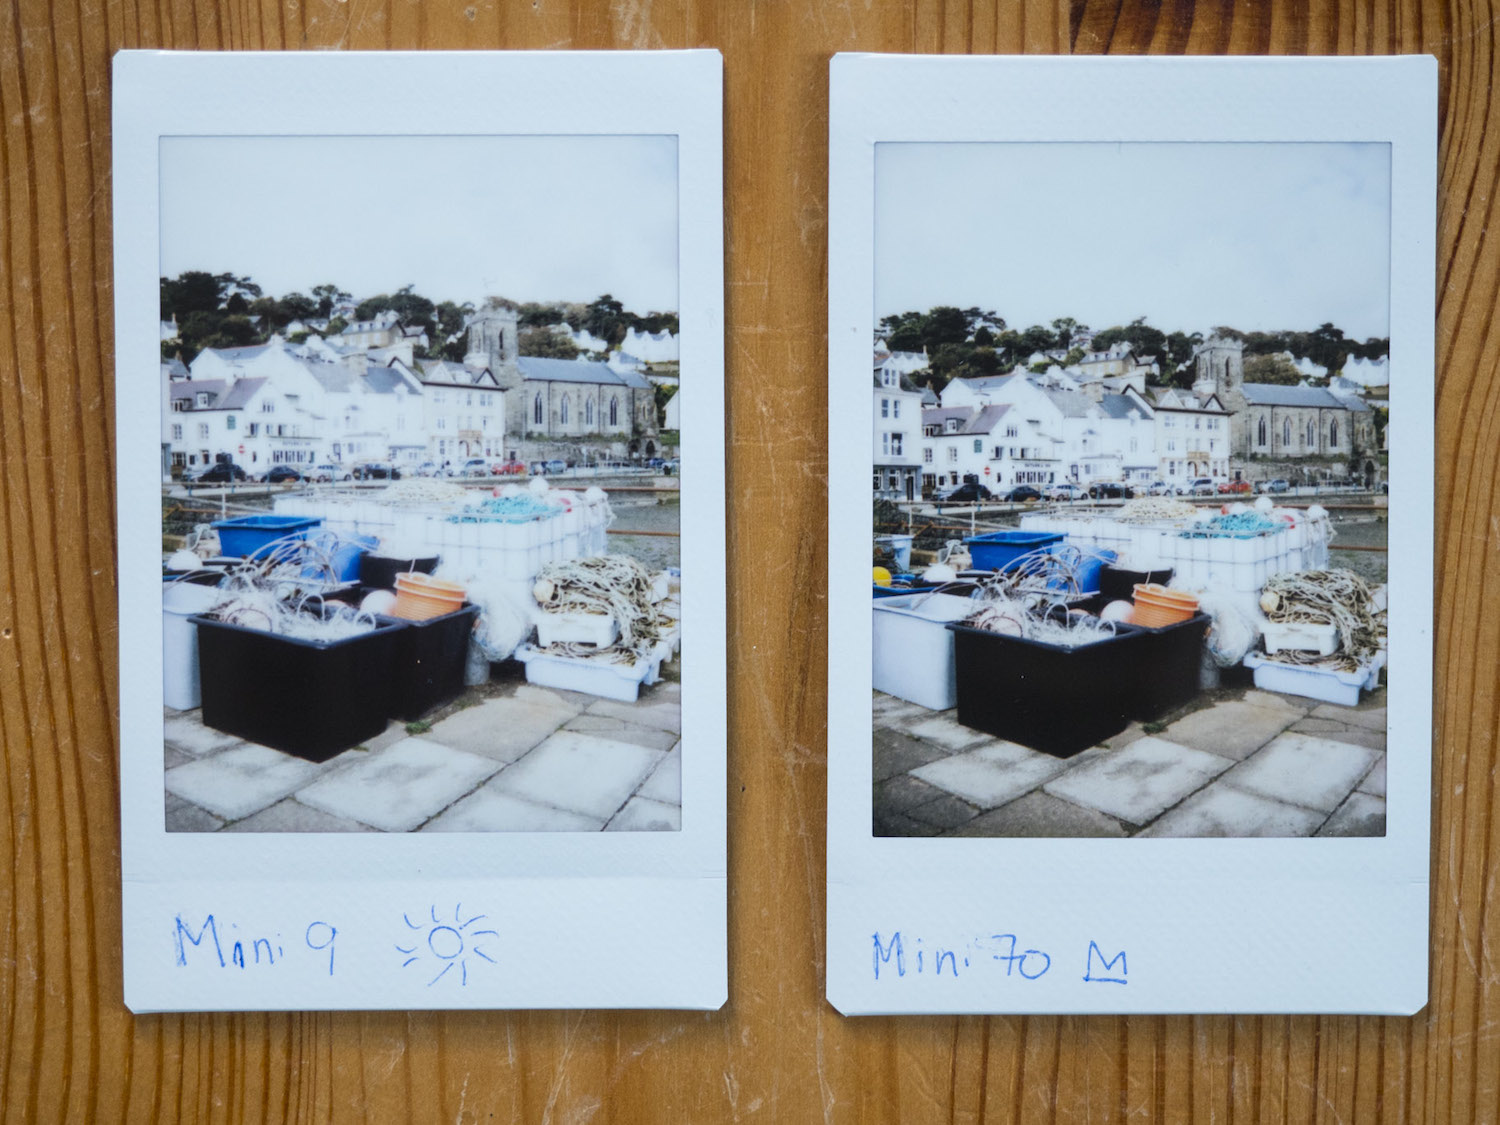
The Mini 9 set to 1/60s and f/32 (very sunny) and the Mini 70 set to 1/400s and f/12.7 allow a similar amount of light to hit the film for bright scenes. (Keep in mind that neither performs very well in broad daylight as you can see from the samples below.)
>> Check out our article about why your Instax film is overexposed
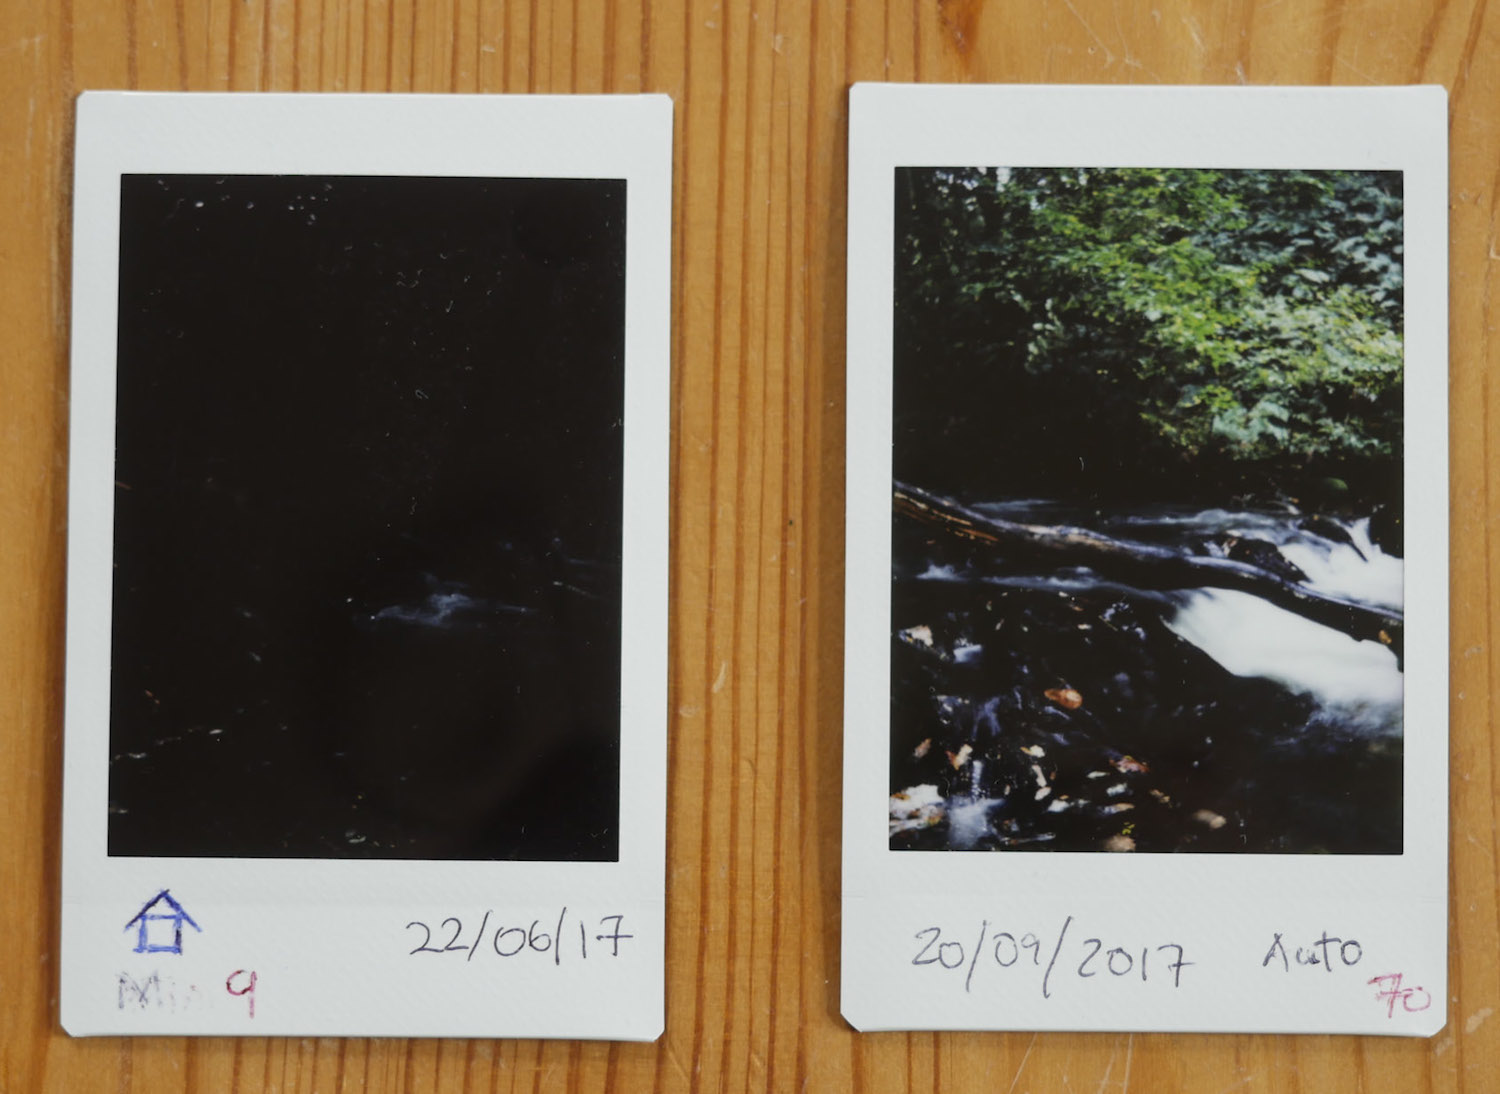
The Mini 70 is more versatile in poor light conditions, however, because even though they have the same maximum aperture of f/12.7, the Mini 70 can keep the shutter open for longer than the Mini 9 (1/2 second vs. 1/60s). In other words, the Mini 70 allows more light to hit the film in low light.
Keep in mind that if you’re using the Mini 70 in low light conditions for landscapes, it is better to stabilise it on a tripod or on a steady surface to avoid motion blur.
4. Flash
Both cameras come with a built-in flash with similar specifications. For example, both take between 0.2 – 6/7 seconds to recharge and can fire as far as 2.7 meters.
The biggest difference is that the Mini 9’s flash always fires with the same amount of power regardless of the light conditions or the brightness setting you are using. This is because the camera’s shutter speed is fixed at 1/60s, which is slow enough to induce motion blur if you aren’t completely stable. While the constant firing flash is great for normal and low light conditions, it can blow out shots taken outdoors on a bright sunny day if the subject is close.
The Mini 70’s flash unit is a little more complex. As mentioned above, the camera uses its light meter to read the brightness of the scene and chooses a shutter speed accordingly. If there is enough ambient light, the flash will not fire.
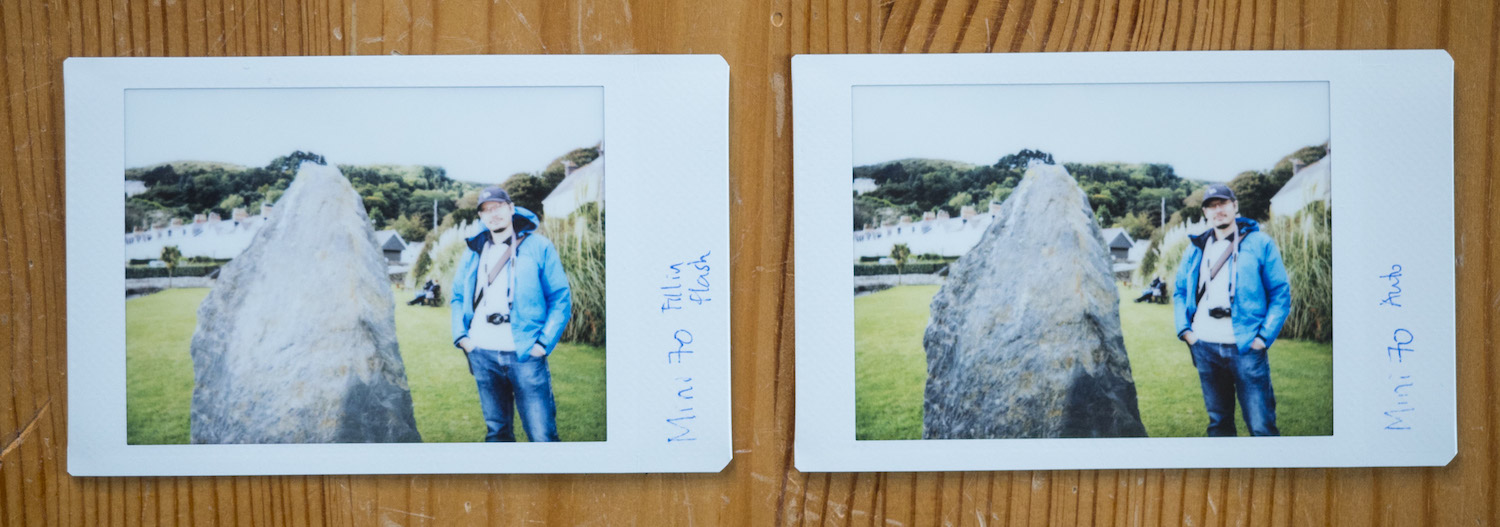
If, however, you do want the flash to fire – because, for example, there are some dark shadows in the foreground that you want to brighten – you can choose the Fill-in Flash mode that forces the camera to fire the flash even if it is very bright outside. In the example below, I chose to use the fill-in flash to get rid of the shadows on Mathieu’s face.
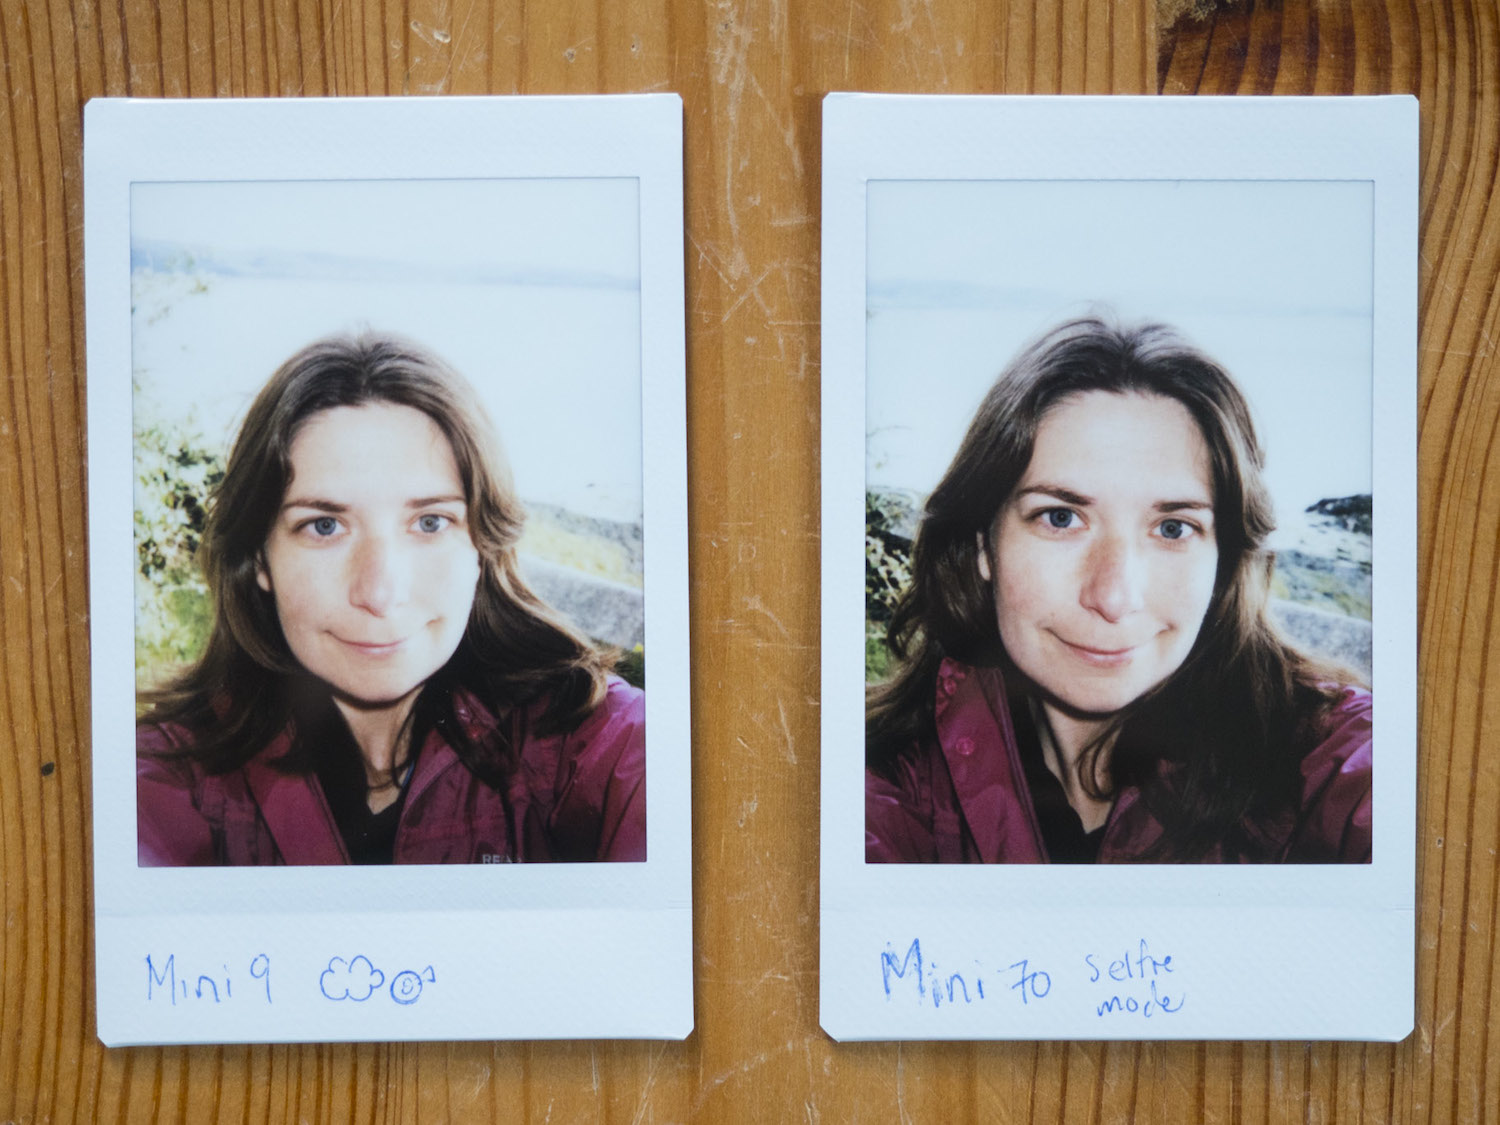
Usefully, the flash of the Mini 70 also adjusts the intensity of its output when you switch into Selfie mode so that you don’t look completely washed out!
5. External Controls
As we mentioned above, the Mini 70 has more controls, all of which are accessible from the rear LCD panel and the buttons that flank it. They are as follows:
- Auto: automatically detects the surrounding ambient light and adjusts the shutter speed and flash output accordingly; uses focus range of 60cm – 3m
- Macro: switches the focus range to 30cm – 60cm
- Landscape: switches the focus range to 3m – infinity
- Fill-in Flash: forces the flash to fire even in bright settings
- Hi Key: makes the image 2/3 EV brighter by reducing the shutter speed
- Selfie: adjusts the focal length, shutter speed and flash output to the level optimised for close-up selfie shots
- Timer: 10-second delay; takes one shot or multiple shots (and will only take next shot after you’ve removed the ejected film)
The Mini 9 doesn’t have any mode buttons or an LCD screen, so the only control you have over the output is via the brightness adjustment dial. In addition to its Indoor, Cloudy, Sunny and Very Sunny modes, there is also Hi Key serves the same function as Hi Key on the Mini 70. There is no way to limit the focus range on the far end, but as mentioned before, you can limit it to 35cm – 60cm on the close end by attaching the close-up lens.
Also note that the shutter count is displayed in different locations. On the Mini 70, it is shown digitally on the LCD screen whereas on the Mini 9, there is an analog counter beside the film door.
6. Tripod Mount
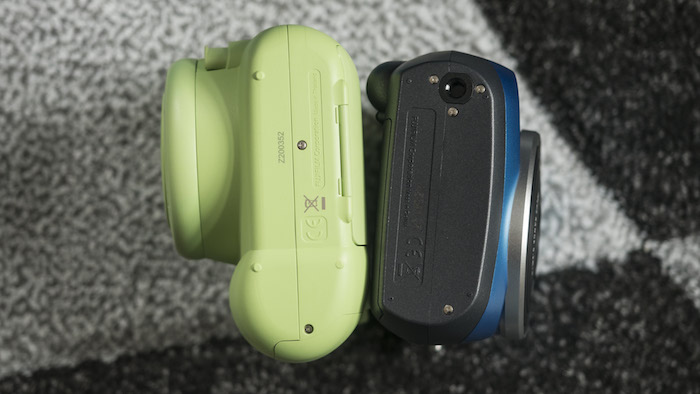
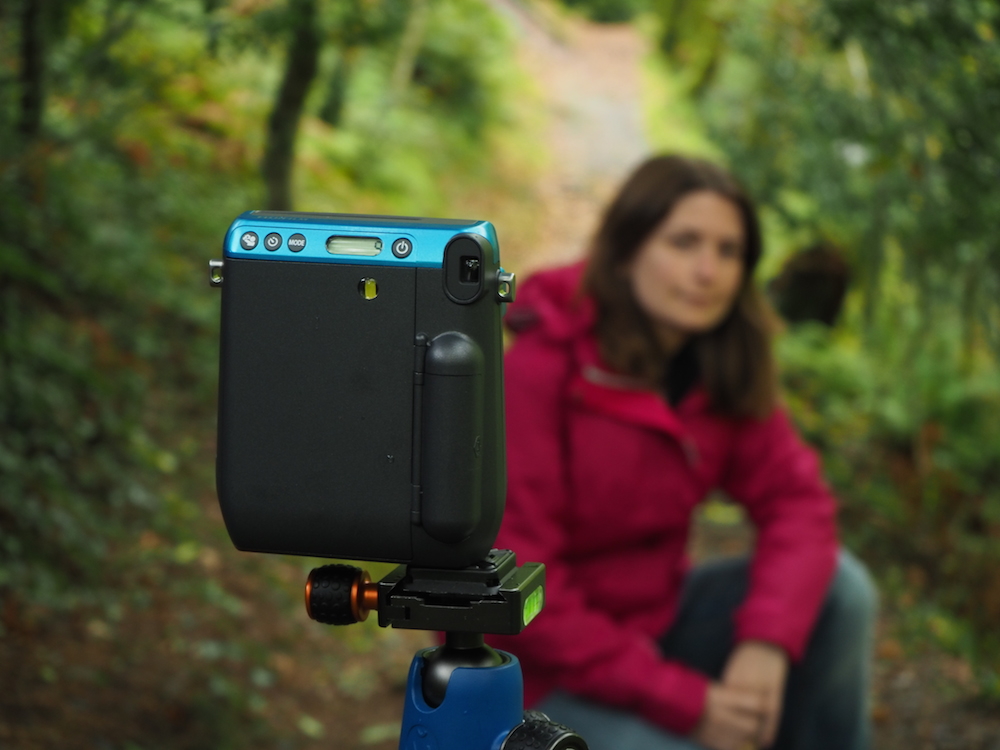
A nice addition to the Mini 70 is the threaded hole at the bottom that lets you mount the camera on a tripod.
It is primarily useful for self portraits at a distance and group shots that you want to be a part of but it can also help you avoid camera shake in poor light conditions.
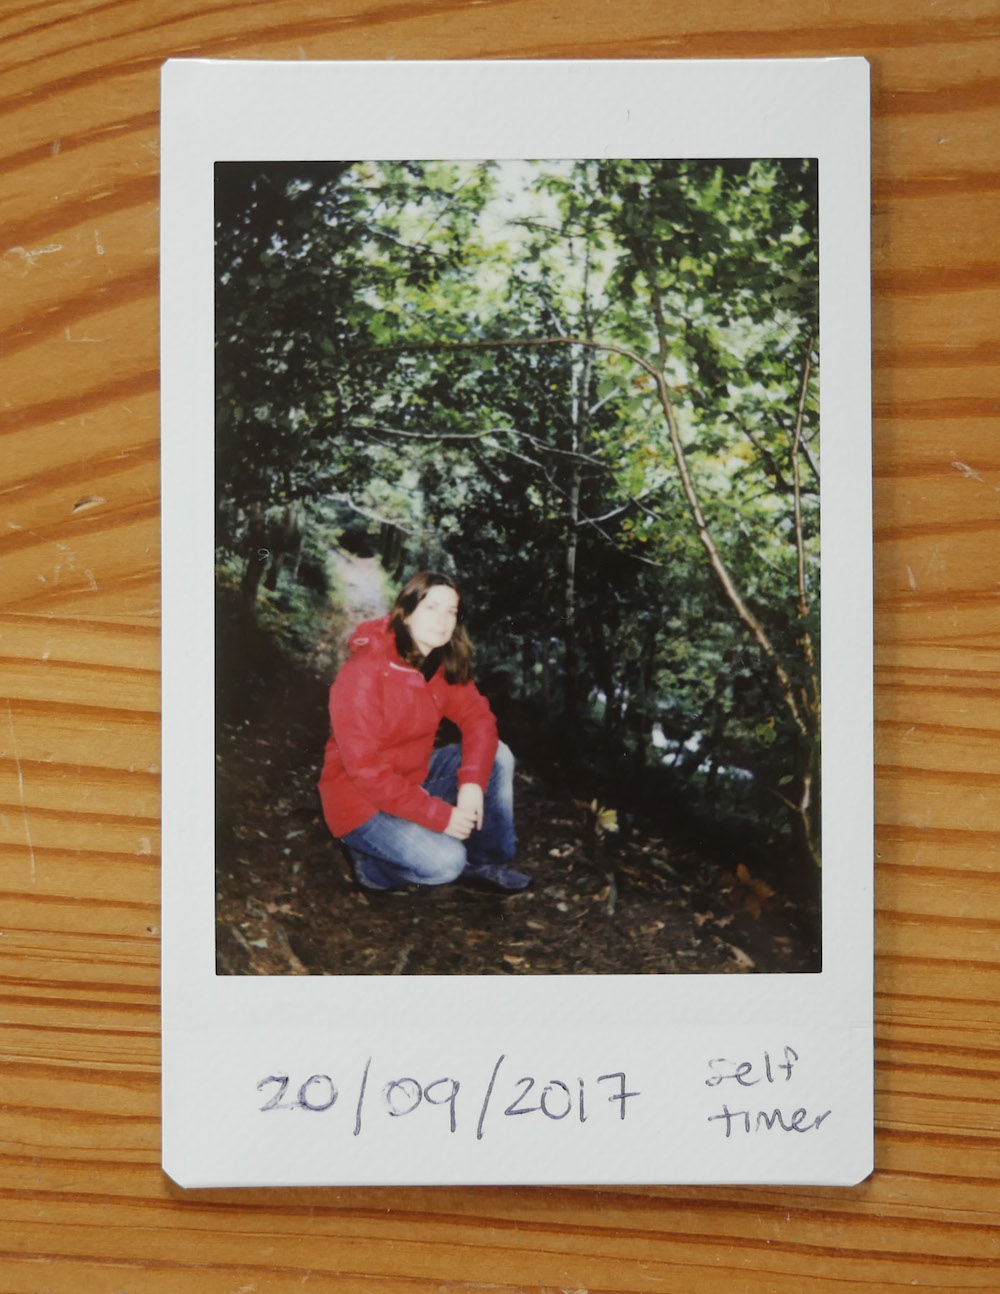
The Mini 9 doesn’t come with a threaded hole so the only way to work with the camera is hand-held.
7. Batteries
When I first unboxed the Mini 70, I was surprised to find that it uses two CR2 batteries instead of two standard AA batteries like the Mini 9.
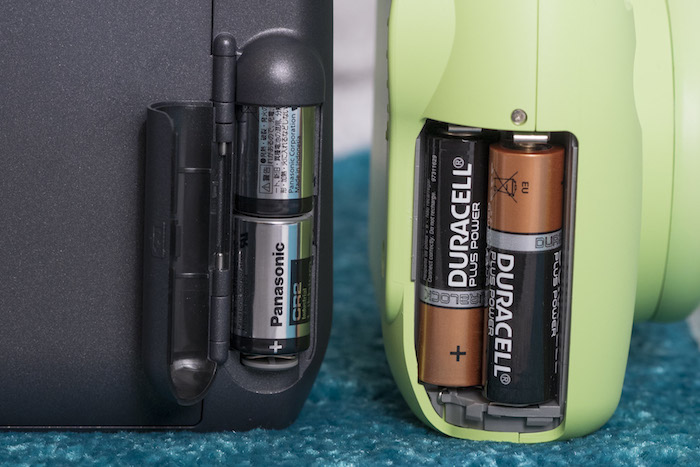
The Mini 9 is able to take around 100 shots (10 rolls of film) before the batteries need replacing. According to Fujifilm, the Mini 70 is capable of taking approximately 4x more shots than the Mini 8, so I assume that the same comparison can be drawn between the Mini 70 and Mini 9.
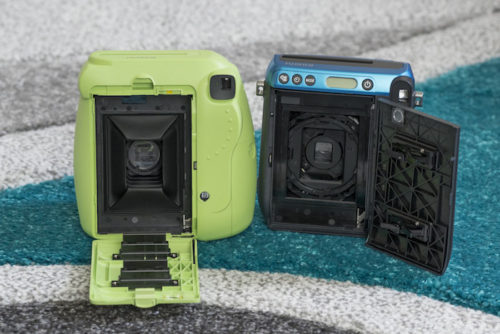
On the Mini 9, the batteries compartment is flush with the rest of the body whereas on the Mini 70, it bulges out the back, acting as both a battery compartment and a thumb rest.
8. Price
The Mini 70, being a more advanced model, is a little more expensive than the Mini 9.
The average price of the Mini 9 (body only) is around £70 / $60 whereas the Instax Mini is closer to £90 / $80. You can usually find both cameras at a similar price with a bundle of 10-shot film included as well.
However, keep in mind that the real cost of owning an Instax camera isn’t the body itself but replenishing your Instax Mini film. Living in the UK, I can usually find a pack of 20 shots for around £15 but you may be able to find a better deal depending on where you live. (I hear that Instax film is dirt cheap in Asia for example!) Because it’s so expensive, you will find yourself becoming quite selective about the shots you take!
Conclusion
I’ve owned both the Mini 9 and 70 for a few months now and find them both to be extremely fun and straightforward cameras to use. Even more important, they both provide that irreplaceable experience of watching your image develop before your very eyes which, by my reckoning, never gets old no matter how many photos you take!
If I had to pick between them at this point in time, I’d probably go for the slightly more advanced Mini 70 due to its various extra features such as the dedicated macro and landscape modes, self timer and tripod socket, but given that the image quality is very similar overall, I could be just as happy to continue shooting with the Mini 9 as well.
Check the price of the Instax Mini 9 on Amazon | Amazon UK | B&H Photo
Check the price of the Instax Mini 70 on Amazon | Amazon UK | B&H Photo
Found this article useful? Please take a moment to pin it!
You might also enjoy the following articles:
