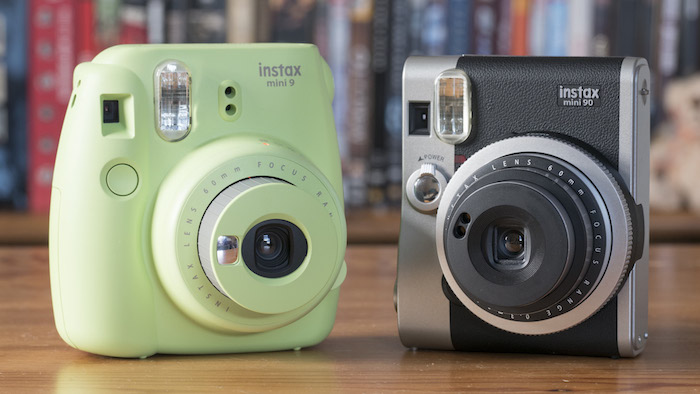
The Fujifilm Instax Mini 9 and 90 are two popular instant film cameras that sit at opposite ends of the spectrum – at least as far as their respective target audiences are concerned. Although both use the same Instax Mini film, the Mini 9 is classified as a point-and-shoot model for entry-level users whereas the Mini 90 targets more advanced photographers who want additional control over their imagery.
In the following comparison, we’re going to go through all the main differences between these two models to help you come to a decision about which is right for your needs.
Ethics statement: We bought the Mini 9 and 90 Neo Classic for our personal use. Within the article, there are affiliate links. If you buy something after clicking the link, we will receive a small commission. To know more about our ethics, you can visit our full disclosure page. Thank you!
1. Design and colours
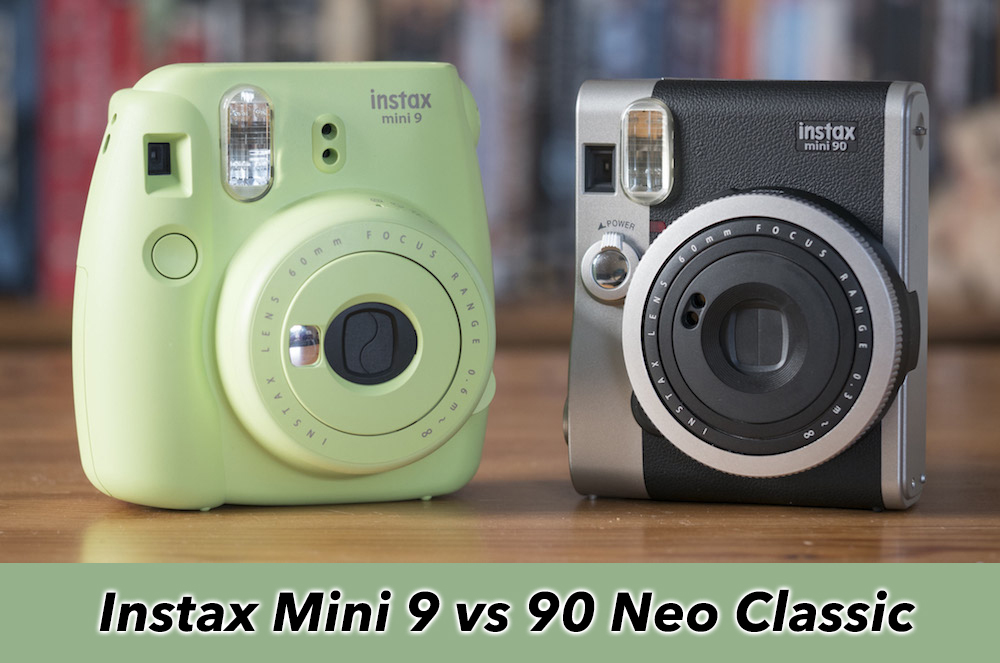
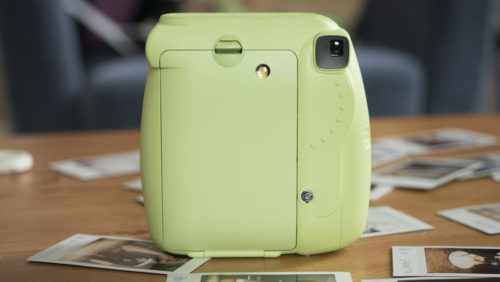
Physically speaking, the Mini 9 more closely resembles a child’s toy than it does an instant camera due to its round edges, large grip and chunky build. The 90, on the other hand, looks more like one of Fujifilm’s interchangeable mirrorless models thanks to the top and bottom silver plates and textured faux-leather finish.
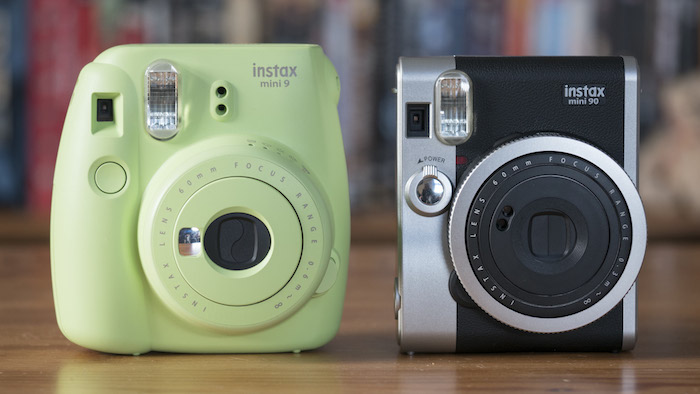
The Mini 9 is also a little larger and heavier than the Mini 90 but the difference isn’t really noticeable once you’re holding them in your hand.
Both are constructed from plastic and feel fairly robust in the hand – although dropping either of them on a hard surface would probably call for an immediate trip to the repair shop!
The Mini 9 officially comes in five fun colours:
The Mini 90, by contrast, only comes in black or brown with silver accents.
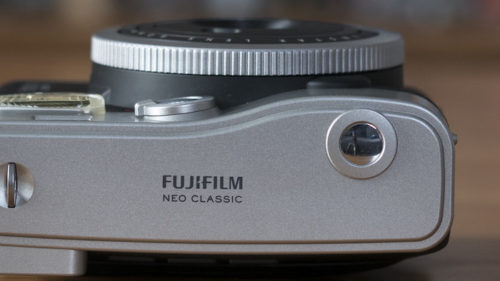
Both feature a film ejection slot, film door, built-in flash, optical viewfinder and 60mm lens that pops out from the body when the camera is turned on. However, only the Mini 90 has two shutter release buttons, meaning that you can easily use it in either landscape or portrait orientation. (The Mini 9 can also be used in landscape orientation but it isn’t as comfortable.)
- Front shutter button
- Top shutter button
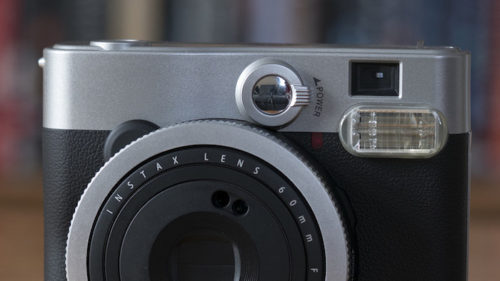
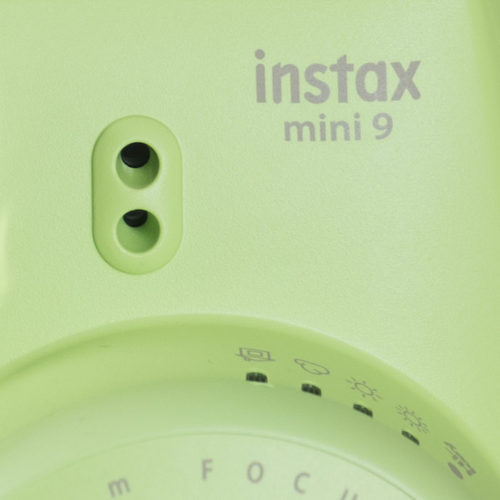
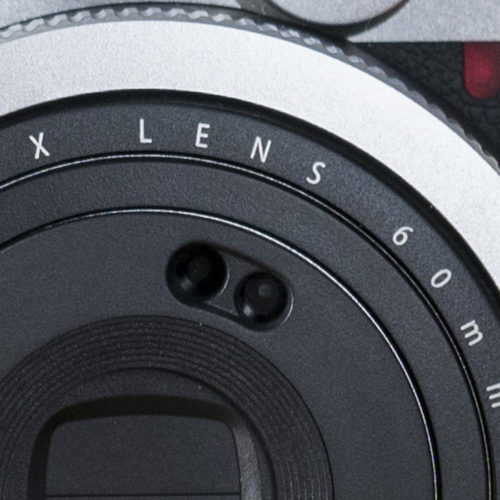
On the Mini 9, the light meter is found on the body beside the flash, whereas on the Mini 90, it is located directly on the lens beside the front element. We find the positioning of the latter more intelligent, as it is less likely you’ll inadvertently cover the light meter with your fingers.
- Light meter on the Mini 9
- Light meter on the Mini 90
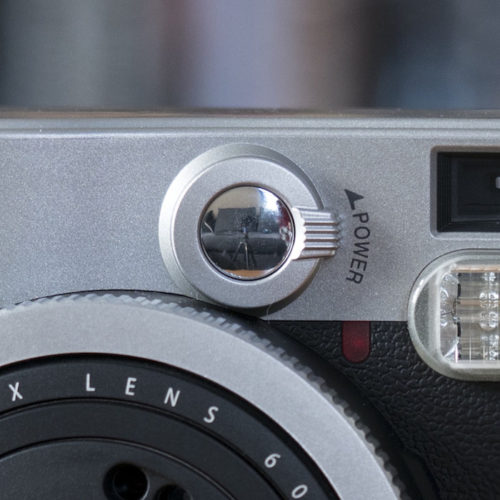
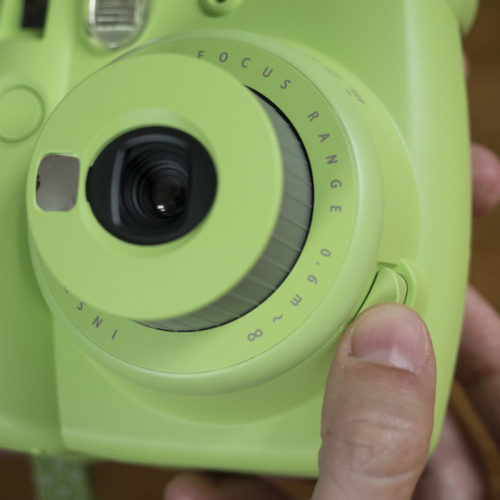
With the Mini 9, you have to eject the lens via a button to turn the camera on and push it back into the body to turn it off again. On the Mini 90, there is a simple on/off toggle on the front that also houses one of the shutter buttons.
- On/off toggle
- Button ejects lens and turns camera on
2. Lens
Both the Mini 9 and 90 have a 60mm lens that ejects from the body when the camera is turned on but there are a couple of differences worth noting.
First, the Mini 9’s lens has an aperture range of f/12.7 to f/32 whereas that of the Mini 90 has a more limited range of f/12.7 to f/22, with the latter value only being available in macro mode.
Second, the Mini 90’s lens has a better native minimum focus distance of 30cm. The Mini 9’s is 60cm but this can be increased to 30cm by attaching the close-up lens included in the box.
- The close-up lens on the Mini 9
3. Display
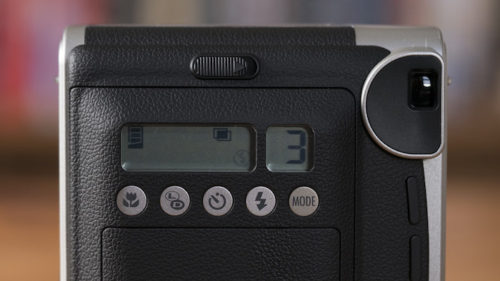
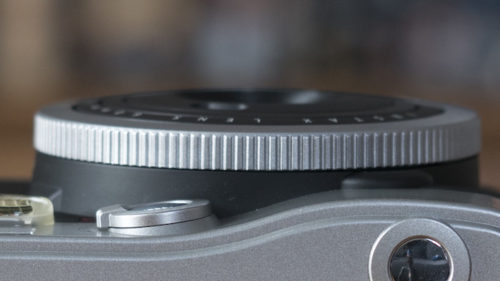
On the Mini 90, the shutter count and all the various modes are digitally displayed on a small LCD screen on the rear. You can toggle between modes by pressing the buttons around the screen or by turning the textured ring around the lens.
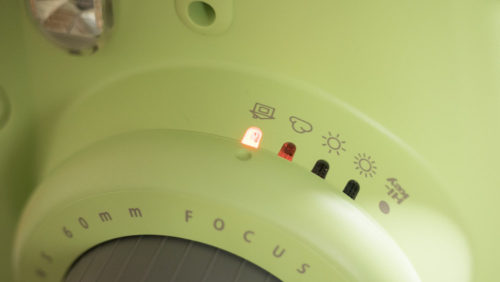
The Mini 9, by contrast, doesn’t have a display. The modes are selected via the brightness adjustment dial around the lens, whereas the shutter count is displayed on the rear inside a small window.
4. Exposure control
The brightness adjustment dial mentioned above is your gateway to exposure control on the Mini 9.
It features five different brightness settings, one of which must be manually chosen before you take a shot due to the fact that there isn’t an automatic mode. They are as follows: Very Sunny (f/32), Sunny (f/22), Cloudy (f/16), Indoors (f/12.7) and Hi Key. To choose the correct setting (aperture), simply rotate the dial to the bulb that is illuminated.
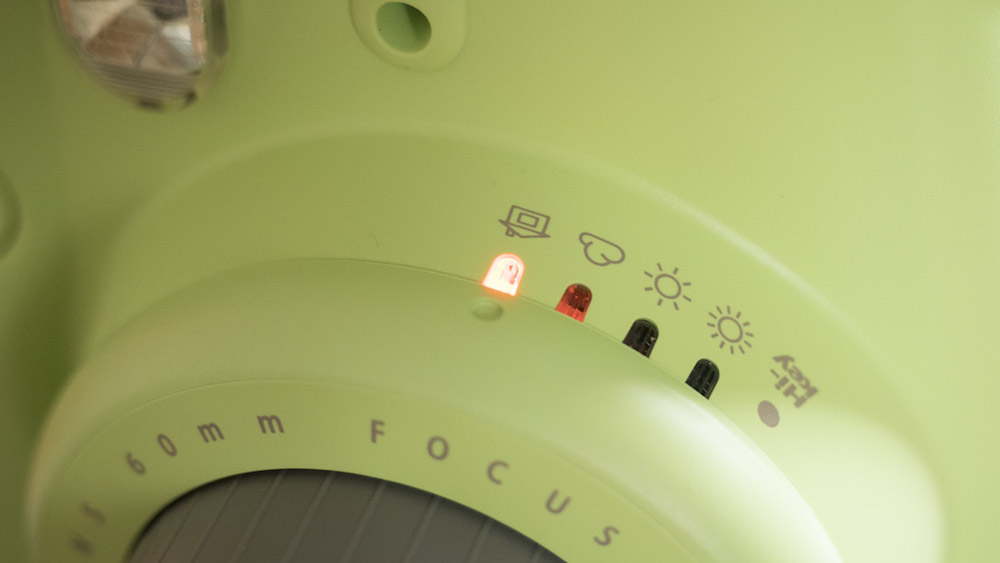
If you accidentally choose the wrong setting, your image will either be too dark (e.g. choosing Sunny when you are indoors) or too light (e.g. choosing Indoors on a sunny day).
Hi Key is the only mode that doesn’t directly correspond to an aperture value. Rather it overexposes the image by 2/3 EV to give you a brighter result in poor light conditions.
The Mini 90 works a little differently to the Mini 9 in that the camera always selects the shutter speed and aperture for you.
So, what if you want to change the brightness of your image?
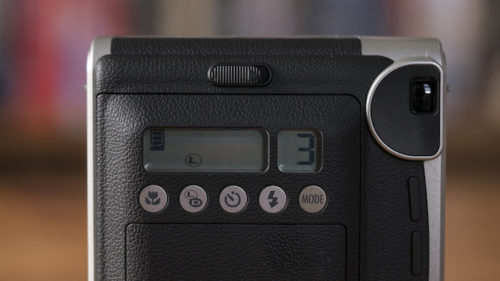
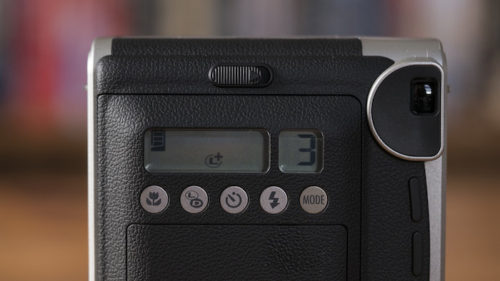
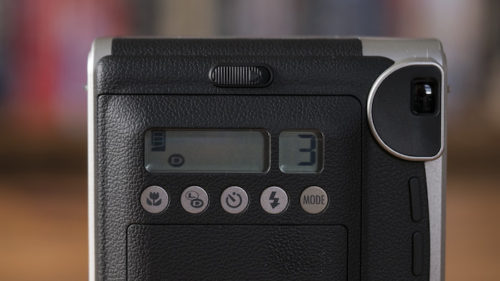
Well, this can be done via the exposure compensation (L/D) button. The Light mode boosts the exposure by 2/3 of a stop (+2/3EV) just like Hi Key on the Mini 9, Light+ raises the exposure by a full stop (+1EV) and Dark lowers the exposure by 2/3 of a stop (-2/3EV).
- Light (+2/3EV)
- Light+ (+1EV)
- Dark (-2/3EV)
Note that on the Mini 9, the shutter speed is always fixed at 1/60 of a second. On the Mini 90, the shutter speed that is variable between 1.8 seconds and 1/400 of a second and the aperture remains fixed at f/12.7 in all modes except macro where it closes down to f/22. It also has a Bulb mode that keeps the shutter open for as long as 10 seconds.
In practical terms, this means that you can use the Mini 90 in darker conditions because the shutter can stay open for longer. It is also more practical for fast-moving subjects thanks to the faster maximum shutter speed.
5. Selfie mirror
The Mini 9 primarily targets young people, so it makes sense that its lens has been fitted with small mirror to help you compose the perfect selfie while holding the camera at arm’s length.
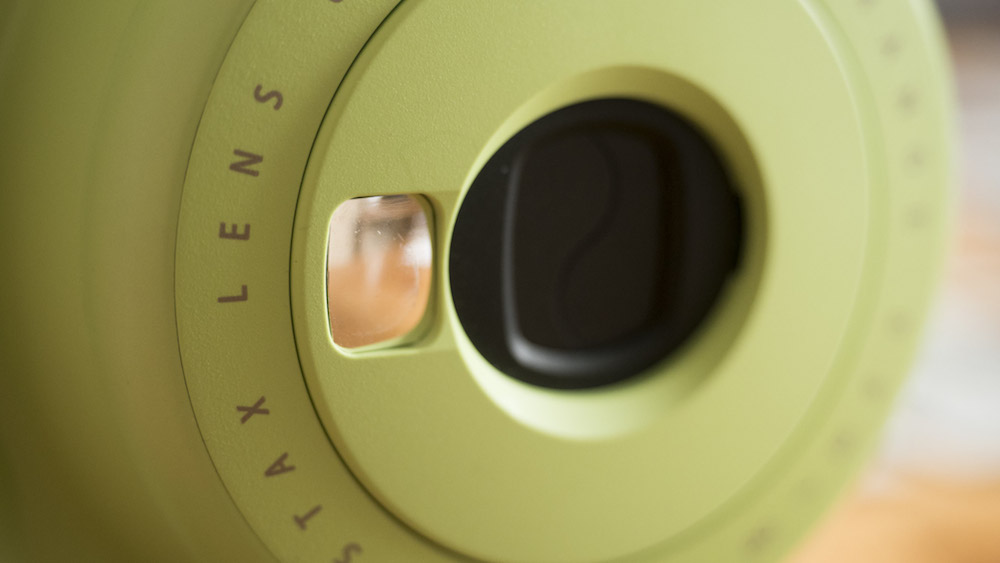
The Mini 90 targets a more mature demographic that probably doesn’t take selfies on a regular basis – hence the lack of a mirror!
6. Viewfinder
Although the specifications of the two viewfinders are pretty similar (both are optical with a magnification of 0.37x), the Mini 90’s has a neat trick up its sleeve: when you switch into macro mode, the viewfinder compensates for the parallax issues.
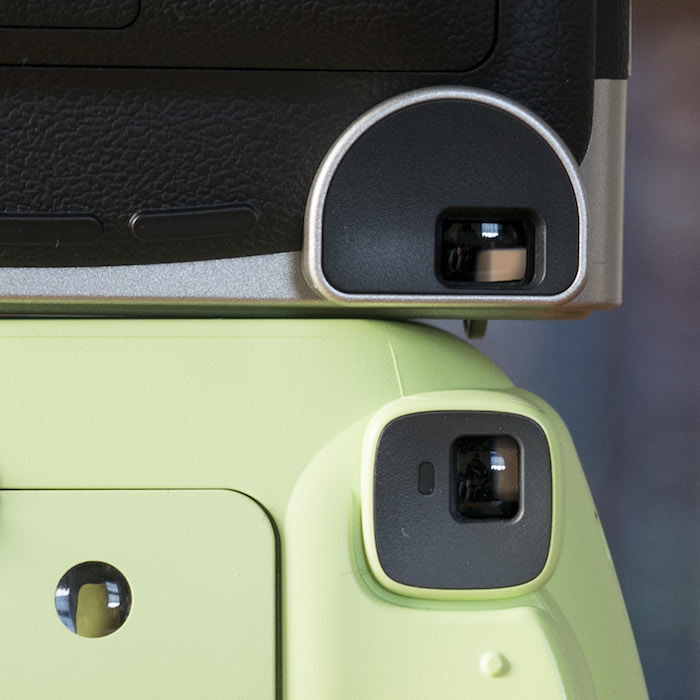
What is parallax, you ask? Put simply, it is a phenomenon whereby the image you see through the viewfinder at a close working distance is slightly offset compared to what the lens sees. This is due to the fact that the viewfinder and lens aren’t on the same optical axis.
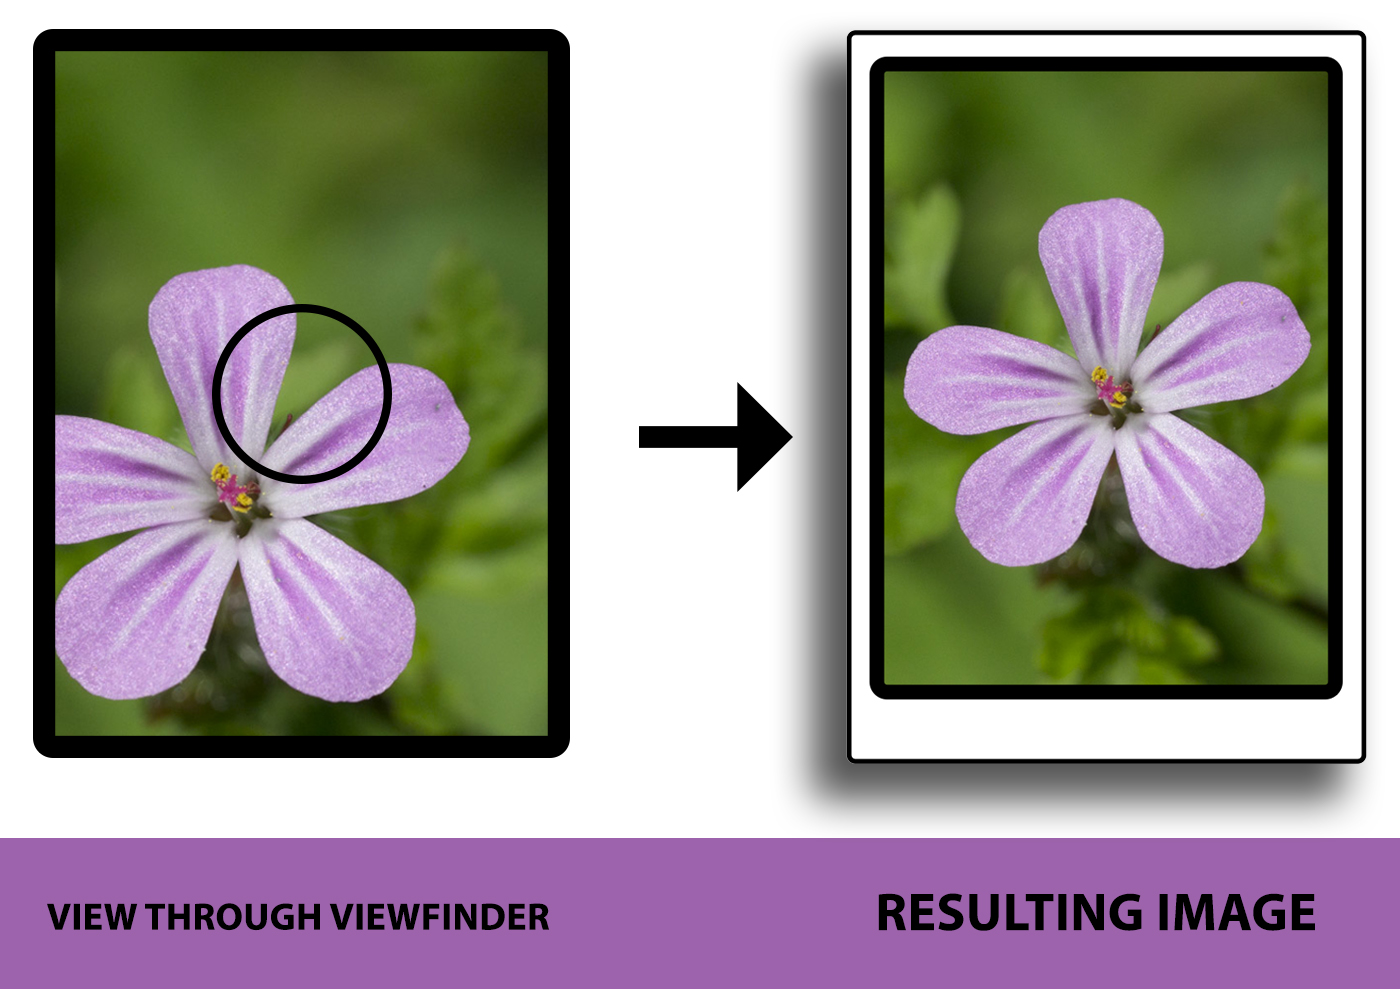
Unfortunately the Mini 9’s viewfinder doesn’t compensate for parallax, so some guesswork is required to get the composition right at close working distances between 30cm and 60cm. Note that it isn’t an issue in the case of selfies because the mirror on the lens helps you compose correctly.
7. Flash
Both cameras sport a built-in flash but that of the Mini 90 comes with a couple of extra options the Mini 9’s flash doesn’t such as fill-flash (force the flash to fire) and red eye reduction. Usefully the flash can also be turned off when not needed.
The Mini 9 has a constant firing flash which, despite being useful for low light conditions, can wash out your image if you are shooting something at a close proximity on a bright sunny day.
8. Extra modes
When it comes to extra modes, you won’t find anything on the Mini 9 beyond the five brightness settings on the dial.
On the Mini 90 however, there is lots of room for creative experimentation thanks to the following modes:
- Double Exposure: press the shutter button once to take a shot, press it again to superimpose a second image onto it (see our double exposure article for more information)
- Bulb: the shutter remains open for up to 10 seconds while the shutter button is depressed, lets you create light paintings and long exposures
- Landscape: sets the lens to a focus distance of 3m to infinity so that far-away objects come into focus
- Party: captures both the subject and background brightly
- Kids: captures moving subjects in dimly lit conditions (dark room, cloudy day)
- Macro: adjusts the lens so that you can take shots between 30cm and 60cm
- Timer: set a 10 second timer to take one or two consecutive shots; good for self portraits or group shots
9. Battery
Something I love about the Mini 90 is the fact that it comes with a rechargeable NP-45A battery, just like Fujifilm’s series of digital mirrorless cameras.
On a full charge, you can shoot approximately ten packs of film but I prefer to recharge it once I see that the battery is below three bars. It is true that the Mini 90 costs more than the Mini 9 up front but you probably end up saving money in the long run by having the rechargeable battery.
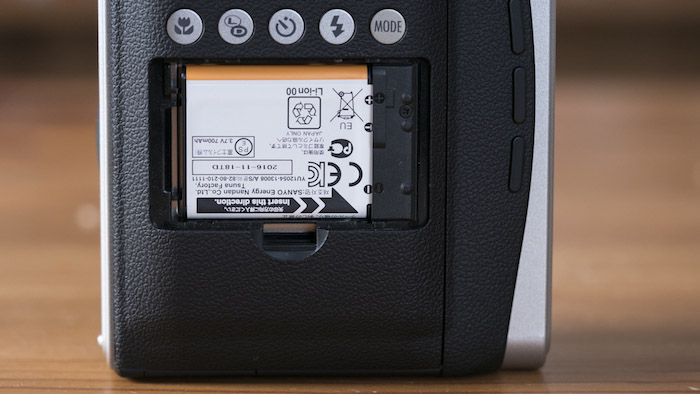
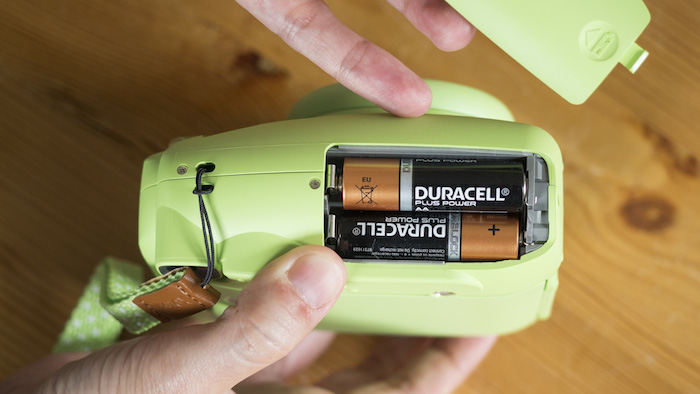
The Mini 9 accepts two standard AA batteries and, like the Mini 90, is able to take around 10 packs of film before the batteries need replacing.
10. Tripod mount
A nice addition to the Mini 90 is the threaded hole at the bottom that lets you mount the camera to a tripod. It is useful for selfies and group shots and can also help you avoid camera shake in poor light conditions.
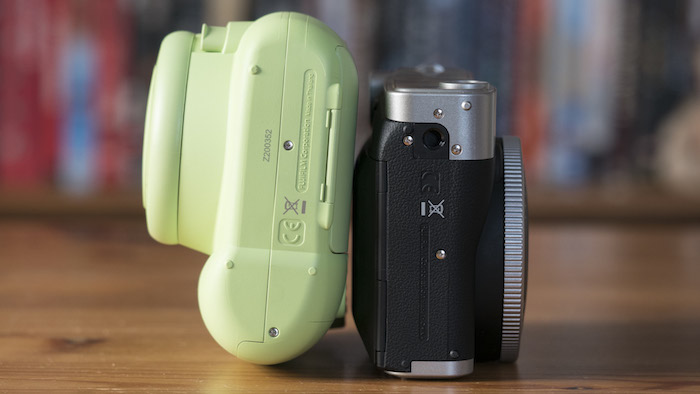
The Mini 9 doesn’t come with a threaded hole so the only way to support the camera is to rest it on a flat surface or use it hand-held.
Conclusion
If you are after a cute-looking camera for selfies and casual shots of friends and family, the Mini 9 has everything you need at a price that won’t break the bank. You can also find some great bundles that include accessories for the camera, as well as packs of film.
If, however, you want to take your instant photography to a new level or simply want a bit more control over how your photo turns out, the Mini 90 is a no-brainer.
Not only is it packed with loads of fun features like double exposure and bulb, but it also has a tripod mount, a rechargeable battery and a flash that can be turned off when not needed. I also really appreciate how the Mini 90’s viewfinder removes the parallax issue from the equation for close-up work since it usually takes me a couple of attempts to get semi-macro shots right with the Mini 9.
On average, the Mini 90 sells for more than double the price of the Mini 9 but you can often find discounts on both models at certain times of the year.
Check price of the Mini 9 on
Amazon | Amazon UK | B&H Photo | eBay
Check price of the Mini 90 on
Amazon | Amazon UK | B&H Photo | eBay
You may also enjoy the following articles:
Found this article useful? Please take a moment to pin it!
