I remember wondering earlier this year when we would see another analog Instax camera and what kind of product it would be. And then in May, as if by appointment, Fujifilm announced the Instax Square SQ6!
Unlike the vast majority of Instax cameras, the SQ6 uses the Square film format rather than the Mini format. Even more interestingly, it is also the first analog camera from Fujifilm to use this size. (The hybrid Square SQ10 and Share SP-3 printer also use Square film but they aren’t purely analog products.)
As you can imagine, no sooner was the SQ6 officially released than I pounced on the first copy I could find – which wasn’t easy by the way as they are selling like hotcakes. Here are my thoughts after using the camera for a month on a daily basis! 🙂
Ethics statement: We bought the Square SQ6 for our personal use. We were not asked to write anything about the camera, nor were we provided with any sort of compensation. Within the article, there are affiliate links. If you buy something after clicking the link, we will receive a small commission. To know more about our ethics, you can visit our full disclosure page. Thank you!
Design and Build Quality
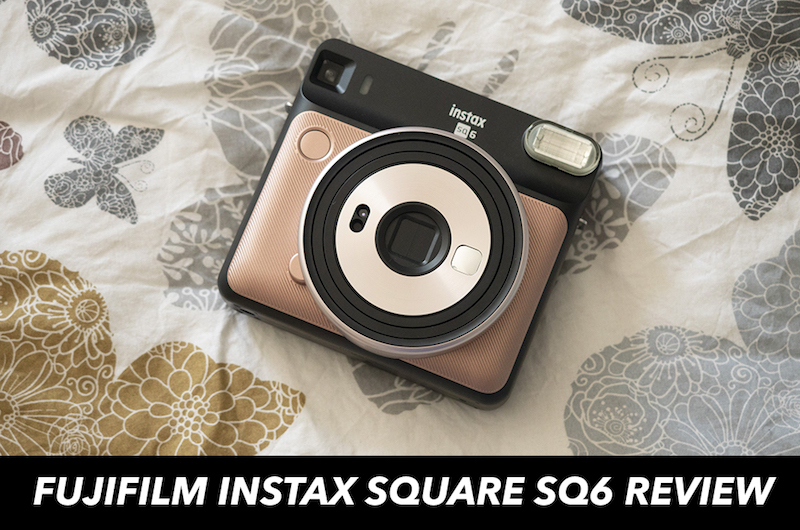
In terms of design, I feel that Fujifilm did an excellent job of creating a product that is stylish yet fun in appearance. It is square in shape just like the film it prints and fairly streamlined except for the ribbed covering that occupies the lower half of the body. Many have commented on how similar it looks to the Instagram logo and I can’t help but agree. I opted for the Blush Gold version but there’s also the choice of Pearl White and Graphite Grey.
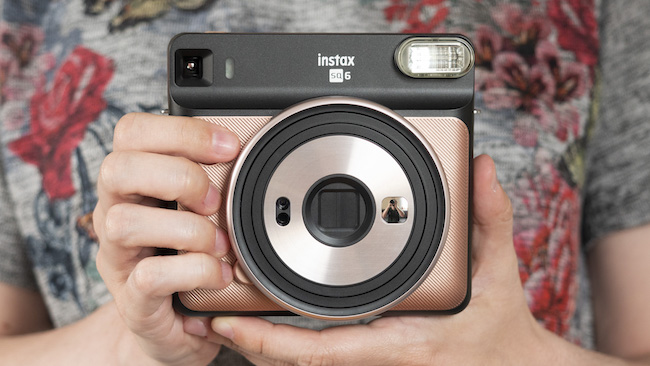
The plastic camera body feels very solid and well-built, though I’d avoid taking it out in rainy conditions due to the lack of weather sealing. Also, you’ll definitely want to attach a strap such as the one that comes in the box, since dropping the camera could easily damage the lens or inner circuitry.
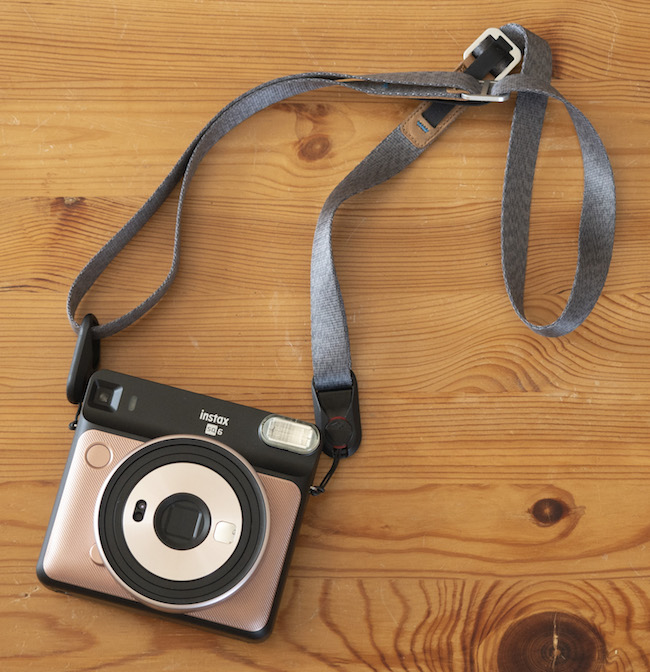
The strap I use with all my Instax cameras is the Peak Design Leash.
Despite being a little larger than most other Instax cameras, it is still small enough to carry around in a small bag. The precise measurements are as follows: 118.7 x 128.1 x 58.1mm and 393g.
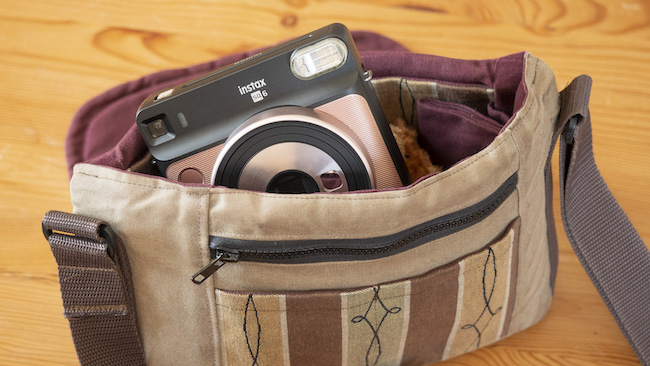
The Instax SQ6 inside my bespoke Porteen Gear camera bag
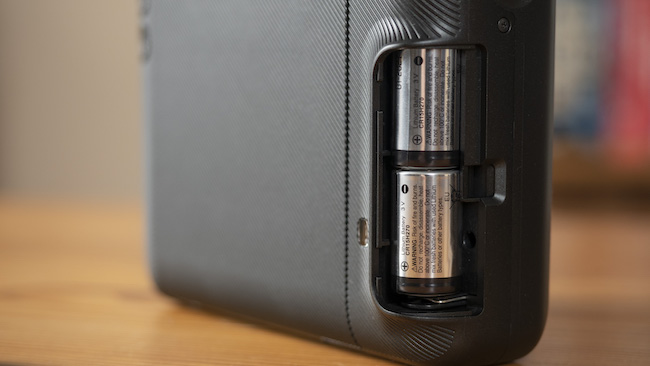
In addition to the ribbed covering, handling is enhanced by the thumb grip on the rear, which also happens to be home to the two CR2 batteries that power the camera. It gives you a fairly good grip on the body but as I mentioned before, it’s always a good idea to use a strap as a precaution.
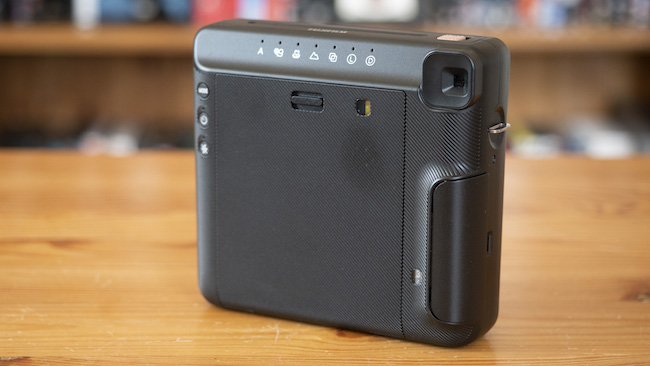
Speaking of the CR2 batteries, they have a rating of approximately 30 packs of film (or 300 shots). I admit I was disappointed by Fujifilm’s choice to use disposable batteries rather than a rechargeable one but at least they last for a long time.
Parts of the Camera
Occupying much of the front of the body is the fixed 66mm f/12.7 lens (32mm equivalent angle of view in 35mm format). When you turn the camera on, it automatically extends out from the body. Somewhat annoyingly, the weight of the ejected lens causes the camera to lean forward when it is resting on a flat surface – a good reminder to turn the camera off when you’re not using it!
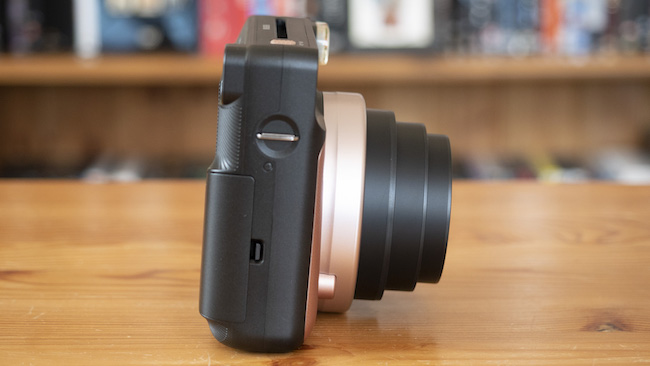
The lens adjusts to three fixed focus ranges – 30cm to 50cm, 50cm to 2m and 2m to infinity – depending on the mode you’re in. (We’ll discuss the various modes later on.)
- Macro
- Normal
- Landscape
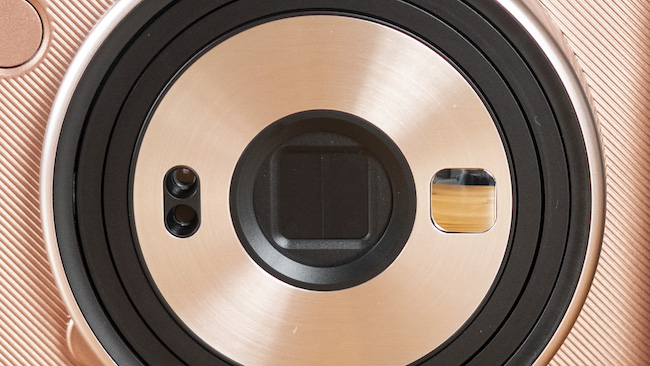
On the front of the lens, there are two features: a light meter (two holes) whose job is to read the intensity of the ambient light and a selfie mirror to help you frame your self portraits.
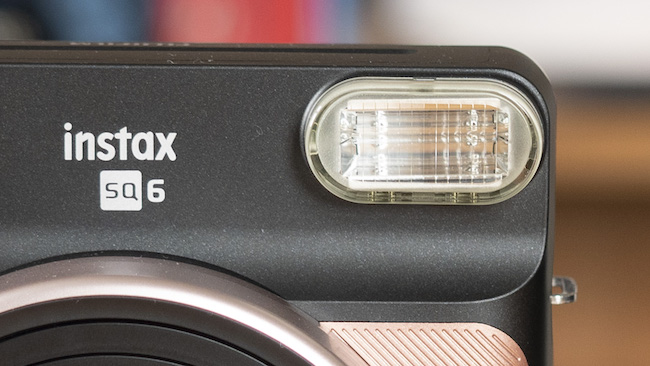
Surrounding the lens you’ll find a built-in flash in the upper left corner, an optical viewfinder in the upper right, and a shutter button just below it.
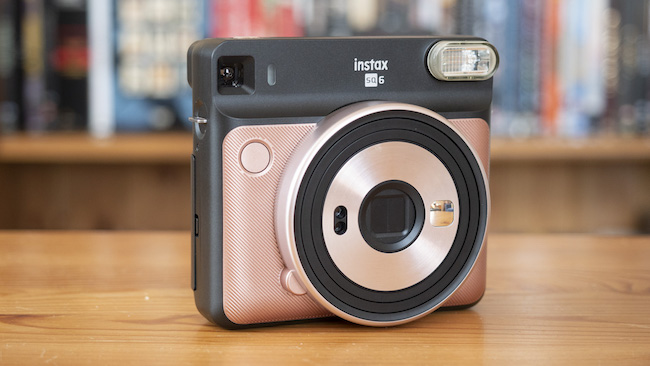
The flash is an automatic electronic type that usually fires in all situations unless you suppress it via the ‘no flash’ button on the rear. It has a decent range of 30cm to 2.7m and a charging time of 0.2 to 7 seconds. If you find it too powerful for close-up photos or selfies, a cheap solution is to cover it with a layer of facial tissue. Doing so will diffuse the light and give your photo a more natural look.
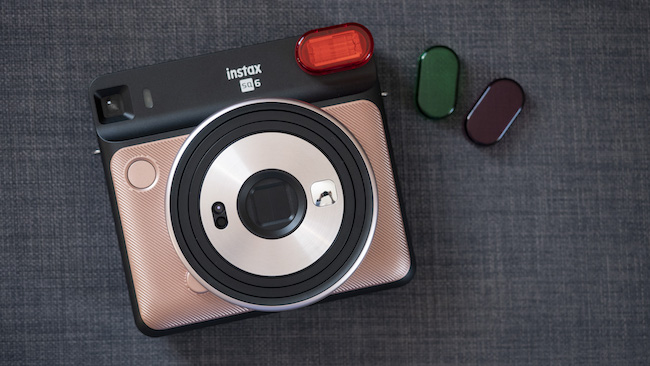
Bundled with the camera are three coloured filters that can be attached to the flash. Their job is to change the overall tint of your photo.
The viewfinder is an Inverted Galilean finder with 0.4x magnification and a target spot at the centre to help you compose. It is definitely larger than the finder of the Mini 9 but has a fuzzier border, which can make it difficult to see the extreme edges of your composition.
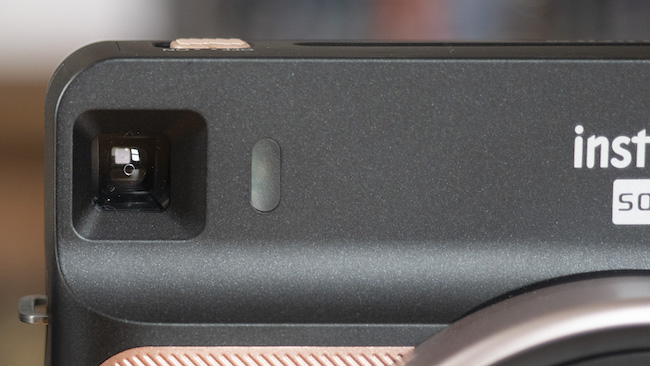
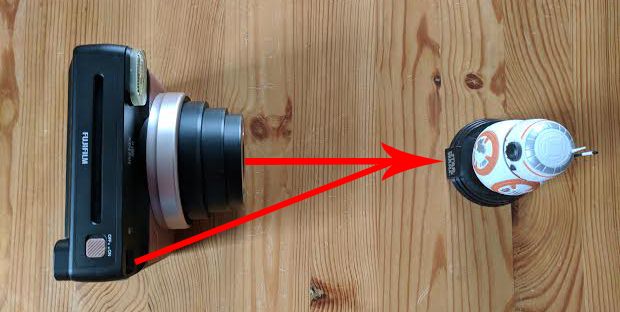
Because it is on a marginally different optical axis to the lens, what you see through the finder isn’t always exactly what the lens sees, especially at close distances. This phenomenon is what photographers call parallax error. To achieve more centred results at distances less than a meter, you’ll have to slightly adjust your composition so that the lens is in line with the subject, not the viewfinder. (You can find a good explanation on how to avoid parallax here.)
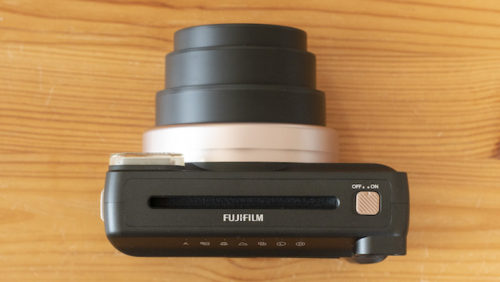
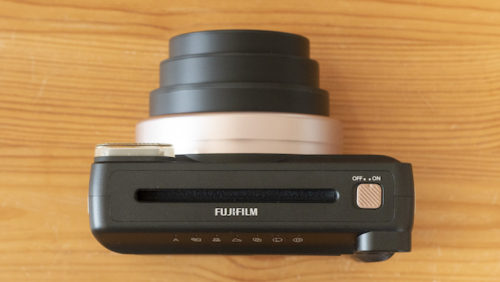
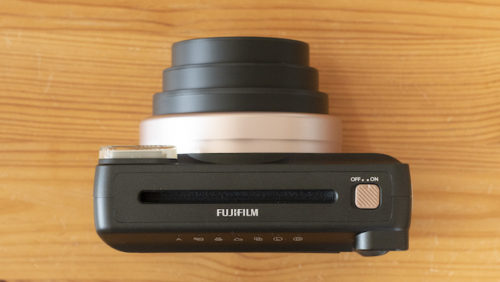
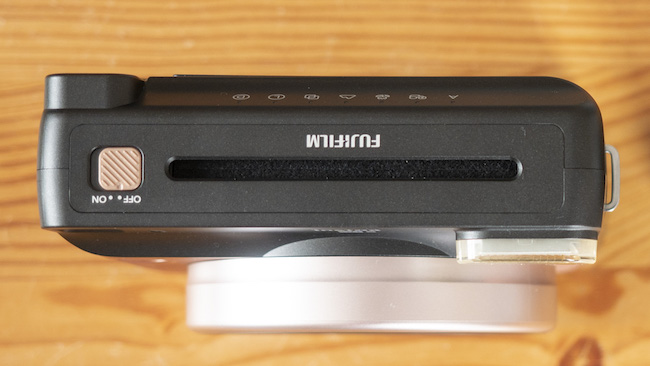
On top you’ll find the film ejection slot, which is where the film comes out, and an on/off switch that slides from side-to-side. Not much else to see here!
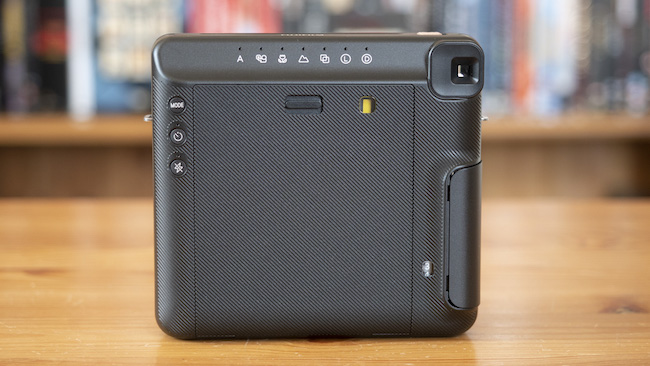
Turning to the back, we find the film door, film counter, grip, the various modes and their corresponding buttons and of course, the viewfinder once again. Fujifilm has definitely gone with a straightforward, simplistic approach in terms of the mode layout, which is great for newcomers to Instax or those upgrading from the entry-level Mini 8 or 9. We’ll talk more using these modes in the ‘how to’ section below.
One final thing to mention that should interest the techies here is that the SQ6 has a shutter speed range of 1.6 seconds to 1/400 of a second. This makes it a pretty good companion in all situations except very dark or bright scenes. You can generally expect the best results in well-lit indoor situations with the flash. Note that the shutter speed is automatically selected by the camera, so you don’t have much control over the speed it chooses.
How to Use the Instax Square SQ6
The very first thing you’ll want to do before you even think of taking a picture is to load the camera with two fresh CR2 batteries. Thankfully Fujifilm provides a pair in the box, so you can go ahead and pop those into the battery compartment / thumb rest straight away.
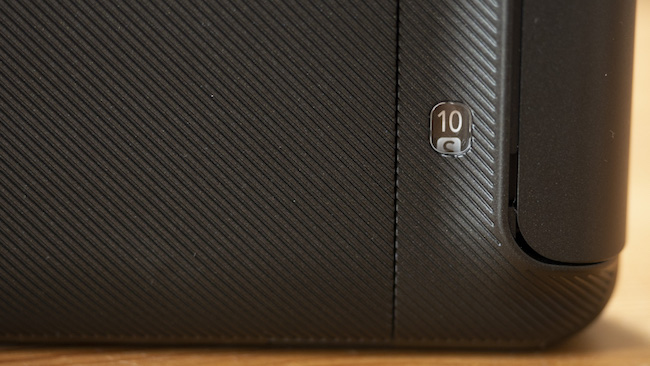
Then carefully open up a pack of Instax Square film, place it inside the film compartment so that the yellow markers on both camera and film are aligned, and close the door. Turn the camera on and press the shutter button once to eject the black film slide that protects the film. You’ll notice that the film counter will display 10, meaning that you have ten shots to use up.
>> Click here for an in-depth tutorial on how to load film into the SQ6 with pictures.
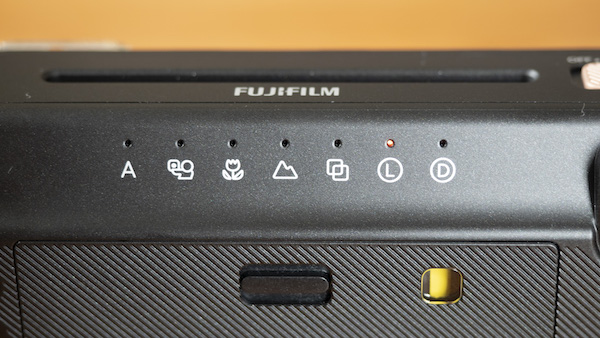
Now it’s time for the fun part – taking pictures! But to make the most out of the camera, you’ll have to become familiar with the various modes first. Let’s have a look at them now.
- Auto: Tells the camera to decide the exposure. The focus range is 50cm to 2m in this mode, so avoid subjects that are too close or too far away. Note that the flash will always fire unless you suppress it.
- Selfie: Reduces the focus range to 30cm to 50cm. Use the selfie mirror on the lens to help you frame your selfies or group shots.
- Macro: Reduces the focus distance to 30cm to 50cm. The flash may not fire in certain bright conditions. Be aware of parallax issues (mentioned above) in this mode.
- Landscape: Changes the focus range to 2m to infinity. Good for subjects that are far away.
- Double exposure: A creative mode that overlays two exposures onto one slide of film. It uses the same focus range as Auto. To find out more about this mode, head on over to our double exposure article.
- Lighten: Brightens the exposure by +2/3EV. Ideal for low-light scenes. The focus range is 50cm to 2m.
- Darken: Darkens the exposure by -2/3EV. Ideal for bright sunny days. The focus range is 50cm to 2m.
- Timer: Sets a 10-second timer so you can jump into your photo. Works with any of the aforementioned modes.
- Flash off: Stops the flash from firing. Works with any of the aforementioned modes.
You can scroll through these modes simply by repeatedly pressing the Mode button on the rear. Once a mode is chosen, it will light up.
If you’re completely new to Instax, you’ll probably end up taking a number of dud shots with your first pack of film or two but consider this completely normal. Once you get used to how the camera works and which situations to avoid, your success rate will increase dramatically. For example, I’ve stopped taking landscape shots on bright sunny days because they usually turn out overexposed like the one below.
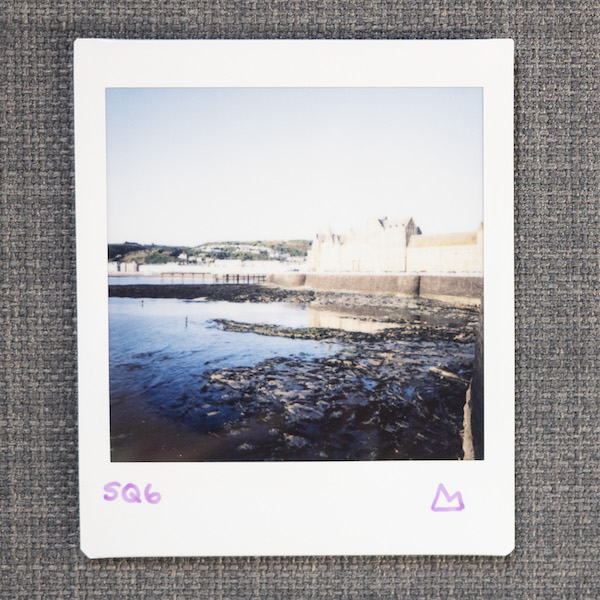
SQ6: Landscape
This actually brings me to the only aspect that bothers me about the SQ6: the fact that you cannot combine any of the modes in the top row. If you could combine Landscape with Darken for example – which you can do with the Mini 90 by the way – images taken on sunny days might not turn out so bright. Likewise, it would be great if you could combine Macro with Double Exposure to take creative close-ups. Perhaps this is something Fujifilm will consider if they come out with a premium analog SQ camera in the future.
Image Quality
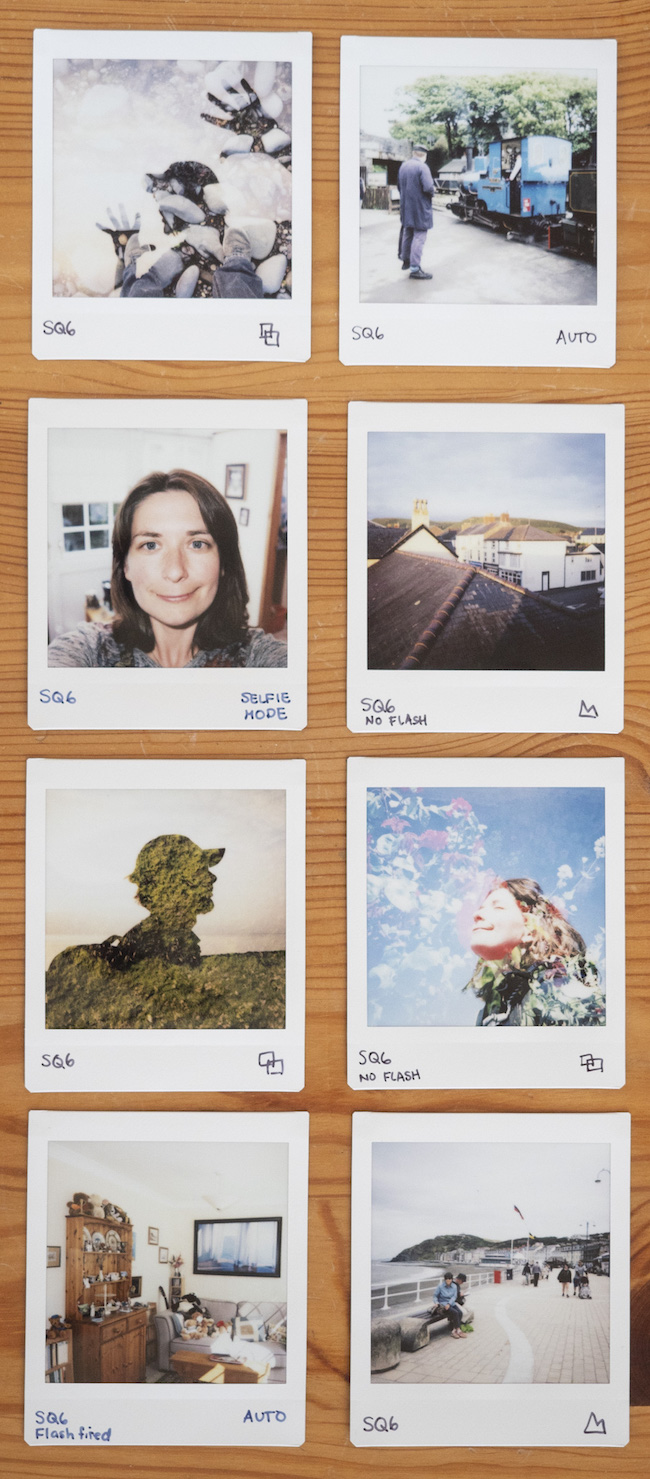
The Instax Square film used by the SQ6 is a lot like the Mini film in terms of quality – it’s just a bit bigger. Colours are bright, punchy and generally accurate, though sometimes a little too cold for my liking.
>> Check out the main differences between Square and Mini format film here.
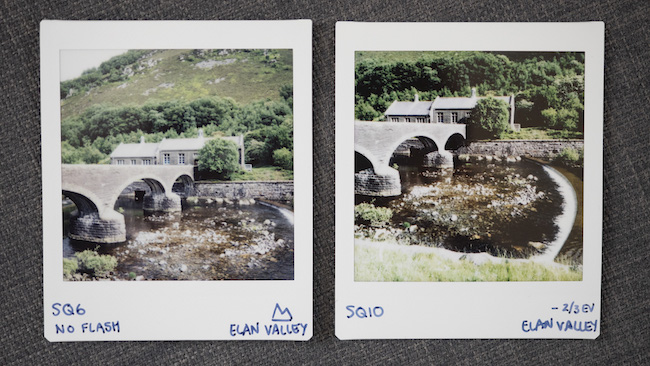
If you choose the right focus range, images come out looking quite crisp and detailed. However they don’t quite match the level of sharpness of images produced by the Square SQ10 whose autofocus system lets you pinpoint the focus with more accuracy.
Once again, it is best to avoid very bright scenes or objects such as mirrors that can reflect the light of the flash directly back into the lens. In drastically overexposed areas of the image, you may even see a black dot emerge such as in the example below.

Note the black spots on the egg caused by the flash reflecting off the shiny surface.
To conclude, here are a few things you should avoid doing when taking pictures with the SQ6:
- Never pull on the film as it is emerging from the film ejection slot as you might damage the camera’s inner workings and/or the photo itself.
- Never load the film in bright sunlight for the same reason as above.
- Never open the film door until you have used up the pack of film. If you do, the rest of the pack will produce blank prints due to overexposure.
Conclusion
If you’re on the fence about getting the Instax Square SQ6, don’t be: it is the best Instax camera out there at the moment for beginners, at least in my humble opinion. The design is beautiful, the controls are extremely straightforward, and the Square film format sits perfectly in the “goldilocks” zone as it’s neither too big nor too small.
My only gripe is that you cannot combine certain modes that could work really well together such as Darken and Landscape but to be fair, the Mini 8 and 9 are no different and they’re the most popular Instax models out there. I suspect Fujifilm made this choice so as to avoid overcomplicating the interface for beginners.
If you really want more control over your images, I would suggest taking a look at the Mini 90. Although it shoots in the smaller Mini format, it does allow you to combine multiple modes. My hope is that one day Fujifilm will come out with an SQ model that synthesises the best of both cameras – fingers crossed! 🙂
What I like about the Instax Square SQ6:
- the stylish design and user-friendly interface
- the fact that it prints in the Square film format
- the variety of modes
- you can suppress the flash (something you cannot do with the Mini 8 or 9)
What I don’t like about the Instax Square SQ6:
- you can’t combine certain modes
- the weight of the lens causes the camera to tilt forward on flat surfaces
Check price of the Instax Square SQ6 on
Amazon | Amazon UK | B&H Photo | eBay
Liked this review? Why not pin it!
